
Blend Mode Basics – Part 2
TipSquirrel welcomes back Mike Hoffman
Welcome back to my ongoing series, exploring the secrets of blending modes in Photoshop. Last time, we looked at the four main categories of blend modes (Darken, Lighten, Contrast, and Tone) and we went on to explore some fundamental applications of Screen mode, in the Lighten category.
This week, we’ll look at the counterpart to the Screen mode, which is Multiply. Multiply mode is the first in the Darken category of blending modes, and one of the most commonly used throughout Photoshop. The Multiply blending mode is analogous to the placing two negatives or transparencies on a light table, one above the other. This darkens the colors overall. Multiply mode works like that – if you are blending two layers with Multiply blending mode, the resulting colors will be darker than either of the two original layers.
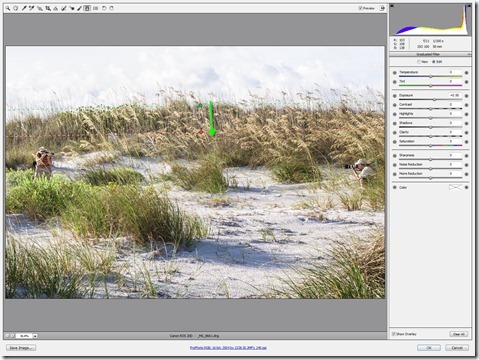
We can use this to add density to a washed out image, or to darken shadows in an image to add contrast and drama. For example, let’s take this ordinary image (courtesy of Stock .Xchng, www.sxc.hu):

Click to Enlarge
This is a nice snapshot, but the busy background is a bit distracting, and while the image is well composed, the subject doesn’t jump out at you. Let’s change that very quickly with blend modes. Start by duplicating the background layer (Ctrl-J on Windows, Cmd-J on a Mac, or choose Layer > New > Layer Via Copy). Now, set the layer’s blend mode to “Multiply,” and we have this:

Click to Enlarge
Not a great image at all, but notice how the tones have darkened, especially in the background? We don’t want to darken our subject, so let’s add a layer mask, and with a large soft round brush and black as the foreground color, paint a mask to hide the darkening effect over the man’s face, neck and shirt. The great part about this is, you don’t have to be precise. You can even leave a slight soft edge to the darkening on the edges of the man’s face:

Click to Enlarge
Now, let’s duplicate the layer with the mask two more times, by again pressing Ctrl-J or Cmd-J. Notice how the mask and the layer blend mode of multiply are copied right along with the layer? We now have three copies of the layer set to multiply, but excluding the face and shirt:

Click to Enlarge
Notice how much more dramatic the image looks! The background is much darker now, and the subject really pops out. The slight edges we’ve left around the perimeter of the face add additional contrast and mystique.
We can use this same blending mode to add textures over images, adding a naturally gritty or dirty look. For example, we can use this to create an old, grungy, antique looking photograph from a perfectly normal modern image (Janine, who has posted many restoration techniques here, will be shooting darts at me for this!)
Let’s start with this nice clear picture of a tall sailing ship (also courtesy Stock.Xchng):

Click to Enlarge
Looks nice and clean, as if it were taken yesterday. But we’re going to fix that! Let’s take this image of parchment and use it to create an antique, soiled look:

Click to Enlarge
To create better results, we’ll use a curves adjustment to really boost the contrast of the parchment:

Click to Enlarge
Now, flatten the parchment image and drag it right onto the tall ship image. Set the layer blend mode to multiply, and reduce the opacity to 46%, and right away you have this:

Click to Enlarge
Now, a really old image would have faded colors, so let’s add a hue/saturation adjustment layer above the background, and decrease the saturation to -30 to get the final antique image:

Click to Enlarge
This application of textures can be great fun, and you can create your own! A coffee stain on a napkin, some old crumpled wrapping paper, anything that can be scanned can become a texture, and with the multiply blend mode you can add a nice organic touch to your images.
I hope you enjoyed this lesson! Next time, we’ll take a look at some of the hidden places within Photoshop where you can find, use (and modify) the Screen and Multiply blend modes.


Leave a comment