Create the Orton Effect in Photoshop


Learn how to create the ethereal Orton Effect in Photoshop. The technique blends blur and sharpness together for a dreamy effect that looks amazing with landscape photography. Blending blur with an image you’ve taken care to shoot with sharpness throughout may sound like a bad idea, but the two work in perfect harmony to create an effect in your landscape photography that’s subtle, yet distinctive.
The Orton Effect was created by American photographer Michael Orton. His original technique used two transparencies sandwiched together for printing. One was underexposed and sharp, and the other overexposed and just out of focus. The result was an image that was both sharp and blurry with a dreamlike quality. The advantage with digital photography is that you can apply it to any image – you’re not limited to making a decision at the point of capture.
Orton Effect video tutorial
Below are before and after examples of images with the effect applied. The overall strength of the effect is quite subtle because it looks terrible if you make it too strong. The image below was taken at Winnats Pass in the Peak Districk, UK.


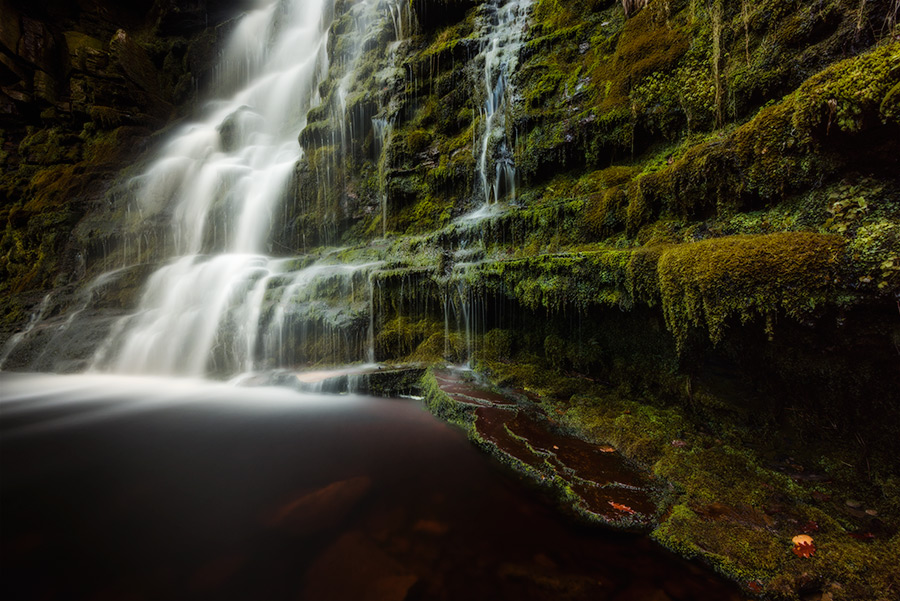
The image below was taken with a 10 stop ND filter attached to the lens to completely blur the water. With this level of blur already present in the shot it’s not the most obvious candidate for the Orton effect, but a refined use of the technique enhances the overall look and feel of the image. This shot was taken at Middle Black Clough in th Peak District, UK. Follow the link for a location guide.


It’s easy to get carried away with this technique and apply it to every image. While I wouldn’t add it to the self-storage interior shot below, it does work. It can also work for exterior architecture images and cityscapes. It’s really subtle so you’ll have to look closely.


The Orton Effect really is an amazing technique for adding an ethereal dreamlike quality to your images if you use it with restraint for the right types of images.

Leave a comment