Simple Filters Through Split Toning in Lightroom and Camera Raw

Split toning is my favourite tool in Adobe Raw, once I’ve made my normal exposure, vibrance, clarity etc adjustments I always move over to split toning. So I though I would share a three of my go to settings.
This is my image straight of my sd card opened in camera raw, it’s ok but looks a bit flat.
I start by adjusting the exposure a little and brushing in a bit more exposure on their faces. This just makes the image look a lot brighter and creates a more summery feel. I then move over to split toning.
The Pink Sunset
For this I set my highlights hue at around 300 so it is a nice pink colour and don’t add in anymore then 10 for the saturation. Then for the shadows I aim for around 350 with my hue so it is a slightly more redder pink to still blend well with the highlight hue. Again I don’t go over ten with the saturation.
The Vintage Tone
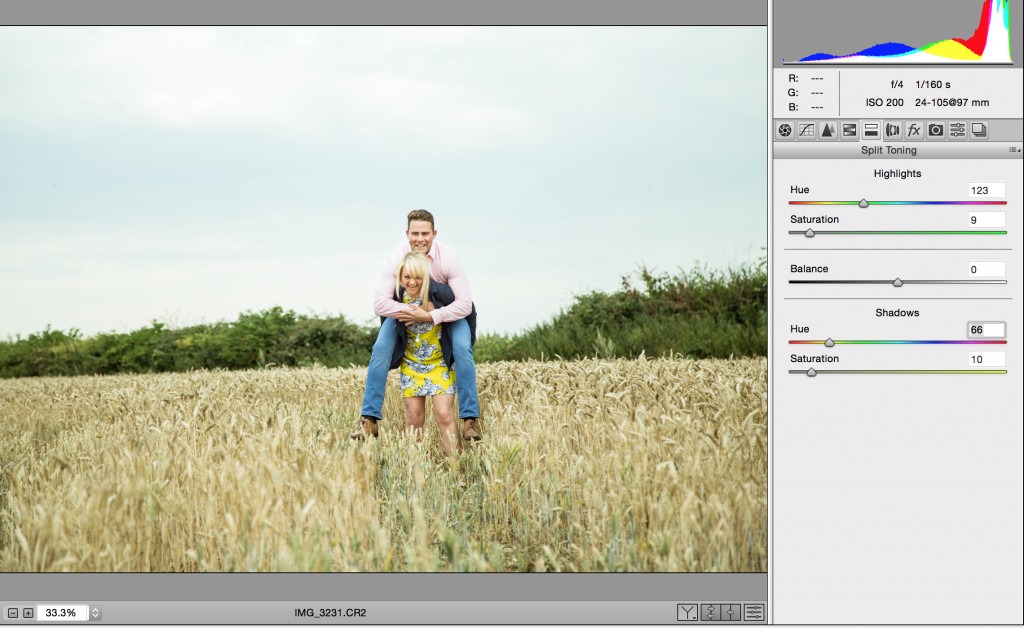
This is my favorite one and used regularly with my images. The highlights hue is set around 110-130 for a nice green tone and again the saturation no more then the 10. The shadows I then go for a more yellow hue around 40-70. This gives it this nice modern vintage tone that you can see in the above image.
The Moody Blue
This use of split toning creates a slightly more moody tone which is not so suited to this image but is great for the more moody fashion blog posts I tend to create in the winter. I go for a dark blue hue in the highlights around the 250 mark and with the shadows a lighter blue around the 200 mark. However with this split tone I do add in more saturation for the shadows so it gives more of a blue colour because it is quite a light blue having it around the 40 mark gives of the tone I want.
So those are 3 simple split toning settings I use. If I am applying them to a portrait shoot then the same settings are applied to each image to keep a nice running theme.


Leave a comment