Creating a 3D Ground Plane to Match an Image in Photoshop
When you’re adding a 3D element to an image its often difficult to line up the ground in the image to the ground plane for the 3D image. In this post I’ll outline how to make sure they line up perfectly, every time. In this example I’ll add some 3D text to a shelf;
Creating the 3D Text
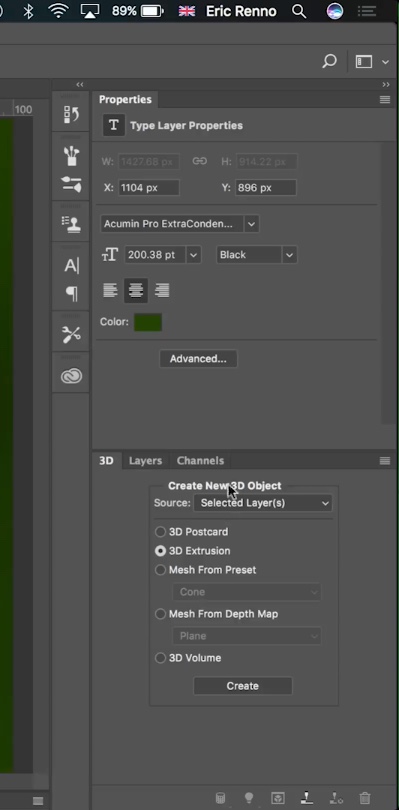
To make things easier I’m going to change the workspace to 3D, this makes the 3D and Property panels available;
To make the ‘Home’ layer three dimensional select the Source, 3D Extrusion and then Create;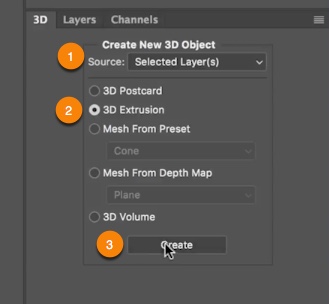
This creates the 3D layer with it’s own ground plane. By luck its a close match but not quite right;
You could use the Move tool to move the Scene, but this is fiddly.
Creating the Ground Plane
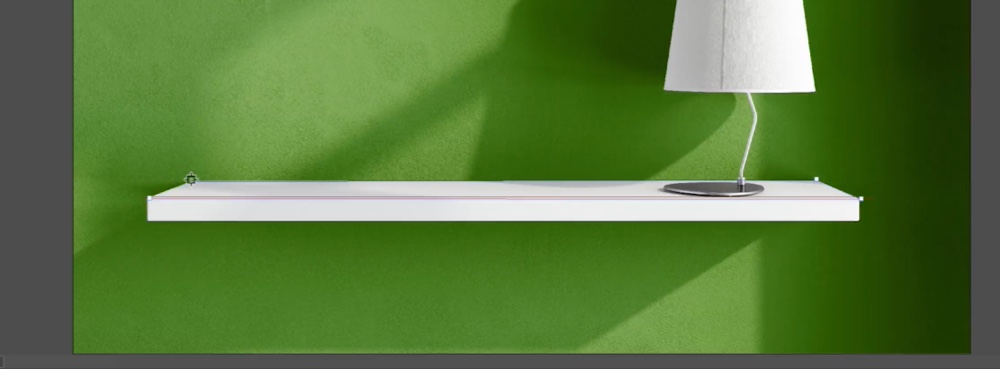
Turning off the Home layer makes this next part a little more clear. I used the rulers to drag down a guide that matches the two horizontal lines of the shelf. Then I drew a 1px red line along them. (Snap really helps here. Menu: View>Snap);
Once the lines are drawn I can clear the guides using the Menu: View> Clear Canvas Guides. This often helps pinpoint horizontals and verticals and, later, will make sure my own ground plane is square.
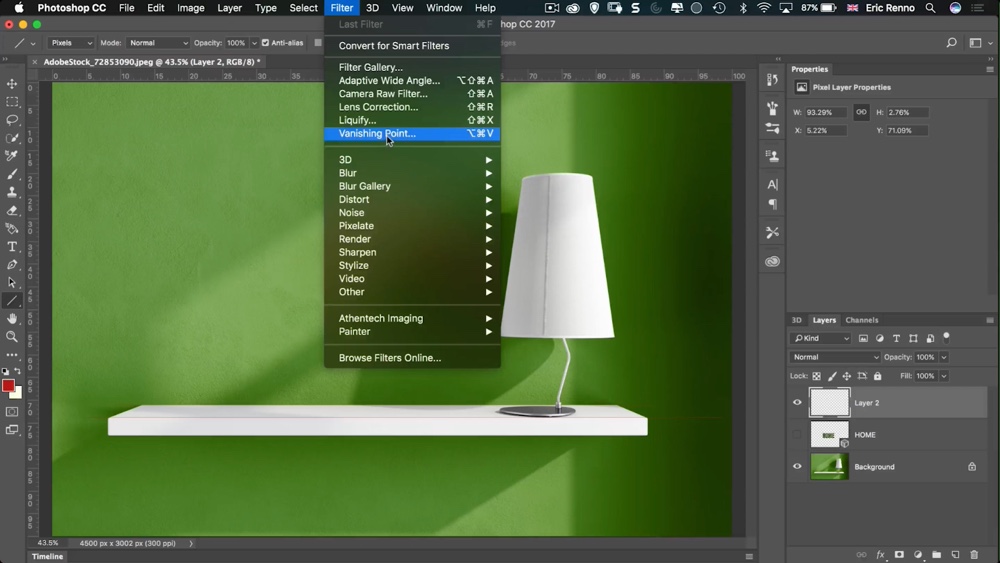
To create the ground plane go to Menu: Filter>Vanishing point…
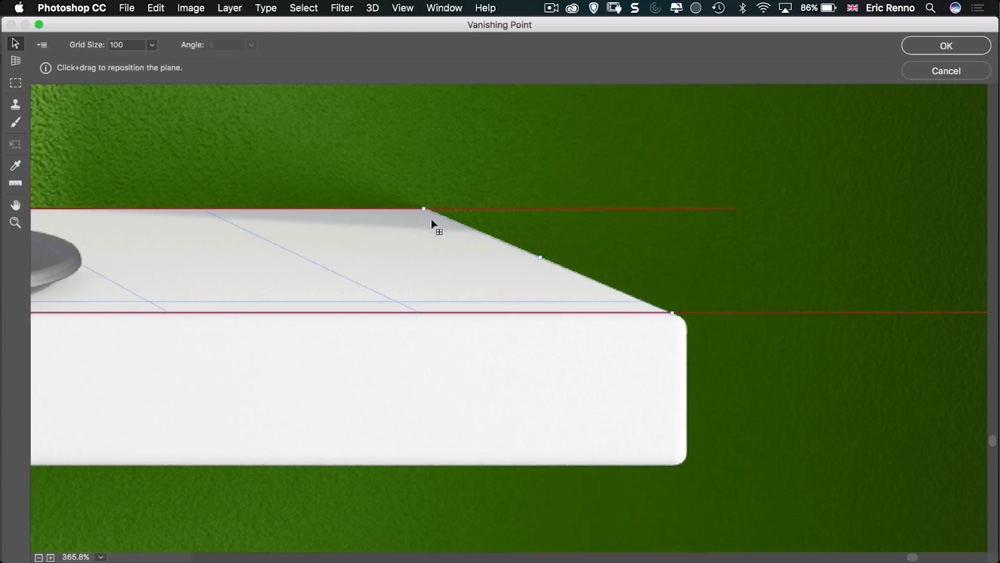
With the Create Plane too active clicking on each corner creates a plane. In this case I’ve not done this too well and the plane shows up in red. This means that the plane doesn’t work in 3D. So I need to tweak it.
Zooming in reveals how far off I was from the guides I made and the corner points I clicked down. Using the Move tool here I can easily correct this.
Now the grid has turned blue;
No more needs to be done here, click OK.
Nothing seems to change, but the ground plane is still there.
Using The New Ground Plane
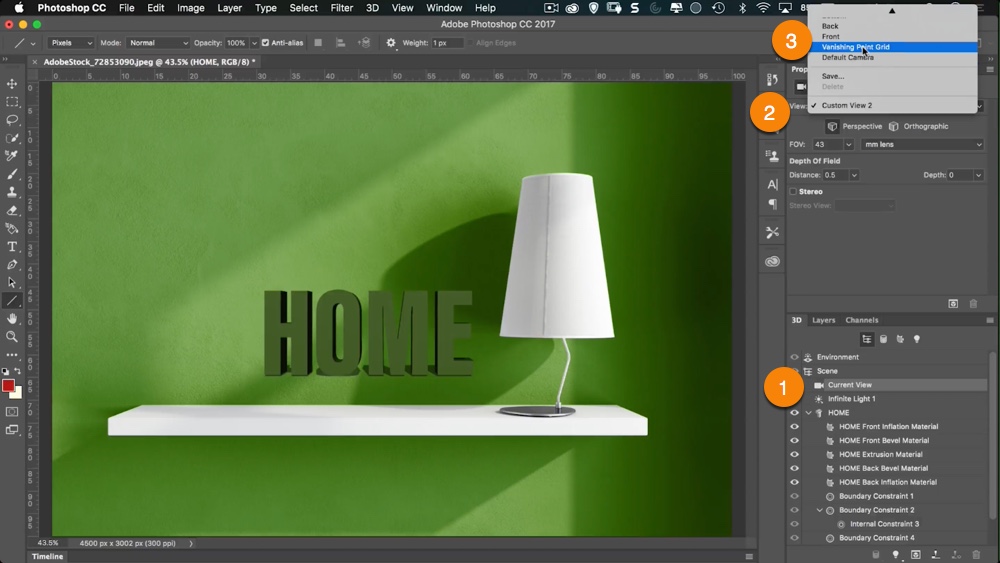
Turn on the Home layer and returning to the 3D tab I can select the Current View (1)
In the Properties Panel I can click on the View drop down Menu (2) and choose Vanishing Point Grid (3)
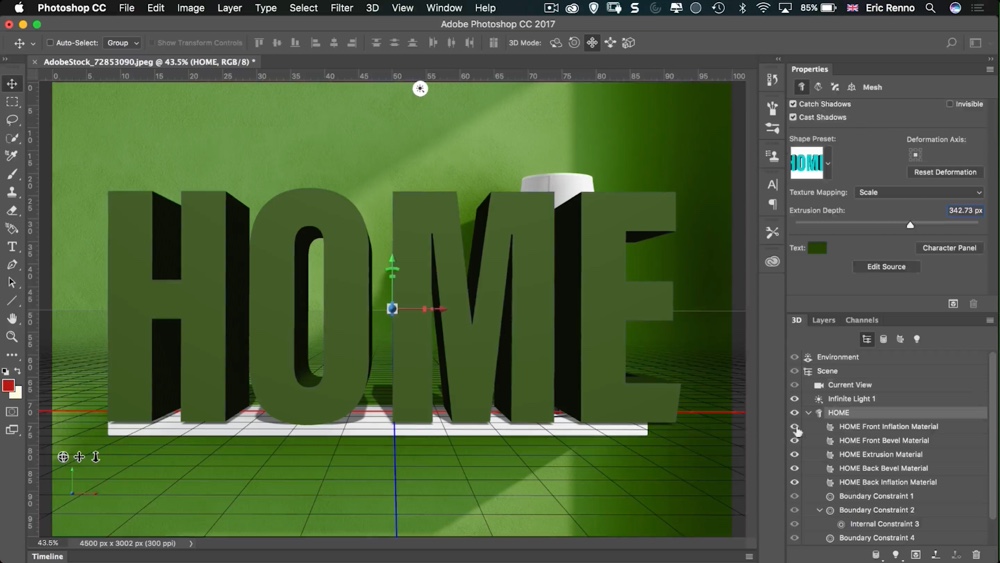
The Home layer re-adjusts itself to the new Ground Plan;
So I’ll need to get the move tool and use the handles to push it back and resize it;
From the Properties Panel, click the Coordinates icon and choose Move To Ground;
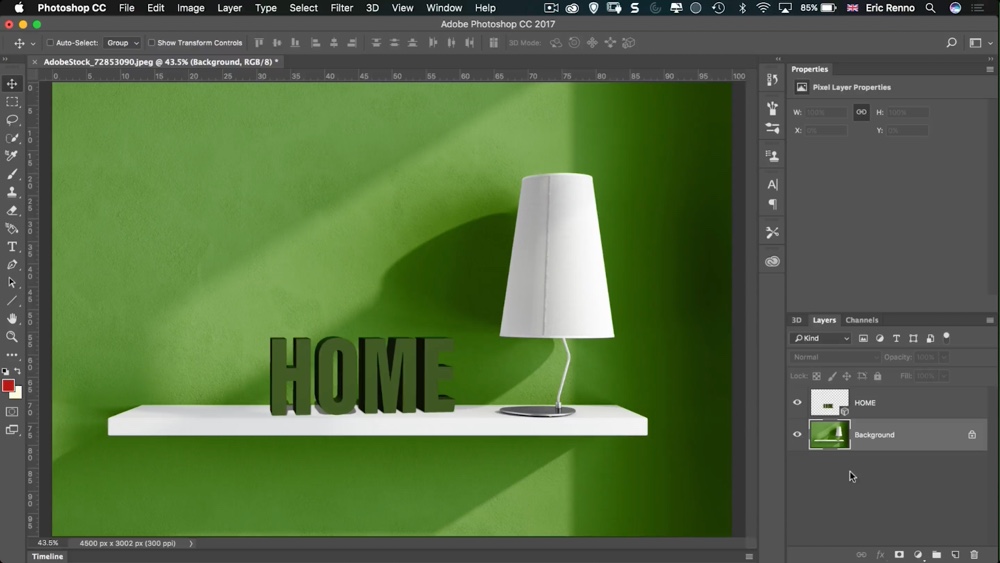
And there we are!
The lighting, textures, bevels need to be done still, but I can be rest assured that the layer will always be in the right perspective.






Love the tutorial. I was trying to replicate this effect with a room photographed looking into a corner, instead of straight towards a wall. Is there a trick to using the vanishing point filter for two point perspective?
Thanks