
Getting Freaky with Photoshop Patch Tool
I will show you how to remove your eyes, nose and mouth easily from a photo just using the patch and healing tools. When creating horror pictures its often useful to remove whole parts of a face, and start again, as such I found using this method where we can remove any part of a face very easily.
Step 1. 
open a photo of a person – i’m using one of mine from my summer beard project (hence the face hacked up and bleeding)
Step 2.

duplicate the background layer by pressing Layer>Duplicate Layer or by dragging the Layer to the New Layer icon in the Layer Palette, next Select the patch healing tool from the Healing Tool flyout menu.
Step 3.

Using the Patch tool draw around the object you wish to remove, eg the mouth, then drag the selection up to a large area of skin eg the forehead.
Step 4.

When you let go of the selection the original area will be patched with the selected area effectively removing the object.
Step 5.

We then select the Spot Healing Tool and simply click on the parts of the picture that has remaining objects we wish to remove.
Step 6.

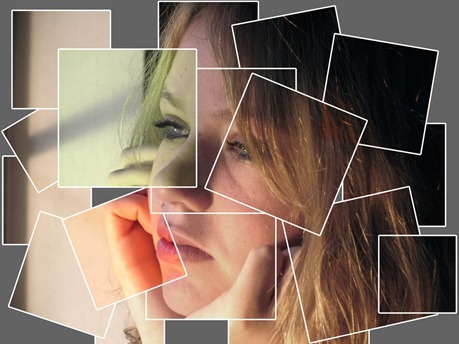
We now can simply do the same to the nose and eyes to remove them.


Leave a comment