Photoshop Blur Gallery – Iris Blur
Adding blur to an image can help to give your image some depth, and draw interest to certain aspects of the composition. Photoshop CC has some great new blurs in the Blur Gallery, we already looked at the Path Blur, this time lets look at Iris Blur.
The image used in this post is from Fotolia : 61579135 Coffee by magdal3na
Convert To A Smart Object
I mention this in almost every post I write so I’ll not go into too much detail this time. It’s good to know that the new Blurs can be run as a Smart Filter though, meaning we can go back at any time. There is an exception to this however, Selection Bleed, more of that another time.
The Blur Gallery
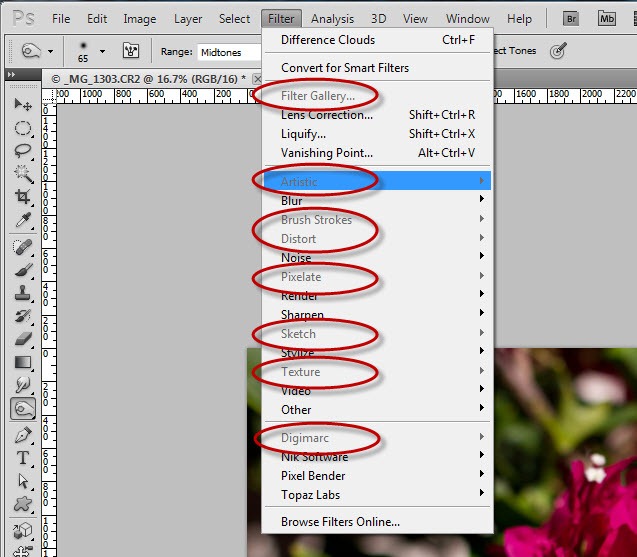
To find the Blur Gallery go to Filter > Blur Gallery;
then choose Iris Blur.
The Controls
When you choose Iris Blur Photoshop will open a new window, It can be a bit intimidating at first so let’s take a brief tour;
Focus : The focus at the centre point, a ‘starting focus’.
You can save the blur as a mask so that you can edit using the blurs gradient as a map. This is helpful for darkening down areas that our defocused.
High Quality refers to the preview window, keep this off if you want to run the filter a little quicker.
The centre of the blur. The amount of blur here is determined by the Focus setting (1). The black dot is a pin and can be clicked and dragged to any position.
The start of the transition from the Focus amount (1) to the Blur amount (7). This can be click and dragged closer to or further from the centre point (4)
The end of the transition between he Focus amount (1) to the Blur amount (7). This can be click and dragged closer to and further from the start of the transition (5)
Blur amount, the amount of blur at the outer point of the pin (6)
how the highlights are represented in the blur, producing bokeh.
Clicking and dragging determines the roundness of the blur area.
Creating a Blur
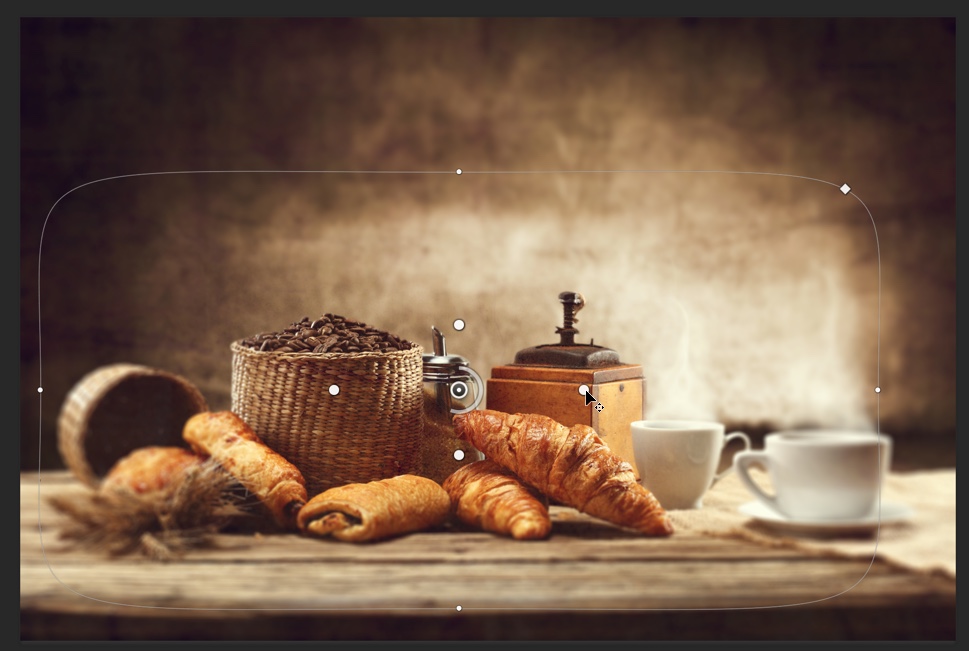
When the filter first opens Photoshop puts a default blur in the centre of the image. Clicking and draggin any of the handles allows positioning exactly where you want it. Ising the outer handles (5) and (6) allows you to fine tune the transition of the blur while the diamond handle (9) controls how rounded the blur effect is.
Adding Multiple Blurs
You’re not restricted to one pin, or blur, on the image. To add another click the mouse where you’d like the centre of another blur (you can always move this later should you wish)
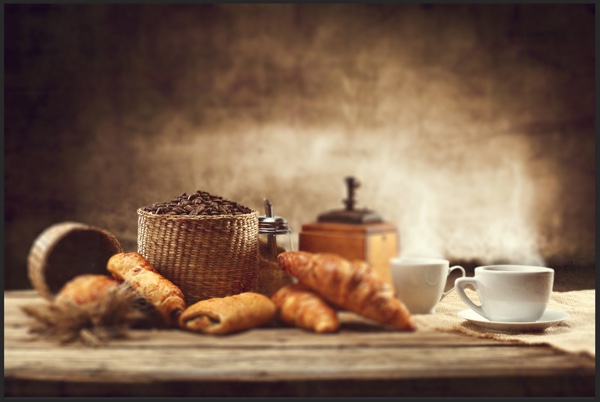
Here I’ve added two blurs, one to the basket of beans and another to the cup.
This allows us to pick out areas of similar depth of field and draw attention to areas of interest. Different blurs will interact with each other and will create an overall effect. This will depend on your image and the effect you want to achieve but changing the pins and blurs is very easy.
On Image Editing
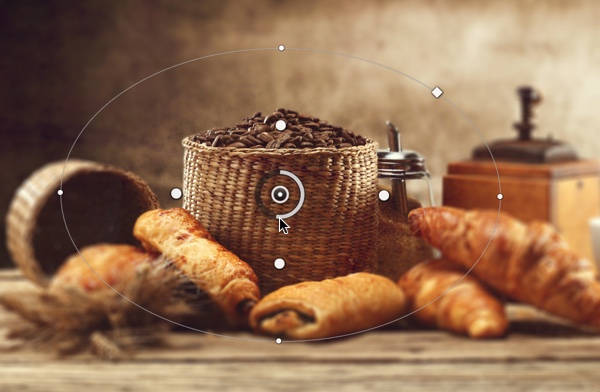
If you’d prefer to add and remove blur on the image you can do this using the dial around the pin. Clicking and dragging the dial clockwise will add blur, anti-clockwise will remove it. I sometimes find this a little fiddly, especially I have multiple pins.
At first glance I’m happy with this but on closer inspection I see a problem;
The cup furthest away has a clear handle while the cup itself, while still on the same focal plane is blurred. I can add more pins around the cup to remove this however, I may even need 2 or 3. What would be very helpful would be able to add blur values directly, as luck would have it, that’s the topic of the next post!


Leave a comment