
Retouching Snow in Photoshop

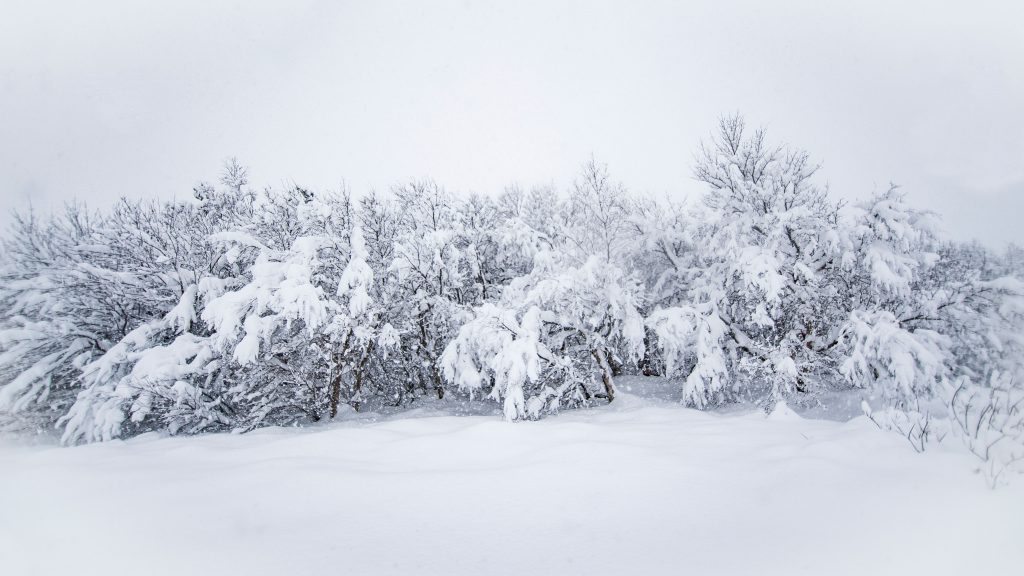
My favourite place on this incredible planet is Iceland, and in my capacity as a travel photographer and big Iceland fan I’ve perfected the way I deal with snow in my photos. In this tutorial I’ll share my top tips for snow in Adobe Photoshop. Here goes!
Before we hit the retouching, consider that your camera will look at a snowy scene as a mass expanse of highlights, so if you’re shooting on auto you’ll have a photo which is underexposed. You can deal with this in camera by switching out of auto mode and into manual.
Here’s my quick workflow for snow scenes.
First off, try the Automatic adjustments. When you take a photo in the snow you’ll normally find that the colours are all wrong because of the vast amount of white, leaving not much left for auto white balance to use; and secondly, that vast amount of white will screw with your exposure. The automatic adjustments use a bunch of clever mathematical algorithms that the boffins at Adobe spent hours perfecting, and they’re pretty good!

Give the Auto Tone, Auto Contrast and Auto Color a go and see what they do – they may fix your photo enough that you need go no further.
Next up, attack the levels. Open up the levels tool by tapping CMD+L on your Mac or CTRL+L on Windows. Here’s what you get.
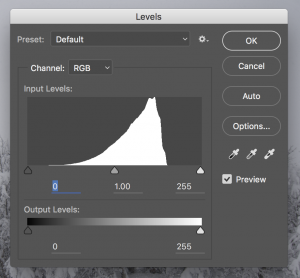
With this tool you simply move the sliders to make adjustments. Moving the triangle on the right will adjust your whites and moving the triangle on the left will adjust your blacks. You’re essentially controlling the white point and black point, thus affecting the brightness and contrast of the image. If you slide the centre triangle you are adjusting the midtones. In this example I’ve moved the outer two triangles in to meet the edges of the histogram, giving a good tonal range. If you want to give your midtowns a little extra brightness, just slide the centre triangle to the left.

Next up, the colour! The most common colour fault will be a photo of blue snow which needs fixing. The simplest way to fix this is to adjust it yourself to taste. The way I attack this problem is by creating a new adjustment layer for hue/saturation. Add your layer in the adjustment pane on the right of your screen – it’s the first one on the second row here.

When you’re on the new layer, use the hue/saturation properties pane and change the dropdown from ‘Master’ to ‘Blues.’ With this selected, it’s a simple finish. Grab the eyedropper from within the pane and then select a blue portion of snow. When you’ve done this, slide the saturation slider to the left and judge it by eye. This means when you’re desaturating you’re only doing so among the blues that you’ve targeted by selection, and your photo will have a more realistic colour.

As with any problem you come across in photography, Photoshop offers many solutions to one problem. This is how I fix the brightness, contrast and colour of a snow photo, and it’s a simple and effective method so give it a go! Snow is fun to shoot, and what we’re doing in post process is trying to overcome the tricks the scene has played on our camera so if you bank these two techniques and judge your photo by eye, you won’t lose.


You saved me! I couldn’t get these fixes without a lot of halos and blue artifacts. Thank you!