How to create a punching city sunset
In this tutorial I’ll guide you through a technique which allows you to use Adobe Lightroom or Adobe Camera RAW to bring a dull cityscape sunset to vivid life. In this tutorial I’m using Adobe Camera RAW. Let’s begin.
Sometimes, as I often do as a travel photographer, we travel the world and have limited opportunities to get the shot we want. As with my recent tutorial all about faking Golden Hour, this tutorial will teach you how you can enhance a sunset if it didn’t live up to expectations during the limited time you had it in your viewfinder.
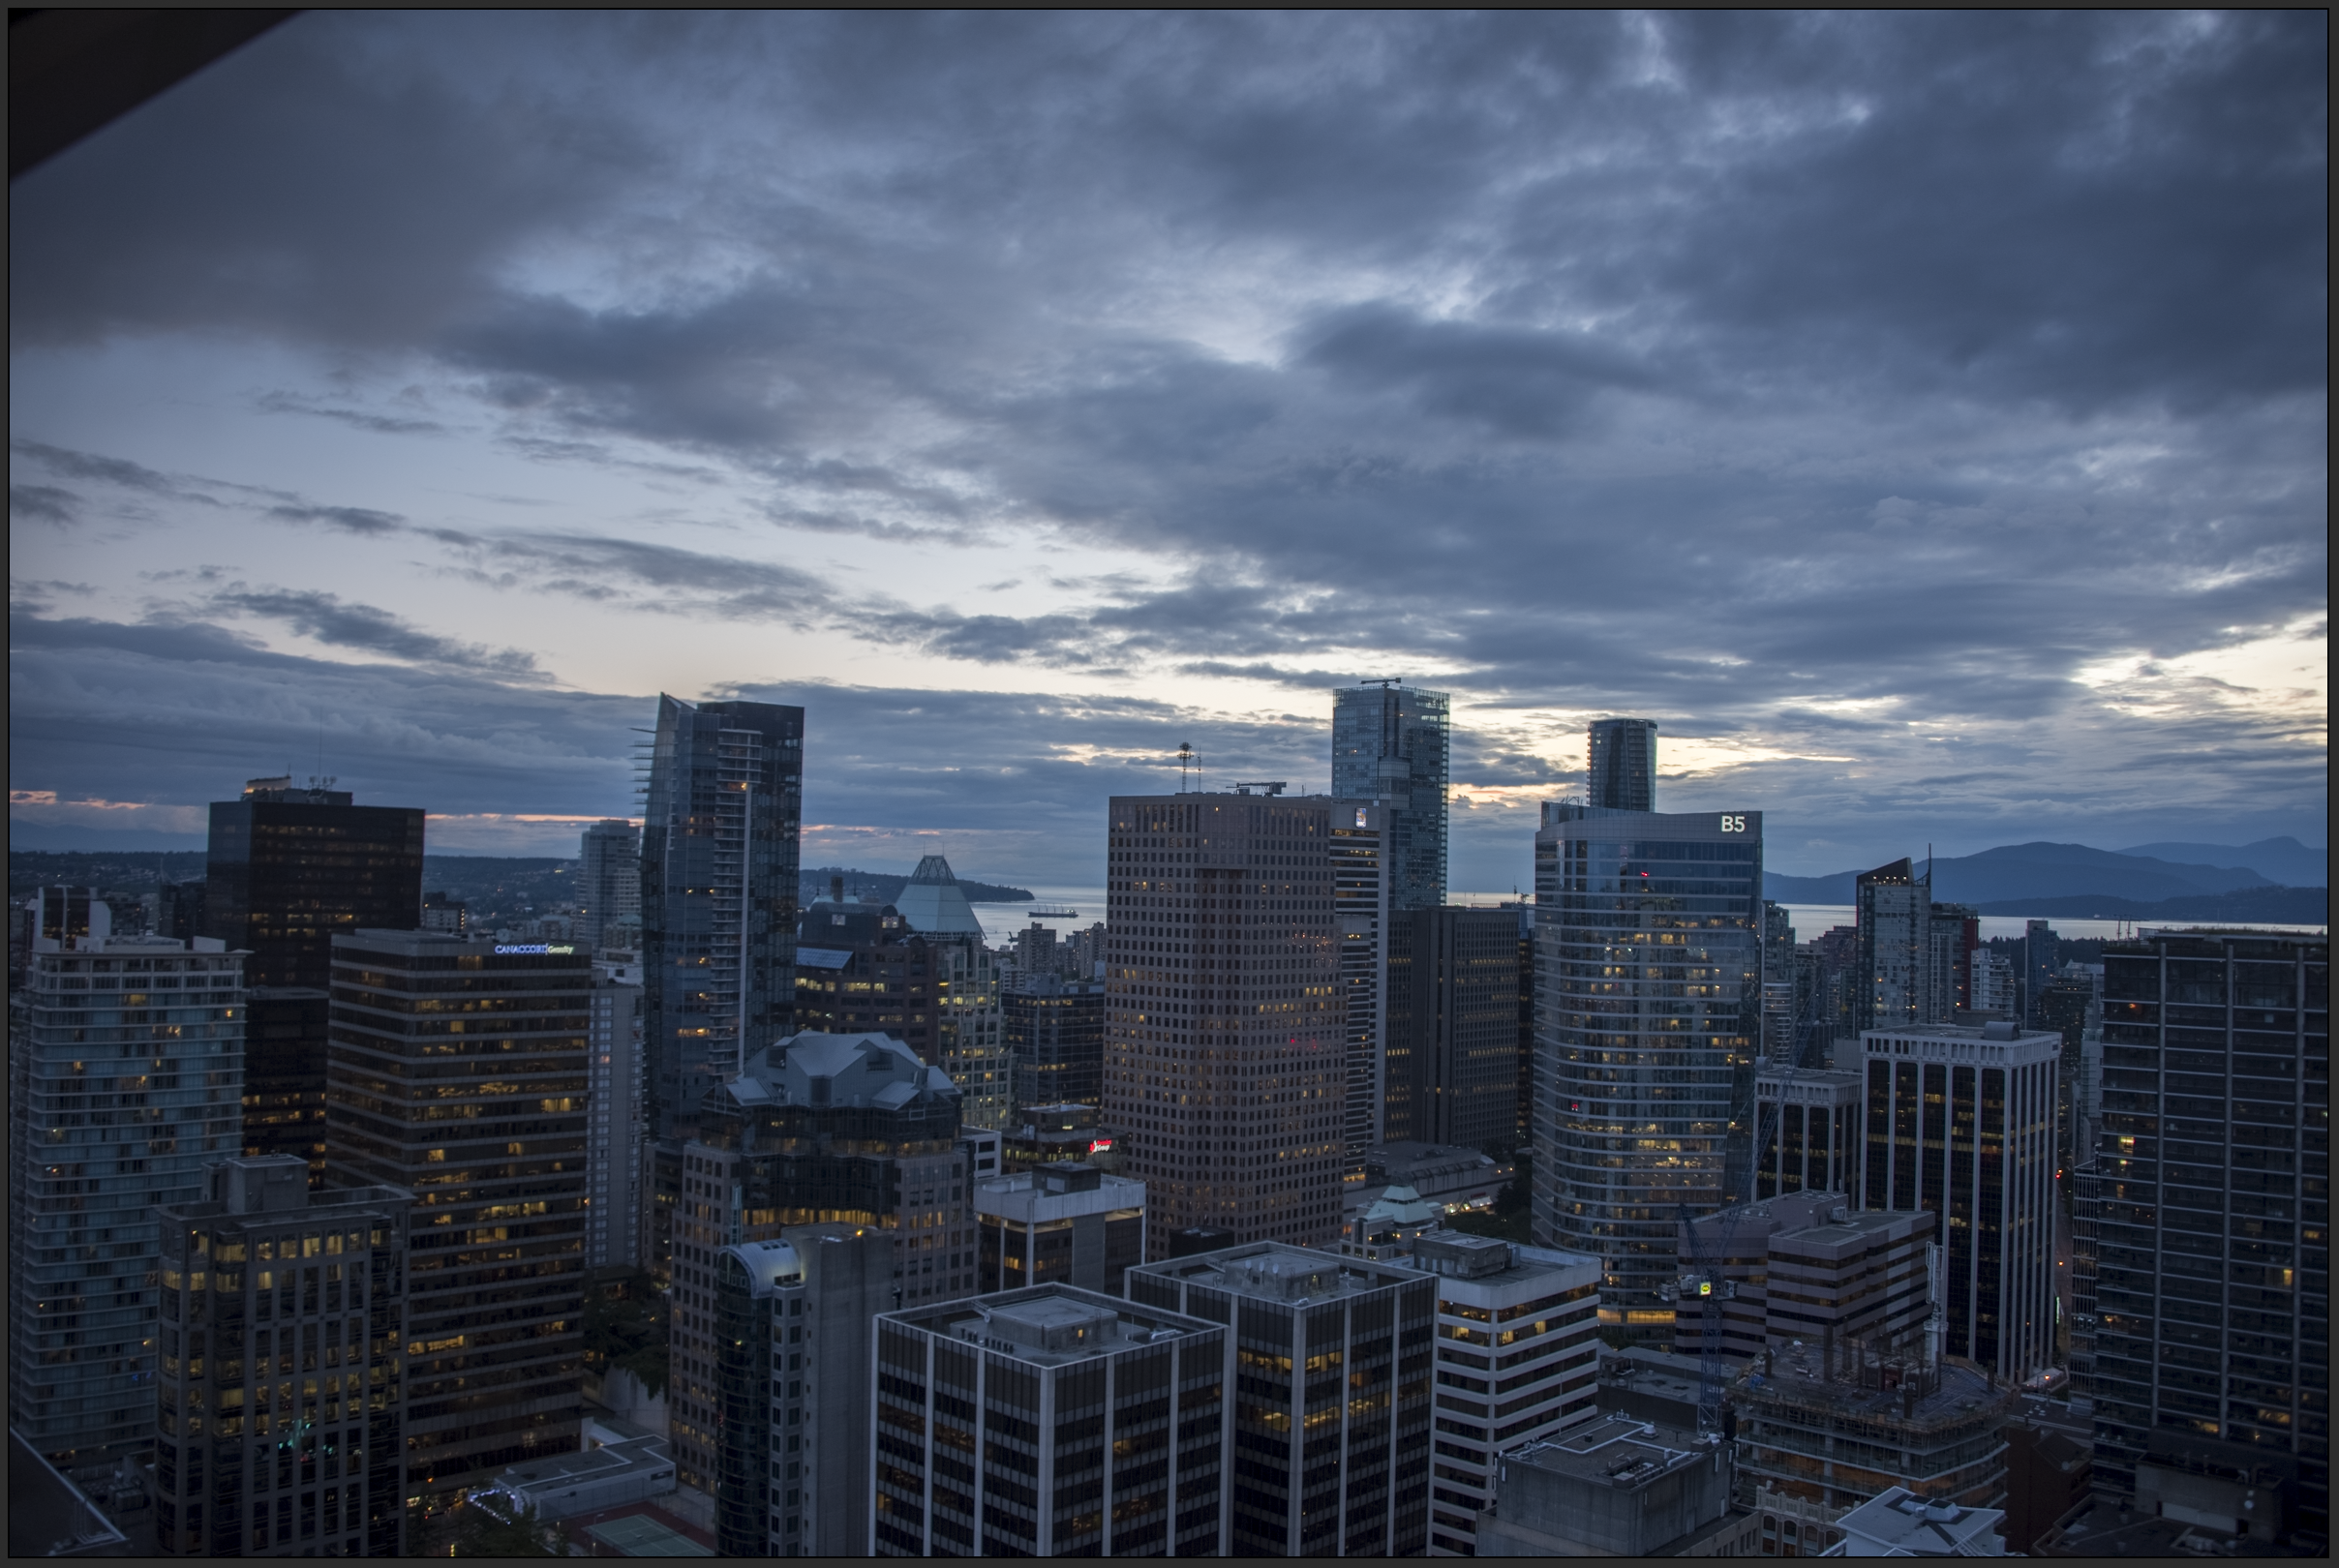
Here’s the shot.

My first move is to make a 5 shot HDR image, which you can learn about here
It’s not essential to use a HDR image, but for this tutorial I will be. What is important is to have a balanced exposure if you aren’t using HDR so that you maximise the potential of each and every pixel.

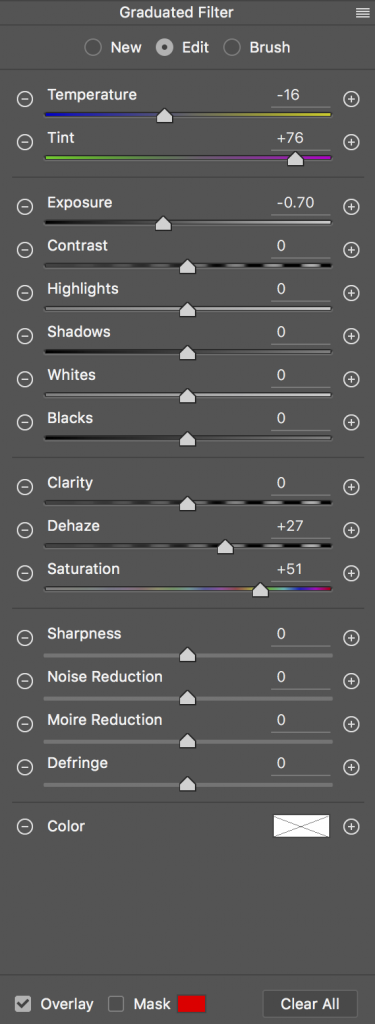
The next thing to do when we’re satisfied that the shot is balanced is to used a Graduated Filter (G). We’re using several sliders here to reach our objective, which is to enhance our sky and make it pop, and also for it to compliment our foreground and allow that to pop too. I’ve changed the Tint quite ferociously to the purple end alongside a slight cooling of the Temperature, dropped the Exposure by around 3/4 of a stop, hitched up the Dehaze slider to bring the detail out of the clouds, and upped the Saturation to really make those colours come out.

We’re using the Graduation Filter here to employ smooth transition across our sky, rather than having the sharp contrast we’d have if we used another method such as the Adjustment Brush. We need to slide our Graduation Filter down the image until the aesthetics are right for what we want, which happens to be the entire image in this case.

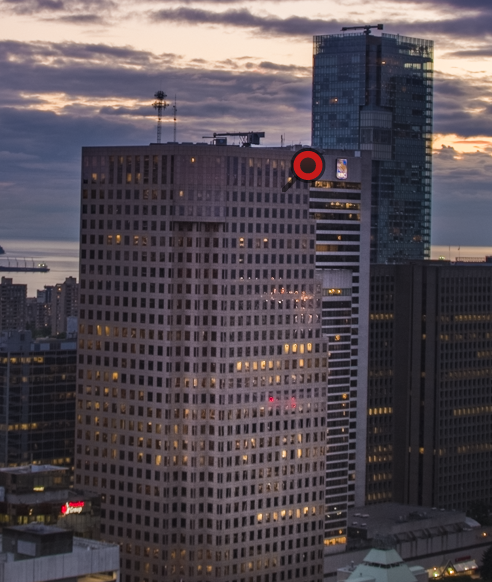
The next step for us is to get to work on the foreground. In this photo it’s the buildings. We can use our Adjustment Brush (K) to selectively adjust elements of our scene. I’ve set my Exposure slider at 1 stop over, slid the Shadows slider up a touch to around +17, and I’ve increased the Clarity slider right up to +75. This adds a shine not dissimilar to a setting sun’s rays onto whatever it touches, as you can see in the comparison images below. It may be necessary to warm up the Temperature slider when you’re painting over the buildings to make the extra light more convincing as the sun.


When we use the Adjustment Brush in these circumstances it’s important to be selective about where we paint in. I’ve tried to make the scene as realistic as possible. You can see from the mask in the picture below where I’ve painted predominantly on the right of the buildings, and I’ve concentrated on the taller buildings where the sun is more likely to still cast at sunset. With the use of the Clarity slider we can enhance shiny objects really well, so any glass or lights that are in our shot end up looking great with this tool.

And that takes our scene to this point, which is nearly finished except for one slightly annoying element which needs to be dealt with.

The shot I started with is a view of the Canadian city of Vancouver taken from the Vancouver Lookout. It was taken through glass and Ive caught one of the pillars up in the top left, but I had to weigh up the whole scene and this was the best place to have the intrusion. I used the Spot Healing tool (B) to remove this unsightly obstruction.

I hope you found this tutorial useful, and as always I’d love to see your results so hit me on social media and let me have a look. I’m Hybrid Dave everywhere you look. Have fun!


Very informative and useful technique. Tipsquirrel’s tutorials have become somewhat pedestrian in recent times but this one is an exception. Thanks!