
Quick Slimming Retouch in Lightroom 5
My first ever tutorial for TipSquirrel was on slimming a subject in Photoshop now, with the release of Lightroom 5, we can achieve that result in a new way.
Oddly the way to achieve this slimming process is found in the new feature in Lightroom 5 which is designed to straighten vertical and horizontal lines; these features are found in the Lens Corrections panel in the Develop module.

Now click on the Manual option
![]()
Its a good idea to click on Constrain Crop checkbox otherwise you will have to crop out the white edge that Lightroom will add. The bottom slider in this panel is for adjusting the aspect of the photograph, essentially making it wider or thinner. If you push the slider to the right (positive) it will make the image thinner and anything in the image thinner too.
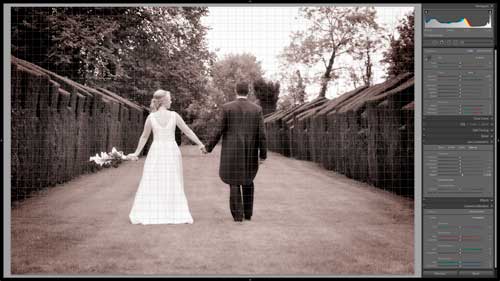
Because the image adjusts dynamically with the slider it is easier to make this kind of adjustment in Lightroom that in Photoshop and you can set up a preset at different percentages to do all the work for you!

Wht a shame Lightroom does not have a liquify tool. A lot of people will not buy it for this reason.