Creating Candy Stripes in Photoshop
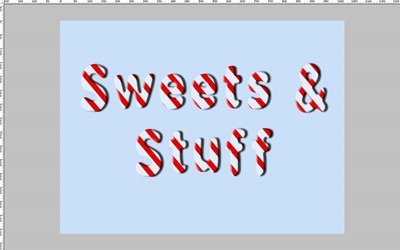
In this tutorial I’ll use a combination of Layer Styles and Clipping Masks to create this ‘Candy Stripe’ effect for my text;
Step 1.
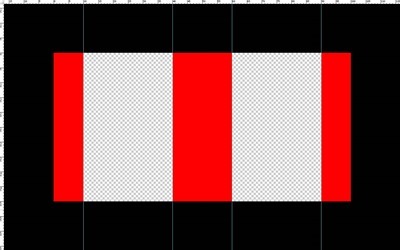
Make a new Photoshop document 100 pixels wide and 50 pixels high, set the background to transparent. Using guides mark out 10 pixels (0-10), 20 pixels (40-60) and 10 pixels (90-100)
step 2.
Set the foreground colour to red (#ff0000) and using the Rectangle Marquee Tool fill the spaces in, fill the other spaces with white(#ffffff).
Step 3.
Select Edit>Define Pattern, name the Pattern Stripes.
Step 4.
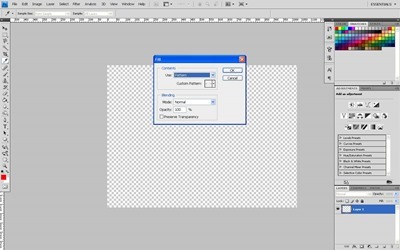
Create a new Document 1024×768 pixels in size with a white background. Create a new Layer called Stripes above the background Layer. Select Edit>Fill>Pattern>custom Pattern, select the Stripes Pattern.
Step 5.
Download the font http://www.dafont.com/sweet-as-candy.font and install it on your system. Create a New layer called Text, write your message – I went for “Sweets & Stuff”. Use the Freetransform tool to resize the text so it takes up most of the canvas size.
Step 6.
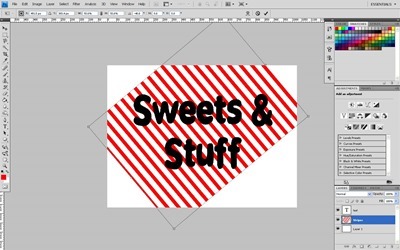
Rotate the Stripes Layer using the Free Transform Tool.
Step 7.
Drag the stripes Layer above the Text Layer and clip them together, Layer>Create Clipping Mask. The Text will now be stripy. The Background colour at this point may need to be changed to view the effect.
Step 8.
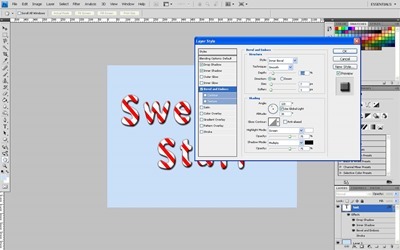
To add realism to the text we simply add a Drop Shadow and Inner Shadow Layer Style to the text Layer. We also add a Bevel and Emboss Layer Style, but increase the Size to 7 or more.
Step 9.
Add a new Layer under the Text Layer, we are going to Merge the stripes Layer, the Text Layer, the Layer Styles and the new Layer together into one Layer. We do this by selecting all the Layers (Stripes, Text, New Layer) and selecting Layer>Merge Layers.
Step 10.
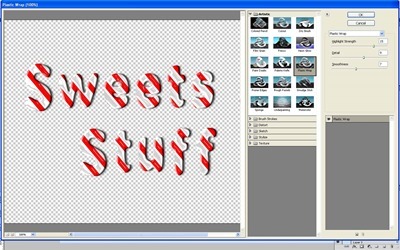
Finally we add a Plastic Wrap Filter to the Merge Layer, Filter>Artistic>Plastic Wrap, leave default values.








Leave a comment