Create a Snow Globe in Photoshop
Continuing with the snow theme from my last tutorial I thought I’d show you a neat way of creating a snow globe from a photo.
Step 1.
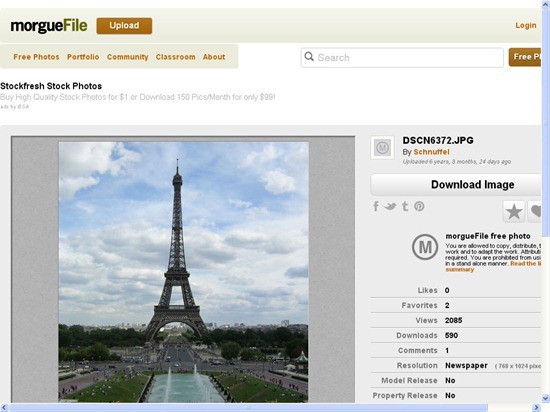
Open up your photo, I used one from Here.
Step 2.
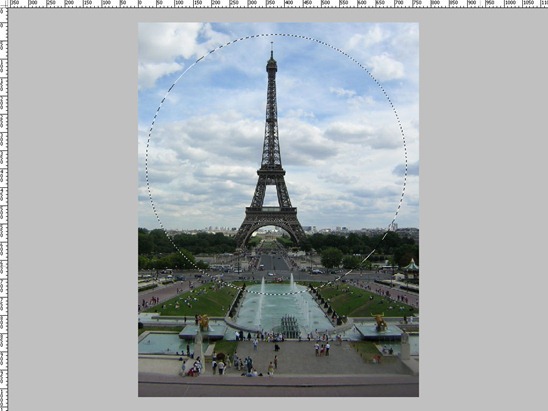
Select the elliptical marquee tool and while holding the Shift key draw a perfect circle around part of the photo, make sure you don’t go over the edge as you don’t want hard edges in this.
Step 3.
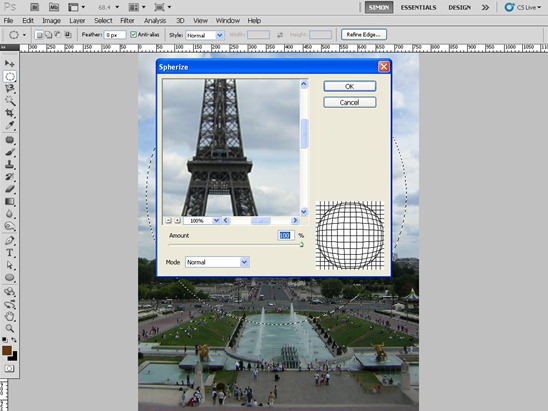
Promote this to a new layer by pressing control / command & J. With the selection still in place (or by holding control & clicking the thumbnail) select the Spherize Filter (Filter>Distort>Spherize). Select mode to Normal and amount the 100%.
Step 4.
Hide the background layer leaving only the newly created sphere. You can now also remove the selection by pressing Control / Command & D. we want the edges of the sphere to be lighter than the middle so add a Hue / Saturation Adjustment Layer above the sphere layer and increase the lightness.
Step 5.
Select a soft edge brush and set the foreground colour to black, paint away the middle part of the globe leaving only the edges.
Step 6.
Change the foreground colour to white and add a new layer. We want to add a curved stripe to add as a reflection, the easiest way to do this is to select the pen tool and change the options to Path. Next create a curve using the pen on the left hand side, finally right click on the line with the pen tool still selected and select stroke path. From the menu select brush and tick simulate pressure. Lower the Layer Opacity to 30% so it appears opaque.
Step 7.
Using the same snow brush as the last tutorial (http://rev-jesse-c-stock.deviantart.com/gallery/2871855#/d13avtz) and add some random snowflakes on a new layer.
Step 8.
Finally using the pen tool and with the options set to shape layer make a stand for the globe. I made a very basic one – but feel free to add more colours or gradients to make it look real.
Hope you enjoyed the tutorial 😀


Leave a comment