Using Photoshop Grids
A little while ago Photoshop got a great New Guides dialogue box, but there’s another way to arrange layers thats been around for ‘ever’ and works great too, reacquaint yourself with Photoshop Grid.
Grids can be put on from the View menu;
or by using the keyboard shortcut of Cmd+’ (Mac) or Ctrl+’ (PC)
This overlays the the grid on your image, but it might not be as you’d hoped, or difficult to see. You can change the look by going into Photoshop’s preferences, Cmd+k (MAC) or Ctrl+k (PC)
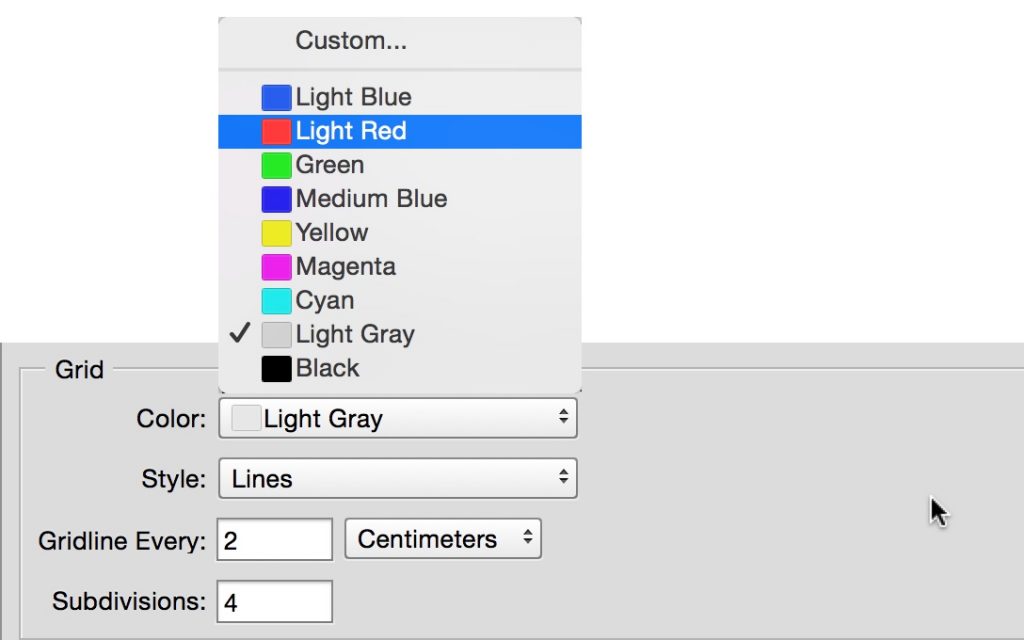
Here you can make things change the colour of the grid to make it stand out a little more;
Change the type of line;
Or what unit of devisions are used;
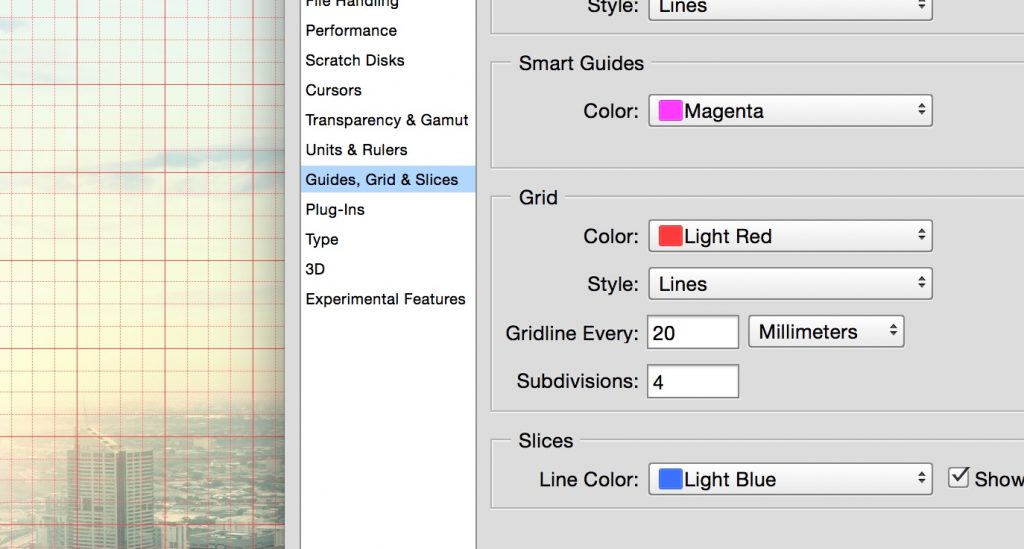
Here you can see that I’ve made the grid really stand out by changing it to red.
Not forgetting that layers can be set to Snap to the grid as well as guides;


Nice job Eric. Keep it up.
Thanks for the great tips!
I love using the grid because it helps me to “see” level when I’m viewing images. Maybe it’s just me, but it seems that sometimes my mind can play tricks on me and I don’t notice when I’m looking at a photo that’s off horizon. The level helps with that. Plus, as you demonstrated, when combined with the “Snap” feature, the grid makes it crazy easy to align objects.
By the way, I also like setting the grid to show the rule of thirds. To do this, I use the following grid settings: Gridline every 100 percent, Subdivisions 3. (You can also set the Gridline to 33.3 percent, Subdivisions 1 to get the same effect.)
Thanks again!
Mary
http://better-photography.com