Lightroom 5 And the new Radial Filter
One of the best new features introduced with Lightroom 5 was Radial Filters. Radial Filters combine the controls of the adjustment brush (exposure, contrast, sharpness etc.) with circle based control points (if you’ve used any of the Nik filters you’ll be used to these sort of control points already).
The new Radial Filters are really easy to use and can be a great tool to improve your photographs.

To access the adjustment panel click on the circle highlighted above or use the keystroke Shift M. Which ever way you do it you open the panel below.
Back in the image area your cursor will have turned into a cross hair which you use to place the centre of your circle: I’ve been saying the filter is circular but it actually allows you to produce any shape ellipsis you wish.
So, to create your filter click on the point you want to be the centre and and drag out to create the desired shape (holding down the shift key while dragging will draw a perfect circle). Once drawn the circle is editable so don’t worry if you don’t get it right first time or want to adjust it later.
Back in the control panel the controls are basically the same as the adjustment brush, you even have access to the same presets. The big difference between the two panels is the found at the bottom panel where you can see a feather slider and Invert Mask checkbox.
The feather controls the hardness of the edge of the circle, if you move it all the way to the left there is no feather at all as in the image below and if you move it to the right the feather gets softer. Unlike the adjustment brush, there is no colour overlay to show the area/feather of a radial adjustment (improvement for Lightroom 6?). As with the adjustment brush Cmd H (Mac) Ctrl H (PC) shows/hides the pins at the centre of the adjustments.
The Invert Mask checkbox is the most simple but most important bit of the filter dialog. By default the filters’ effect is outside of the circle (personally this seems a bit ar$e-backwards especially if you are used to Nik’s control points), when the invert box is checked everything reverses and the effect is inside the circle.
Enough theory, lets start using this thing for real.
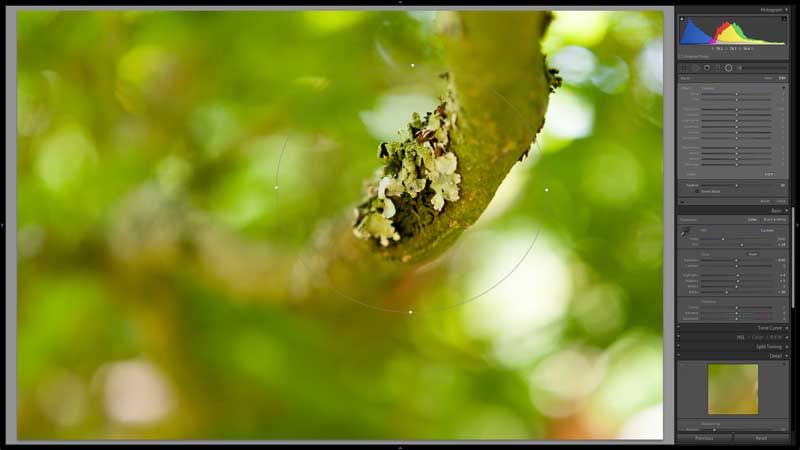
With the image above I wanted to draw the viewers eye in towards the lichen on the branch and also to sharpen it up a tad.
I drew a circle centered on the branch and rotated it to fit. To rotate a filter move you cursor to the edge of the circle, near a control point (the white squares on the edge) and you cursor will change to a double-headed arrow that will turn the circle when moved up or down.
This first point is a vignette but because I have finer control its not simply a drop in exposure. I’ve been able to adjust the highlights and shadows to produce a more subtle effect, I’ve also dropped the clarity a bit.
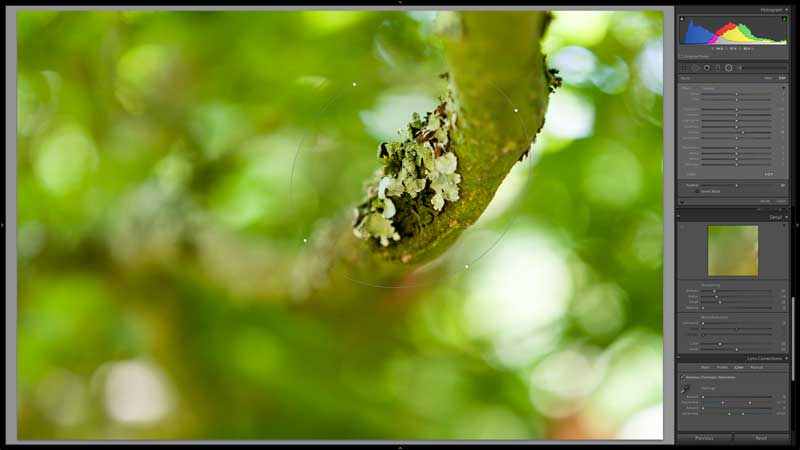
I still have couple of bright bits of bokeh that distract a tad so I’ll click new (at the top of the filter dialog) drop a circle on those, invert the filter so that its inside the circle and reduce the highlights.
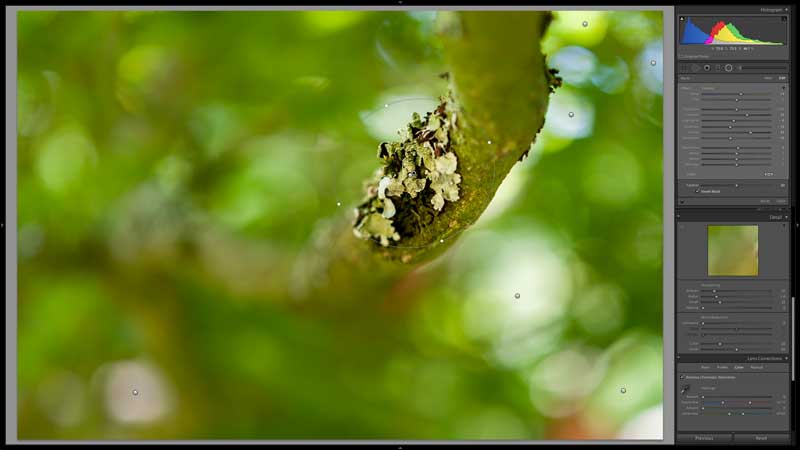
Finally I want to do a little bit of work on the lichen. I’ll up the clarity, contrast and sharpness, lower the highlights, shadows and saturation. I’ve tweaked the temperature to add a hint of warmth to the area too.
Done!
Until I come back to it in six months and rip it up and start again…


I have some macro shots where the bokeh in parts is too distracting. Having just updated to LR5 ,I will give it a go. Good clear info.Thanks