Photoshop’s Pass Through Mode
When you open a New Group dialogue box, you might notice that there’s something a little different in there, ‘Pass Through’. What, you may ask is all that about? Well, let’s take a look.
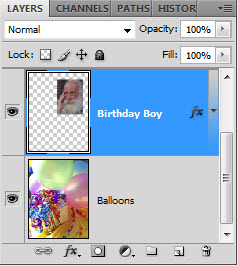
Here’s the layers that I’ll be working on;
You can see I have a bottom layer of a photo of balloons then another layer on top of that of the ‘birthday boy’.
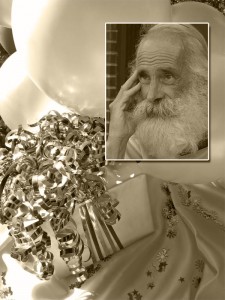
Now I’m going to add a Black and White adjustment layer to the top, with a sepia tint.
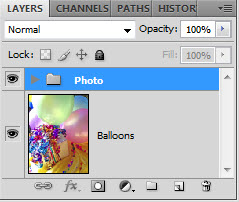
All’s as we’d expect, but I’d like to just have the Birthday Boy in sepia. I’m going to put the Adjustment Layer and the Birthday Boy layer into a group folder by clicking the folder icon at the bottom of the layer palette , I’ll call it Photo, then drag the layers in.
Nothing on my file seems to change here and that’s ok. Most of the time I’d have popped them into a group just to tidy up a bit.
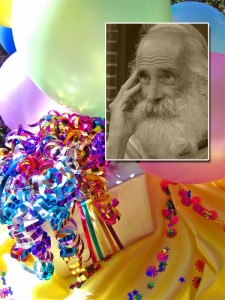
I’m going to head over to the layer pallet and change the blend mode of the group from Pass Through to Normal.
That’s better, that’s what I was after,
The Explanation
Using Pass Through keeps the adjustment layer active on all the layers below it.
Using anything else will mean it only effects the layers below it that are within the same group.


Use this quite often with adjustment layers – it’s not the most obvious thing though!
It had never occurred to me to do this – might be useful instead of clipping all those adjustment layers. Thanks for the tip!