Using the Photoshop Masks Panel
In the past several tips I’ve explored ever more deeply into the art of creating selections. Of course, one of the primary uses of selections is to create a mask, in order to non-destructively hide part of our layers to create composite images. Today, we’ll look at a feature added in Photoshop CS4, and improved in CS5, the Masks Panel. Using the Masks Panel, we can achieve some really quick, non-destructive enhancements to the masks we create.
To illustrate the capabilities of the Masks Panel, we’ll start with a basic two layer composite image. The bottom layer contains a simple texture, like so:
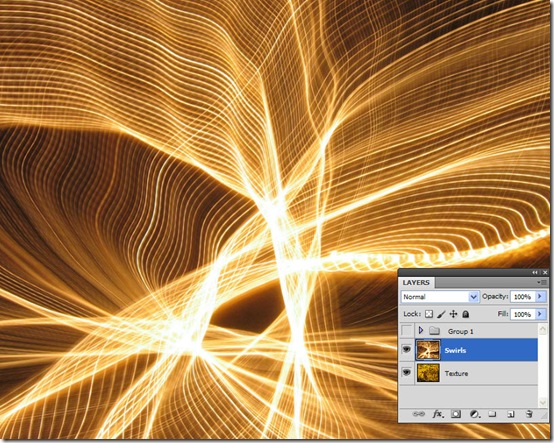
The second layer contains a graphic element, that we want to modify so it is only partly visible. Here’s what we’ll add as the second layer (called “Swirls”):
Next, we’ll create a layer mask using the gradient tool, a mask that will fade the visibility of the top layer. Remember our mantra “black conceals and white reveals.” And recall that any gray color will partially reveal, according to the level of gray. So here’s our method:
1. In the Layers Panel, select the Swirls layer and click the “Add Layer Mask” icon.
2. Select the Gradient tool and choose the Black, White gradient (third one in the dropdown list).
3. With the layer mask active, drag a gradient diagonally across the image:
Notice how the Swirls layer fades out in the gray area of the gradient, and is completely visible in the black area. This is the basic premise of a layer mask.
Now, what about the Masks Panel? Let’s take a look at it now (Window > Masks).
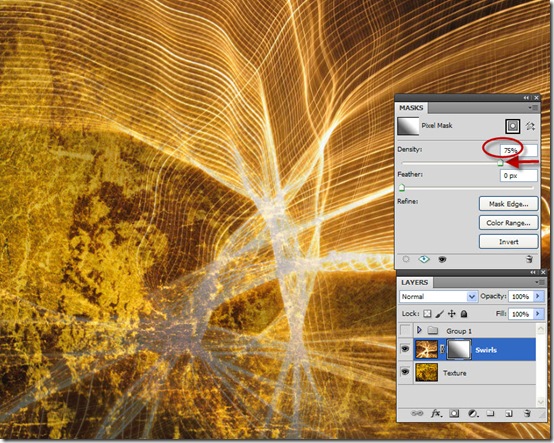
At the top of the Masks Panel, we have a thumbnail of our layer mask. Below that, we have two sliders, which will be the focus of our effort today. We’ll start with Density. This slider controls the opacity, if you will, of the layer mask. It essentially fades the black areas of the mask towards gray and eventually all the way to white. Note that it starts at 100% density.
If we reduce the density, we see the backs in the layer mask trend towards gray – which allows more of the layer to show through the mask. For example, setting the Density to 75% gives us this result:
Notice the change in the layer thumbnail, and the fact that the Swirls layer is showing through our mask over the entire image (although it still has the gradual fade).
The cool thing about these changes using the layer mask, is that they are totally non-destructive, and completely reversible and changeable. You can close the document, shut down your computer, and come back tomorrow, and you can open up the Masks panel and make further changes to any of the controls. In that respect, the changes using the Mask Panel are not unlike Smart Objects.
Let’ look at the Feather control. If you’ve been following this series, you’ll recall that in the tip on selection basics, we created a mask using a basic lasso tool selection, then went in with Select > Feather to give it a soft edge, before creating the mask. Here’s a quicker, adjustable way to achieve this same effect.
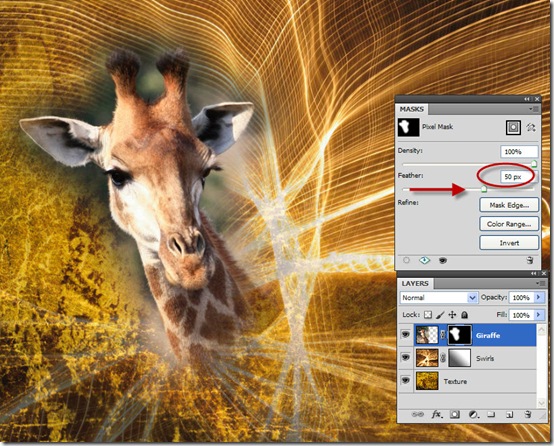
We’ll add a new layer to our composite, and create a very rough (VERY rough) selection with the lasso tool:
Next, we add a layer mask using the same process as above. Remember, when we have a selection active, the layer mask is created according to the active selection:
Now, just adjust the feathering to get a nice soft edge (I used 50%). Again, fully adjustable, non-destructive, and you can change it any time in the future:
I hope this gives you a taste of what the Masks Panel can do, and some ideas for how to use it in your own work flow. Next time, we’ll explore a bit further and look at the rest of the options in this panel. See you then!


Where is the Mask Panel in Ps2015? Someone said it is in the Properties Panel now but I looked and I can’t see it there either and Google Search, nor Adobe’s website is any help. Thank you.
Masks don’t have a panel of their own. If you have a mask selected then the Properties panel is what you’re after, you can also open this by double clicking on a mask in the Layers panel.