Texture Matching
Something I’ve noticed about digital photo restoration tutorials: we do seem to love our “good old dependables”! We embrace our Clone Stamp and Patch Tools, revere our healing brushes and our Curves, and well we should! They are some of the basics of our restoration toolkit! However, in order to learn and grow in our craft, we should always be looking outward from these basics. We need to adapt techniques from other disciplines and even develop our own. One constant source of adaptable technique inspiration, for me, is the venerable Deke McClelland. I’ll be watching a dekepod, usually laughing hysterically, and suddenly I’ll stop laughing, snap to attention and go “Whoa! I can use that!” Nine times out of ten, I actually can use whatever gem he’s offered, and do! This particular gift was gleaned from dekepod #016, Photoshopping the Great Masters at O’Reilly.com.
One recurrent problem that I personally deal with is making a new background match an old photo. Or, for that matter, any portion of a photo that is composited in. This is especially true if a photo has a definite texture. More often than not if this is the case, you’ll be replacing the background, as heavt texture is a booger to fix on something like a gradient background! Here’s an easy way to make your new background look almost like it was there when the photo was taken!

I find it easier to restore the parts of the photo I’ll be keeping before I remove the old background, most of the time. It’s especially helpful when the damage is bridging the main and background elements. Remove the background using your usually methods and find a replacement that will work well in this situation.* Use your transform tools to enlarge it to the size you need, change the orientation and flip it so the lighted portion is in the right area for the photo you’re working with.) and insert it under the remaining portion of the original photo in the layer stack. If the texture of the new background matches the old photo, congratulations! You’re the luckiest person on Earth! The rest of use will need to perform a little magic.

Go back to the original photo, before restoration, and after. Look at both copies and find an area that has a good amount of texture with the least amount of color variation you can find. Select a small section using the rectangular selection tool.

Put the selected area on it’s own layer (Cmd / Ctrl + J). After it’s on it’s own layer, I actually find it much easier to select all (Cmd / Ctrl +A,) and copy (Cmd / Ctrl +C,) and put it in it’s own file (File > New…). But that’s just me. Regardless of where it is, now we desaturate (Image > Adjustments > Desaturate)

and equalize (Image > Adjustments > Equalize.
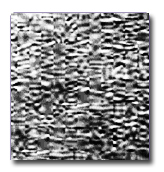
If the texture looks too dark in some areas, and too light in others, use the Clone Stamp tool to even things out a bit. This will help prevent obvious tiling in the background.

Define as pattern (Edit > Define Pattern…)
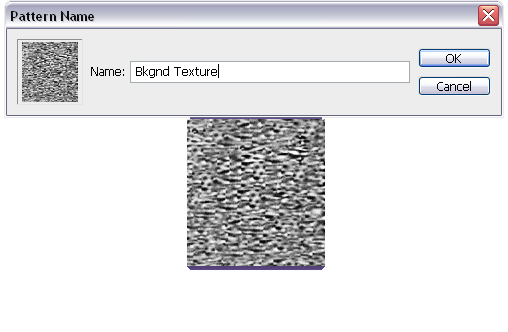
Select the Pattern Stamp tool

Make a new, blank layer above the replacement background layer. Change the layer blend mode to Overlay and lower the opacity to 10%. Using background texture pattern you defined earlier, paint on the blank layer.

With a little work further back in the process, evening out your texture pattern, hopefully you now have a nice, seamless texture that matches the original photo. If not, select another area to sample and repeat the process. Even if you do have to do some of the steps over, it won’t take long and the results are worth it!
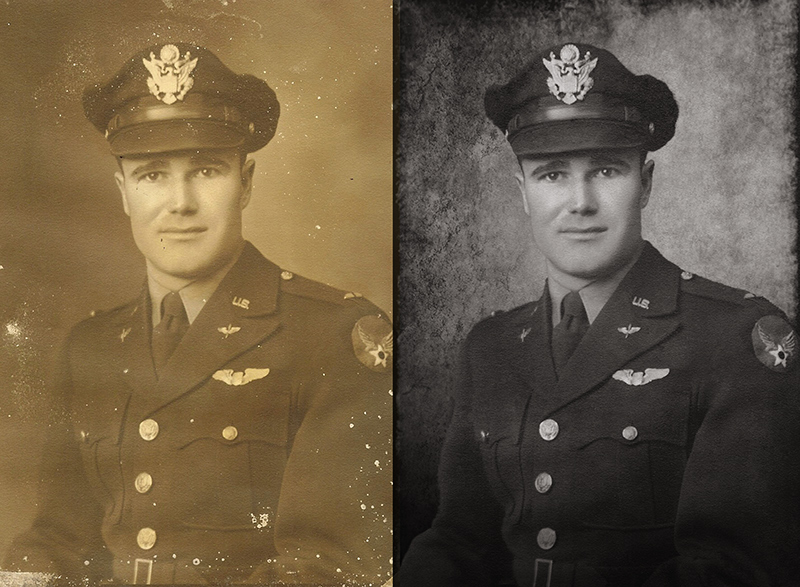
* The background I’ve used as a replacement in this restoration is from my own collection of restoration backgrounds I’ve either compiled from actual antique photo backgrounds or have made myself. This particular background is called “Rhys” and is available for download, here, free for use in your restorations and to modify as needed. I do ask for credit in your metadata and credit plus a link to landailyn.com should you use it for any use online.




Great tutorial! Very useful for adding in skies or background when the sky has been destroyed!. Alas the sample background file is a broken link “not found on server” 🙁
Thanks for pointing that out! The link has been fixed! 🙂