Tangled Webs: Combine and Simplify Paths
In previous tips here on TipSquirrel, we’ve looked at various ways of creating and modifying paths in Photoshop. Today, we’ll explore methods for combining paths using the interaction modes in order to create more complex shapes of our own. In doing so, we’ll weave ourselves a tangled web of paths, but never fear – we’ll find the secret to simplifying our paths and saving them for future use.
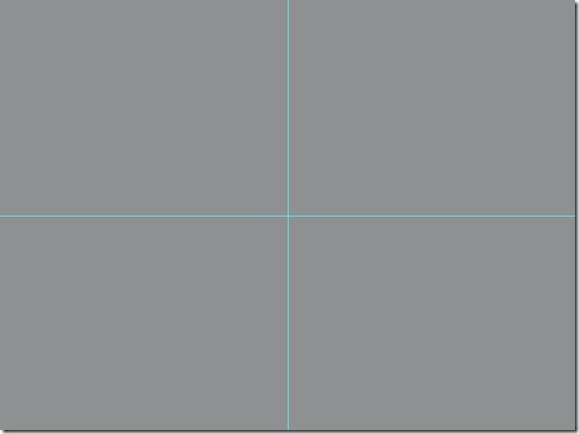
We’ll start with a simple goal for this exercise – create an “envelope” icon using shapes, and save it as a custom shape of our own. To begin, we’ll start with a blank document (I’ve filled the background layer with neutral gray) and we’ll add some guides through the center to help locate our shapes (View > New Guide…, Orientation: Vertical, Position: 50%, repeat for Horizontal):
Next, we’ll choose a blue color for the icon, in this case RGB = 81, 84, 208.
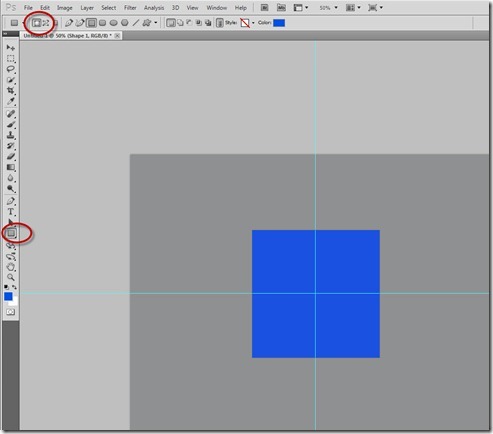
Choose the Rectangle shape tool, set the drawing mode to Create Shape Layer, and click in the center where the guides intersect. As you drag out the shape, hold Shift (to constrain the shape to a square) and Alt (Option on a Mac) (to drag from the center rather than the corner):
Now, we are going to add another square, but this time we will set the interaction mode to Subtract From Shape Area before drawing the square (if the interaction modes are greyed out, make sure the vector mask of the shape layer is selected). Draw a square approximately the same size as the first, but offset a little so you can see the effect. You can eyeball the size, as long as it’s a square (hold down the Shift key as you drag) we’ll be OK:
Notice how the “Subtract” interaction mode causes the second square to carve away part of the first square? Now, let’s move the second square into position. Switch to the Path Selection Tool (Keyboard: A, the Black Arrow) or just hold down the Control key (Command on the Mac) to temporarily get the black arrow, and click the new path:
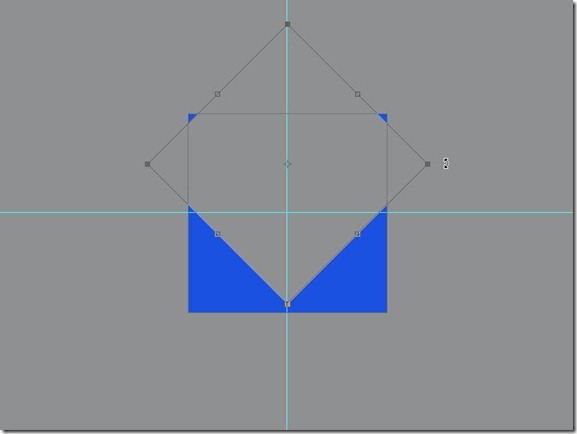
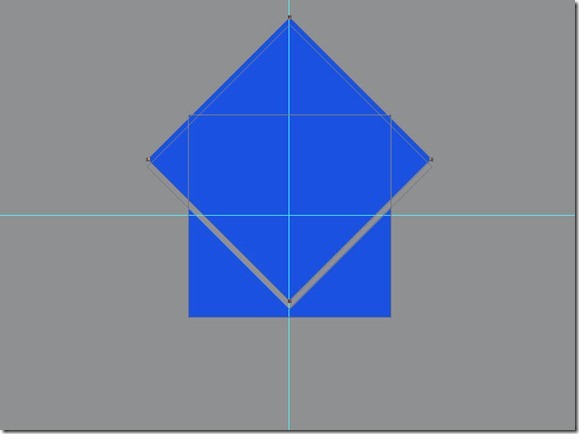
Now, with the path selected, press Control-T (Command-T on a Mac) to enter Free Transform. Move the arrow outside the square to rotate, and hold the Shift key to constrain the rotation to increments of 45 degrees. Drag the shape upwards and let it snap to the center guide so it cuts out a diamond shape like so. Don’t worry about the upper corners,we’ll remove them later:
When the shape is in position, click the check mark on the tool bar, or just press Enter to commit the transform.
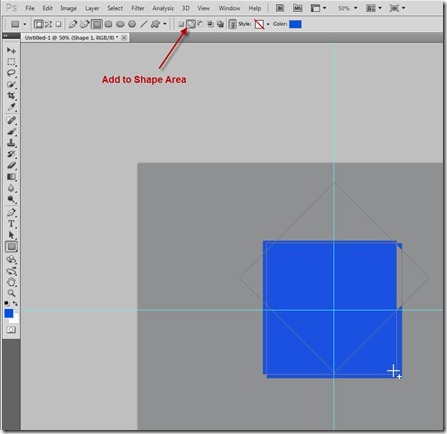
Now, let’s go back to the Square shape tool. Once again, make sure the vector mask is selected on the shape layer. Change the interaction mode to Add To Shape Layer (the cursor crosshair with have a “+” next to it), and draw a third square, just like the second one:
Notice that this square is added to the shape layer, as expected. Now, once again switch to the Path Selection Tool (black arrow) and select the last square. Press Control-T/Command-T again to Free Transform this square, and move it into position just above the second, like so:
Once again, when the shape is in position, press Enter or click the checkmark in the tool bar to commit the transform.
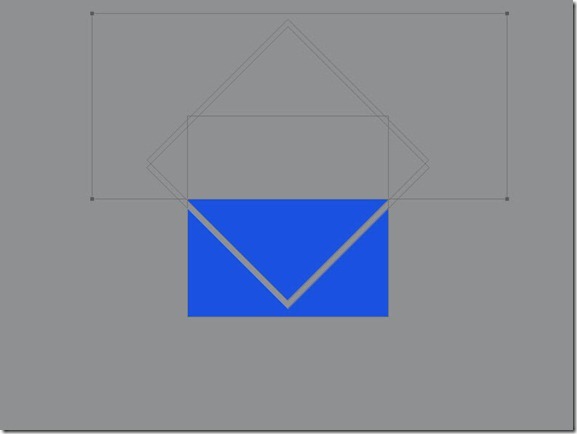
Finally, we will go back to the Square shape tool, set the interaction mode to Subtract from Shape Area, and draw a fourth rectangle to cut off the top and complete the envelope shape. Select View > Clear Guides as we don’t need them any longer:
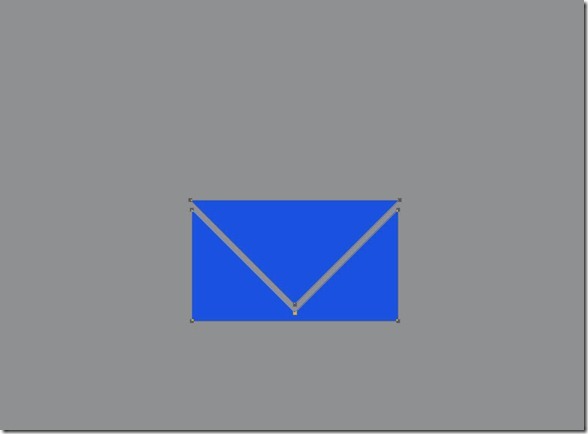
Now, we have a basic envelope shape, but as we can see from the paths still showing, the shape really isn’t very “basic” at all! It’s functional, yes, but if we need several of these, and combine it with other shapes create in this way, we’ll have paths all over the place – making it very difficult to manipulate later.
Is there a way to simplify this? Of course! We can combine these paths together. Start by choosing the Path Selection tool (black arrow) and dragging a marquee around the paths to select them all:
Now, look to the tool bar. With the black arrow active, there is a button labeled Combine that will do exactly what it says. With all the paths selected, click the button, and the path is simplified into a single compound path:
At this point, you can drag the envelop around as a single object, copy it, transform it – it is your very own custom shape.
In fact, we can save this for later. With the shape selected, choose Edit > Define Custom Shape… and give the shape an appropriate name:
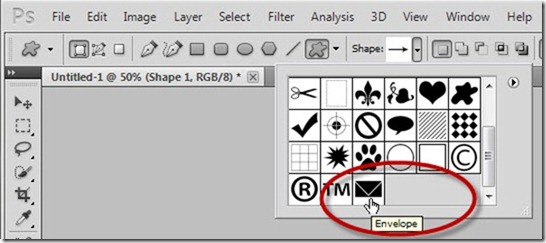
From now on, when you go to the custom shape tool, you’ll find your new shape at the end of the list (if you create custom shapes, don’t forget to save them by using the flyout menu at the right of the custom shape window, and selecting Save Shapes… this will allow you to use Load Shapes… later if you accidentally reset the custom shapes in the panel).
That’s a lot of territory for one day! Combining multiple shapes to create a complex shape, simplifying the complex shapes and paths using Combine, and saving the shapes for future use. Try it for yourself, you’ll be creating your own custom shapes in no time!








Leave a comment