Stencil From Photo
A few months ago I was playing with Photoshop and made a couple of stencil pictures out of stock photos (See them here) so I thought I’d do a short tutorial on how to make them.
Step 1.
Go to Sxc.hu and download a nice picture of a penguin on a white background. The white background makes it easy for us to cut out. Also download the wall photo.
Step 2.
Open the penguin picture in Photoshop and select the Magic Wand Tool, set the options bar to 32 tolerance and tick contiguous. Click somewhere on the white background of the picture – this will select all of the white. Now choose Select > Inverse to select the penguin. Copy this to a new Layer by pressing Control & J together. Now hide the Background Layer.

Step 3
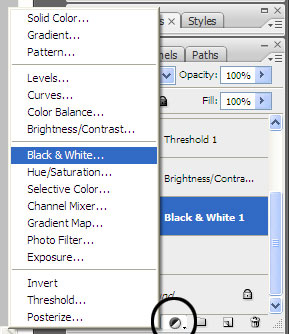
Next we want to turn the image black and white. We do this by simply selecting a Black and White Adjustment Layer by clicking on the Create a new fill or adjustment layer button in the Layer Palette and scrolling to Black and White.
Step 5
As before we want to add another Adjustment Layer – this time choose Threshold. Set the level to around 94 – you may have to play with this a bit to get it right. But we are trying to lose details and increase the black sections without losing detail. Click To Enlarge
Step 6
We want to create a merge copy of our image so far on the top of the layer stack so go to the top of your Layer stack and press Shift, Control, Alt and E together.
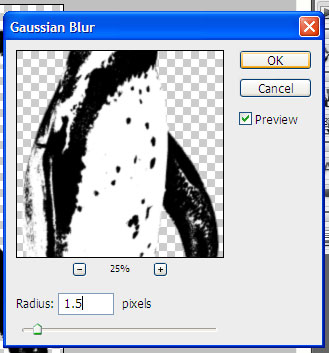
Next add a 1.5 pixel Gaussian blur to this layer.
Step 7
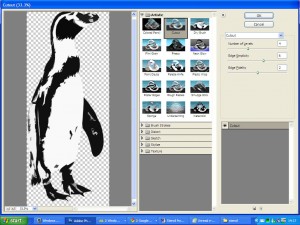
The image needs to be simplified by going to Filter > Artistic > Cutout and set it as in the picture below.Click To Enlarge
Step 8
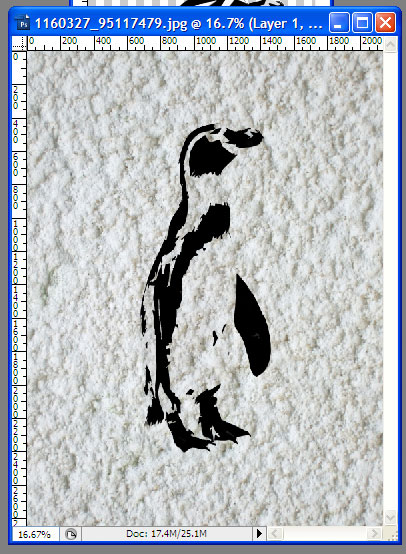
We want to get rid of some of the white parts – so we first use the magic wand tool again to choose the white parts and invert so only the black parts are selected. Next increase the black contrast by going to Image > Adjustment > Levels and setting Input Levels to 0, 0.10, 255
Step 9
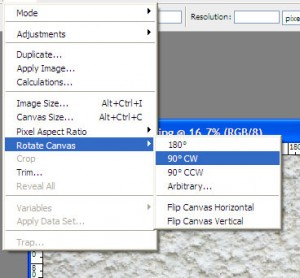
Open the wall picture we downloaded earlier and rotate the image 90 degrees Clock Wise – Image > Rotate Canvas > 90 degrees CW
Step 10
Go back to your Penguin picture and Select all (Select > All) then copy merged (Edit > Copy Merged). Next paste this onto your wall picture.
Step 11.
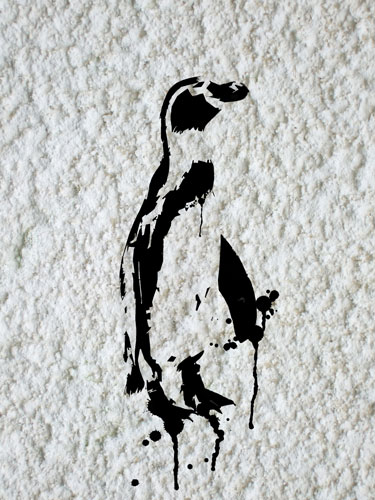
Finally we can add a few splats of paint – go and download and install the brush.
Follow me on Twitter @revjesse
Visit my website
Or my blog
Download the stock files from here







Leave a comment