Star Wars Text and Star Field with Photoshop
I always enjoy the beginning of star wars, the scrolling text gets me in the mood for a sci-fi fest! 😀 so I thought I’d show you a way of faking it in Photoshop 🙂
Step 1
First go to DaFont and download and install the Star Jedi fonts, then make a new black background document.
Step 2
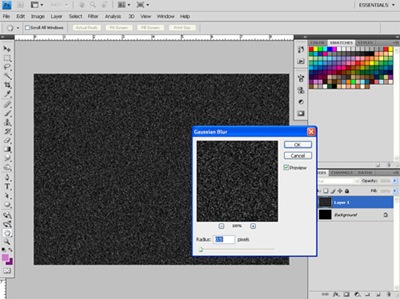
Filter>Noise>Add Noise> 40%, Distribution – Gaussian, monochromatic Ticked
Step 3
Filter>Blur>Gaussian Blur> 0.5%
Step 4
Image > Adjustments > Threshold> move slider till you get a few stars
Step 5
Filter>Blur>Gaussian Blur> 0.5%
Step 6
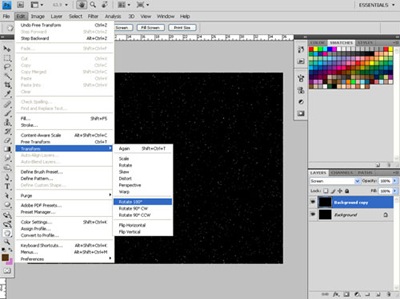
This is where we add more personality to it, first duplicate the background layer (Layer>New>Layer via Copy) and flip it 180° (Edit>Transform>Rotate 180) and set the new Layer blending mode to screen to let the stars shine through.
Step 7
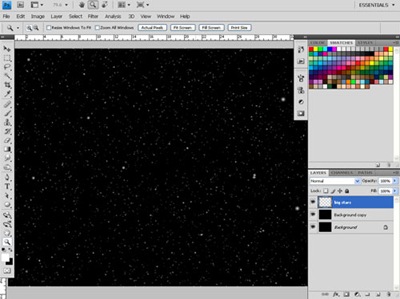
Next increase the size of the new Layer to around 150% Edit>Transform>Scale then set the amount to 150% in the options bar. Make a new layer named big stars and using a soft edged brush set to around 5 pixels and your foreground set to white paint in a few random larger stars.
Step 8
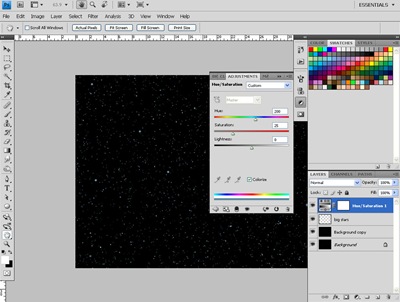
Add a hue/saturation adjustments Layer and click colourize, next move the hue slider to 200 leaving saturation at 25 and brightness at 0. this will make the stars slightly blue.
Step 9
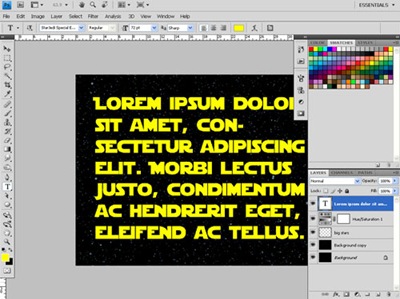
Select the text tool from the tool bar, set your colour to yellow and choose one of the Star Wars fonts you installed, next draw out a large rectangle on your screen using the text tool and fill it with lots of words 😀
Step 10
Right click on the text layer in the layer palette and click Rasterize text, then go to Edit>Transform>Perspective, bring the top in making it smaller but leave the bottom wide. Finally move the text if you want to a more central location 🙂
Step 11
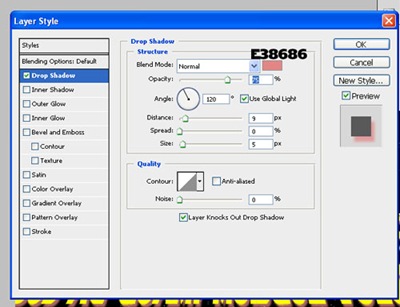
finally add a drop shadow layer style to the text, I used the following settings…!
Thats about it, if you have an suggestions for further tutorials please give me a shout at simonrudd.info 😀








How about converting the text layer into a Smart Object, thereby keeping the text editable?
Jim, that would only work with CS4 and above; you can’t distort a Smart Object in perspective in CS2/3.
As usual, when an “expert” produces a tutorial the first, critical step(s) is(are) ignored. in this case the parameters height, width and pixels/inch of the image are not specified so all the following steps are distorted until one can somehow guess where he started.