Repeating Patterns with Photoshop Actions
First of let me just say – Happy New Year 😀 This tutorial will let you create a cool repeating pattern using actions.
Step 1.
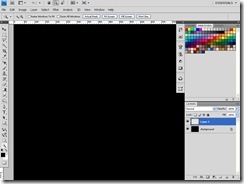
Make a new Photoshop document – I’m using a canvas that is 1024×768, as always you can set your own size if you want. Make the background black by pressing D on your keyboard followed by ALT and Backspace (or go to Edit>Fill>Black). Finally make a new Layer above the background Layer called Pattern1.
Step 2.
First select the brush tool and choose a small hard edged brush set to about 5 pixels width and set the foreground colour to white by pressing D followed by X. Next grab the pen tool and set it to paths in the options bar, draw a wiggly line across the canvas. If you don’t like the pen tool you can just draw a line with the brush tool.
Step 3.
if you are using the Pen tool, you now want to right click on the line and choose Stroke path from the menu. This will open an option screen where you can choose Brush from the drop down list and tick Simulate Pressure.
Step 4.
You should now have a nice line on a layer called Pattern1, we are now going to create a Action. The action window can be found by going to Window>Actions or by pressing Alt+F9. At the bottom of the window you will see a number of icons, click the one that looks like a folder. This will create a folder, name it Repeat.
Step 5.
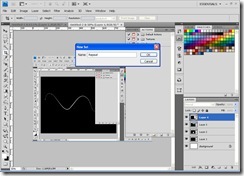
We now want to make a new action within the Repeat Folder, first click the New Action icon, it looks like the new layer icon. From the window that loads set the name to Repeat Pattern in set Repeat. Finally set Function Key to F2 with Shift clicked – this can be set to any function key you want. But i’m choosing Shift and F2.
Step 6.
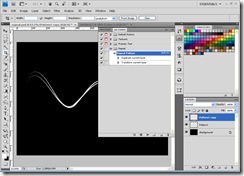
We now want to start recording our action by pressing the small red “record” icon. Next make sure you are on the Pattern1 Layer and go to Layer>Duplicate> accept the suggested name. Next go to Edit>Free Transform>. From the options bar select the Rotate option to 5, this will turn the layer 5 degrees. Finally click the Tick on the top right hand side to accept the changes then click the Stop icon in the action Button.
Step 7.
Add a Outer Glow Layer Style – Layer>Layer Style>Outer Glow> Keep the colour, but change the Spread to 7 and Size to 18. finally click OK. If you created a 2nd Pattern Layer when you created the action then add the same Layer Style to it.
Step 8.
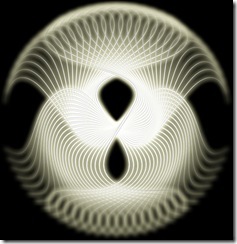
Run the action a load of times until you have a nice pattern….
Step 9.
Finally I grouped all the layers together and created a group(control & G), duplicated(Drag the group folder to the new Layer Icon) and flipped it (Edit> Transform>Rotate 180). That’s about it, you can change the options in the layer styles if you want for different effects.










Great, this really is exactly what my wife and I required to learn