
Recreating Lith Grain in Photoshop
This week I’m going to show you how to recreate a black & white effect that was all the rage back in the day when I used to spend hours stuck in a darkroom straining over a hot enlarger…
You will need an image converted to black & white to start with. So, create a black & white conversion in whichever way you wish & flatten the image before you begin the lith effect.
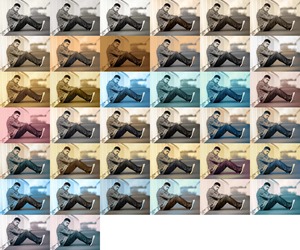
Please note the grain effect is quite subtle and is hard to see in the lower resolution images used in this tutorial.

- Duplicate the background layer (Cmd J (Mac)Ctrl j (PC))

- Create a Hue/Saturation adjustment layer and dial in Hue – 45, Saturation – 18 and make sure the colorize button is checked


- Now alt click on the new layer button

- In the dialogue button change the mode to overlay, and check the fill with 50% grey button. The fill with button will not be visible in normal mode so don’t be alarmed if you don’t see it at first.

- Now select Filter – Artistic – Film Grain

- Dial in these settings Grain – 8, Highlight Area – 3, Intensity – 4 and click OK

- Select Filter – Blur – Gaussian Blur

- Set a blur of 0.3 and click OK

- Create a curves adjustment layer and create a subtle s curve to add a little extra contras and you are done.

The settings for these effects are not set in stone and please feel free to have a play with them to create your own effect.


Hi All
I’ve have been made aware by a reader that this tutorial does not work with 16bit TIFF files. I was unaware of this problem so apologies to anyone who has had a problem.
Richard
Richard,
Will this work on Photoshop Elements V10 as well?
Hi James
I’m afraid I’ve absolutely no idea if it works in Elements, Sorry
Richard