Receding Background
Janine’s course, Photo Restoration with Photoshop, is now available on Lynda.com
Here’s a super simple way to add a little depth to an old image just by making certain elements stand out from the rest.
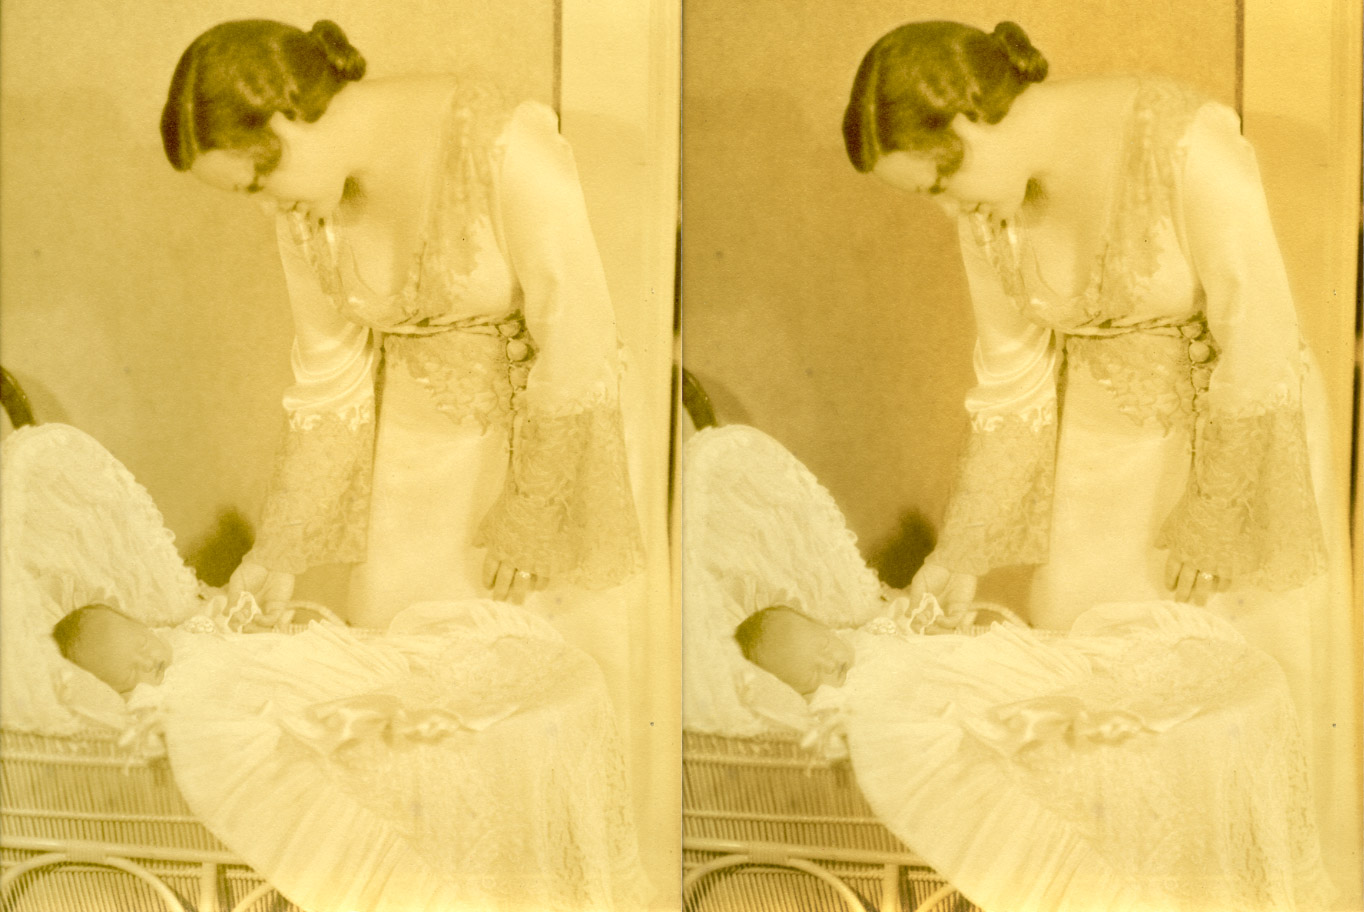
This is a great image taken from my current scanning project. There’s not much wrong with it at all, maybe a tiny speck or spot here and there and the color isn’t really to my taste, but the composition and overall condition are wonderful! Still, it could use a little something to make the mother and baby stand out a little from the background and it one simple step, they can!
All you have to do to accomplish this fairly dramatic transition is to darken the areas behind your main subjects, the mother and child in this case, to make them recede and bring the main subjects out.
After you have your image open in Photoshop, add a Curves Adjustment layer by going to the Create New Fill or Adjustment Layer icon at the bottom of the layers panel.
Bring the Curves histogram from the center down towards the lower right hand corner to darker the image.
There are many ways to make the mask, of course, but I just “drew” the mask in. You can mask the background the way you like best!
After your mask is done, go to Filter > Blur > Gaussian Blur and move the slider to a point where the edges are just slightly softened, to blend the sharp edges.
Now lower the Opacity of the mask. I used the value of 85%. 100% was a little too obvious, but I still needed the darkening to be enough to make a difference.
And that’s all there is to that! Just this one simple step brings out the central subject, causing the background to recede and the foreground to stand out in a very subtle and natural way!


Brilliant tip, I keep seeing this sort of problem with old images I have but the fix I tried was, well, useless! Shall be using this one. Cheers.