Photoshop Blend Mode Basics – Part 3
By Mike Hoffman
Thank you all for welcoming me back to TipSquirrel.com! This week, we’re going to continue our exploration of blend modes in Photoshop. In the past two installments, we reviewed layer blend modes, and looked at some examples of what the “Screen” and the “Multiply” blend modes can do for us. This week, we’ll dig into Photoshop and uncover some of the hidden nooks and crannies where these blend modes are put to use within the program – and learn some ways we can use this to our advantage.
Let’s start by taking a look at layer styles. The standard styles that ship with Photoshop have descriptive names, but as Bert Monroy always says, “it’s not what they’re called, it’s what they do.” Today, we’re going to learn a bit more about what layer styles do. Let’s start with this image-in-progress:
We have just added some text to the bottom of the image, but there’s no real “pop” to set the text off from the background. We could try a drop shadow, but adding a drop shadow to a black background wouldn’t have any effect all – or would it? Let’s add a drop shadow and take a closer look at the settings in the layer effects dialog box:
If you’re reading this column, you’ve surely added drop shadows many times, and most likely dragged the sliders for distance, size, spread, and maybe even opacity. But take a closer look at the top, and what’s the very first option? Blend mode! And, the default setting is “Multiply,” the blend mode of shadows. And, the color is set to a default black. However, we don’t need a black shadow on our black background; we need something quite the opposite. Let’s consider changing this blend mode to “Screen:”
OK, nothing happens. Why? Because black color, when set to screen mode, becomes invisible, as we learned in Part 1 of this tutorial! So, let’s try a lighter color to go along with our screen lightening mode. Change to color to white, tweak the distance and size just a bit, and voila:
Our drop shadow becomes a drop glow! Yes, while multiply is the blend mode of shadows, screen is the blend mode of glows, and the glow can be any color – you can even pick one to match your image, and with screen mode, as long as it is lighter than the background, this will produce a pleasing glow effect.
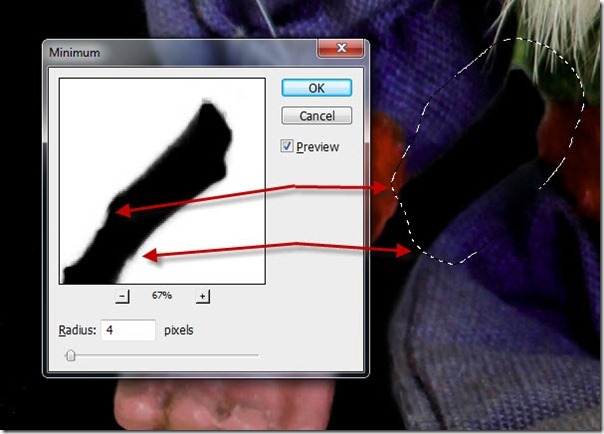
Now, let’s take a look at another problem area. While the leaping man looks good against the light background, suppose we needed to place him on a dark background. We make the change, and then – we find that we didn’t do such a good job in extracting the figure from the original background, and we have a dreadful fringe:
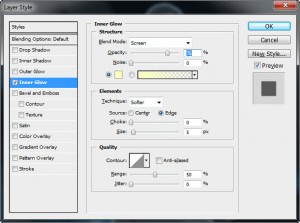
We can fix it with another layer style: Inner glow. That’s right, we’ll use a glow, but with the help of blend modes, we can achieve a different result. Let’s start by adding an inner glow to the jumping man:
Now, looking at the layer styles dialog box, we see that the blend mode is set to a default of “screen,” and a color of light yellow. Our figure now has a ghastly yellow glow, and the fringe is worse than ever.
Let’s jump in and make a change! “Screen” becomes “Multiply,” and the color yellow changes to a dark color sampled from the man’s trousers. Suddenly the light fringe blends in with the background, without a lot of messy selection, erasing or masking. Again, we’re using black in this example, but this could easily be any color necessary to produce a good blend between the subject and background.
Why not use “Inner Shadow?” Because, Inner Shadow is a directional effect, similar to drop shadow, and is only visible on one edge of our subject. By using an inner glow, which appears around the entire perimeter, we can change the glow to a shadow with the Multiply blend mode, and get exactly what we need!
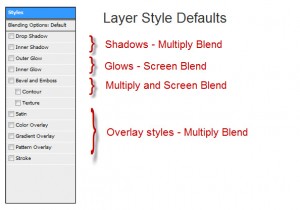
As you can see, the layer styles in Photoshop offer a new dimension of flexibility once you understand and start to apply the blend modes. A quick glance at the layer styles available shows that they are spilt into several groups according to their default blend modes:
The real power comes when you start experimenting with those blend modes, changing them to suit your needs. I encourage you to get in there and give it a try; the more you experiment, the more creative avenues you’ll discover.
Next week, we’ll start digging into Overlay blending. Do stick around!


Leave a comment