'Painting' A Better Black & White
Last week we looked at one way of improving a grayscale image by bring back, and tweaking, color channels. This week, we’ll enliven a flat black and white image by “painting” in tones.

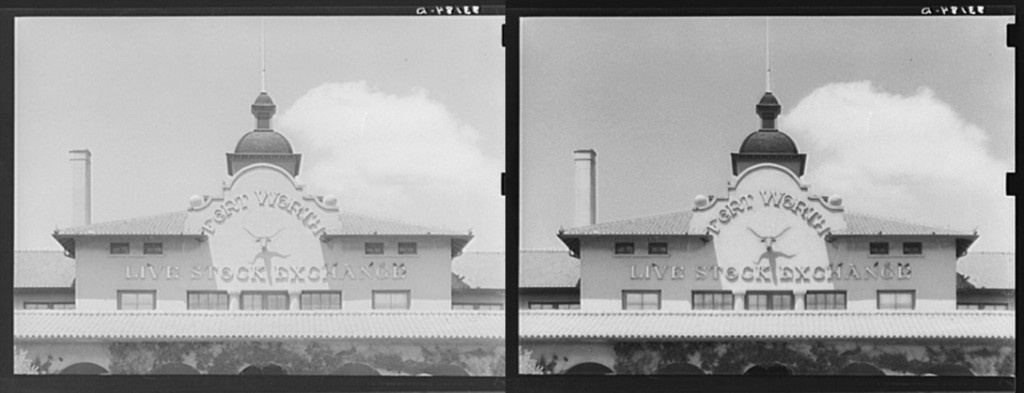
This image, from the Library of Congress’s public domain collection, was scanned in grayscale, so the first thing Iwant to do is go over last weeks article and restore the RGB color channels.

Now, to return it to it’s black and white state, we’ll put a Black & White Adjustment layer on it. Scroll through the available presets, or make the adjustments yourself to find a look you like for a starting point. I liked the Infrared preset for this photo.

I felt the detail in this photo was a little ‘soft’, so I put a little bit of sharpening into it with the good old reliable, you guessed it, High Pass Filter. While in the filter interface, I mainly kept an eye on the letters on the front of the building, as that was the most important thing to crisp up to my way of thinking. I went rather high with a radius of just around 80%.
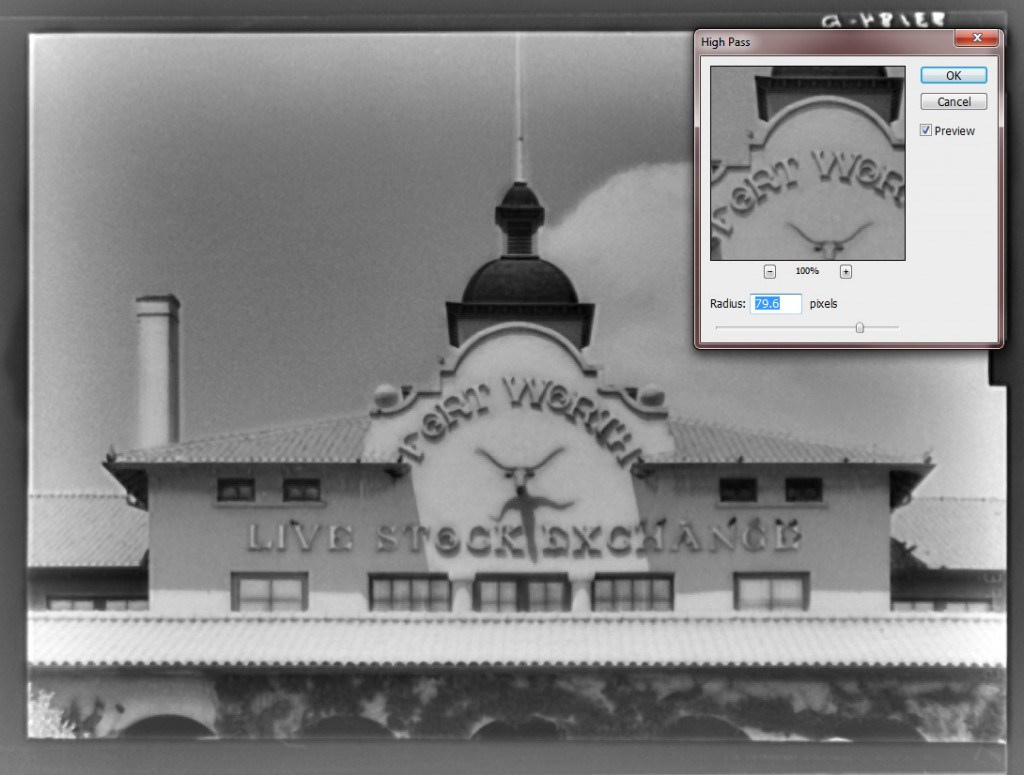
Conversely, we now want to soften the sharpening just a bit to make it less harsh. Go through your Layer Blend Modes to see which works better for you and your particular photo. I went with the Soft Light blend mode and brought down the Opacity to 50%.

Now for the ‘painting’! If you have Photoshop CS4, make a Curves Adjustment layer. If not,the Curves layers are destructive (you can’t go back and edit them at will) but there’s a way you can make them editable: begin by duplicating all your layers, thus far, by selecting the last visible layer and using the Ctrl+Shift+Alt+E (Cmd+Shift+Option+E on a Mac) keyboard shortcut. Next, go to Image > Adjustments > Curves and bring the Curves Histogram down towards the lower right hand corner to darken the tones, click OK.
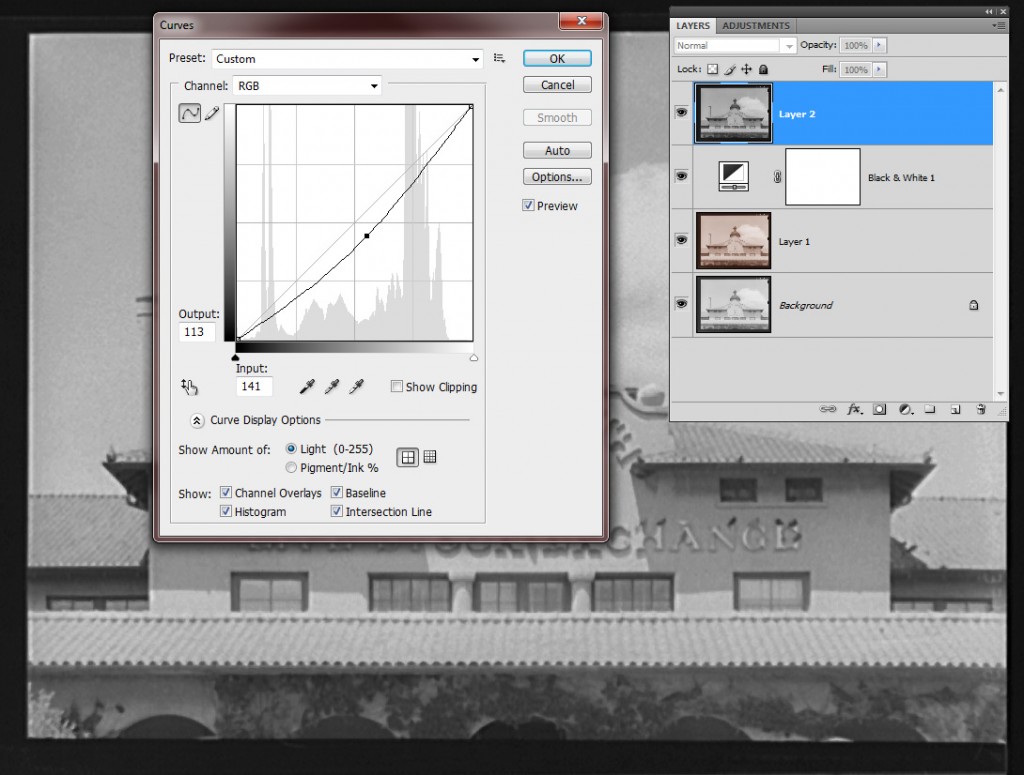
Now add a layer mask to the curves layer.
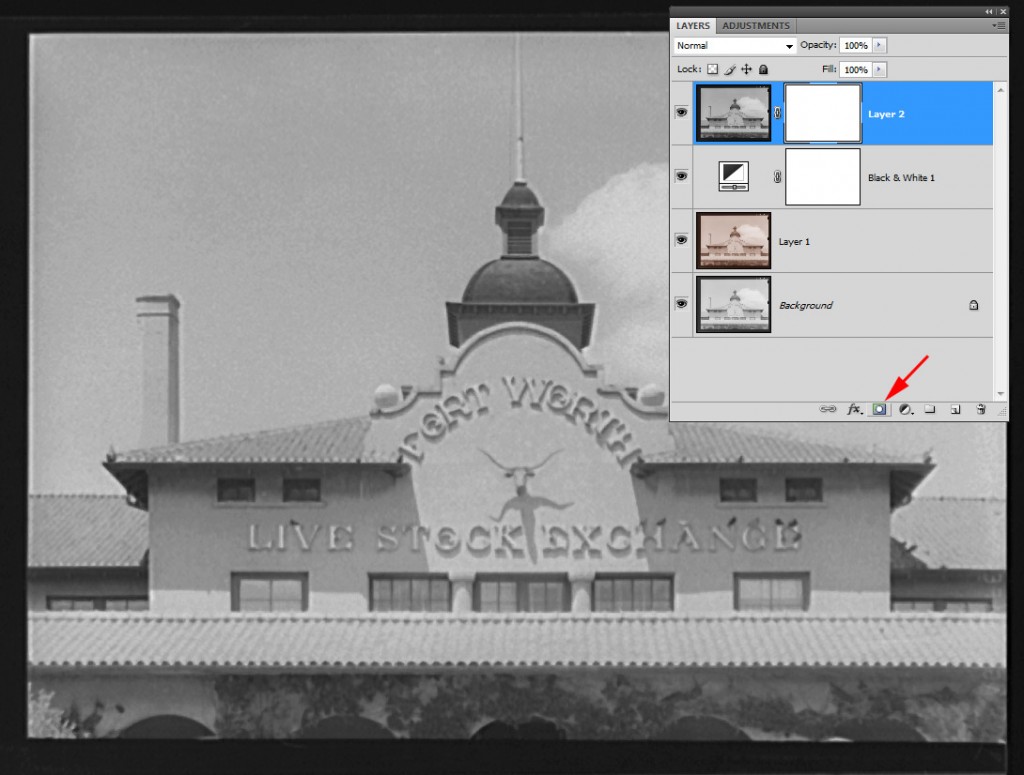
Fill the mask in with black. With white as the foreground color, begin painting in the darker, shadowed areas of the photo. When you’ve painted in all areas you like, use a light Gaussian Blur over the mask to blend the areas.

By taking the Curves Histogram up towards the top left hand corner, you can make Curves Adjustments to the lighter tones, resulting in even more of a tonal contrast.
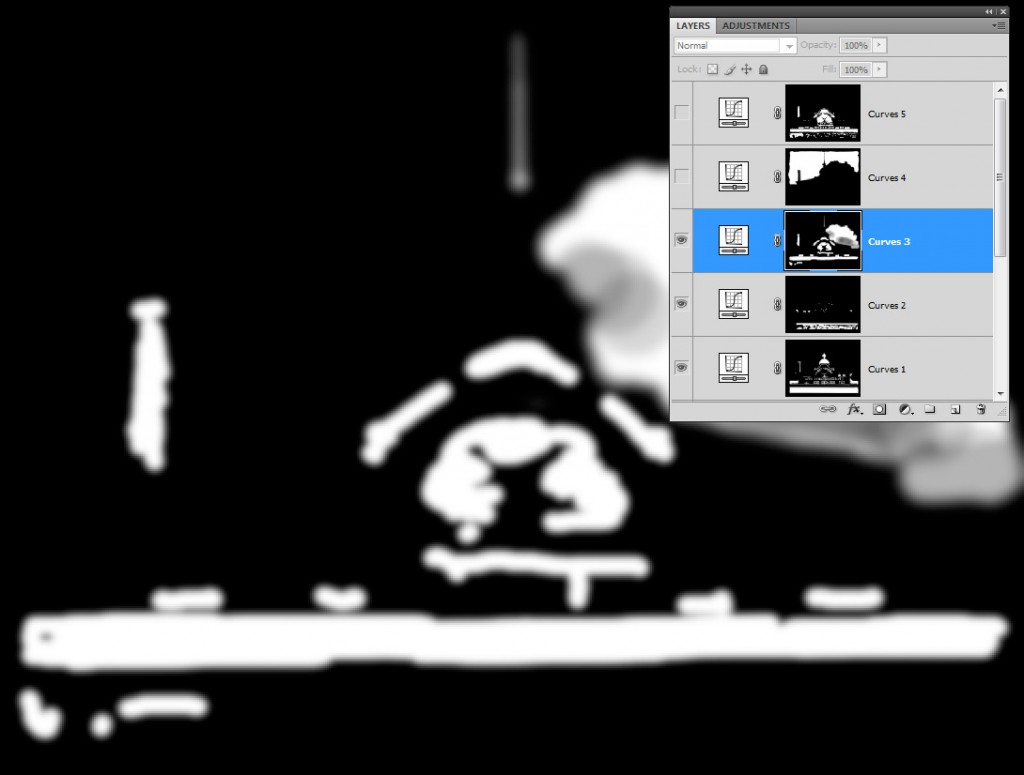
The Curves Adjustment layers should be done in, literally, layers, combining the darker and lighter tones and different opacity’s to reach a pleasing result.

Subtle changes that result in a rather dramatic difference! With a little patience, you can have a much better black and white!
Next week, a simple way to mellow out a harsh black and white!


Leave a comment