Nested Smart Objects Part 2
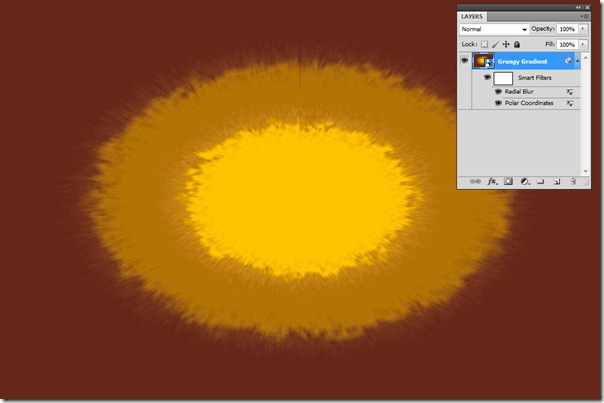
In last week’s post on creating nested Smart Objects, we had created the image below, which was to serve as a celestial orb in our twilight desert scene. We built up this object from a basic Photoshop layer, wrapped in a Smart Object, with Smart Filters applied, and wrapped that in yet another Smart Object with more Smart Filters.
In this installment, we will finish off our composition, but not before encountering some challenges with Smart Filters, and not without learning how to make changes in nested Smart Objects. Let’s begin!
For starters, we are going to want a smaller orb. At the moment, this Smart Object fills the entire image, and we need something much smaller. If you recall from my earlier introduction to Smart Objects, we can transform this object to any size, while retaining the full detail within. So, let’s go ahead and try to scale this down to about one-fourth the size.
With the Smart Object layer selected, choose Edit > Free Transform (or press Ctrl-T/Cmd-T). But wait, what’s this?
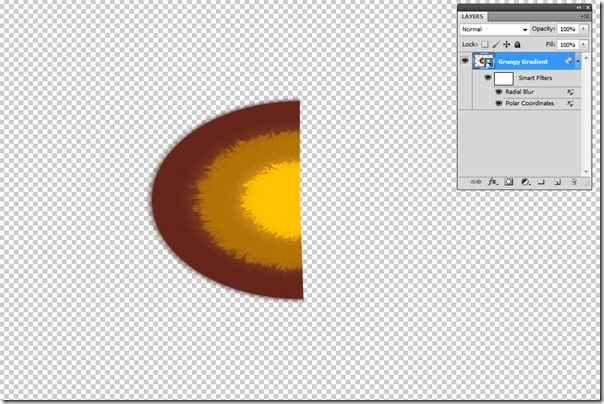
Not to worry, this is only an informational warning. But, let’s examine what it says: during the Free Transform operation, the filters will be turned off. So, we won’t be able to see our Radial Blur and Polar Coordinates effects that we applied at the end of last week’s exercise. Let’s click OK, and here’s what we see:
Sure enough, the Polar Coordinates effect and the Radial Blur are gone – they don’t even show up in the Layers panel during the transform. However, note that the Noise and Cutout effects from the interior Smart Object are still showing. What gives?
The answer: ONLY the outermost Smart Filters are disabled – everything contained inside the Smart Object remains intact. Let’s go ahead and complete our transform:
Once we have it properly sized and positioned, we press Enter to commit the transform. Then, we get this:
Now, that’s not at ALL what we wanted. Let’s step back and see what happened.
- The Smart Object was scaled to a smaller size;
- After scaling, the Polar Coordinates (and Radial Blur) filter was re-applied to the result.
- Since the resized Smart Object didn’t fill the screen, Polar Coordinates doesn’t work as we intend.
However, we can devise a workaround for this problem! Recall above, how we noticed the inner Smart Filters were not affected in the transform?
The solution: wrap the entire Smart Object in yet ANOTHER Smart Object. Then we can transform to our heart’s content.
Let’s go ahead and undo the previous step.
Now, before doing anything else, select the Smart Object layer, and once again, convert it to a Smart Object using the Layers Panel flyout:
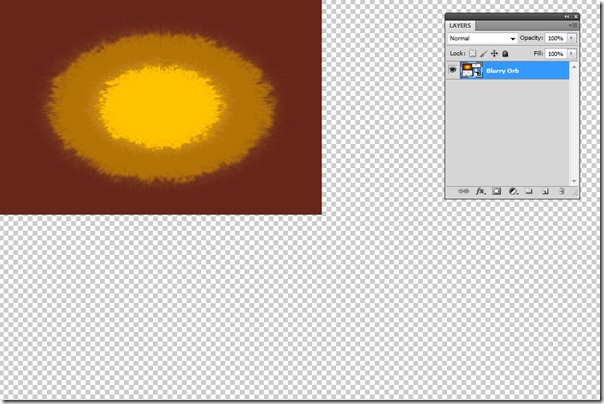
Let’s rename the result “Blurry Orb” to remind us that this Smart Object contains the Radial Blur and the Polar Coordinates Filter:
Let’s try that Free Transform again (Ctrl-T/Cmd-T):
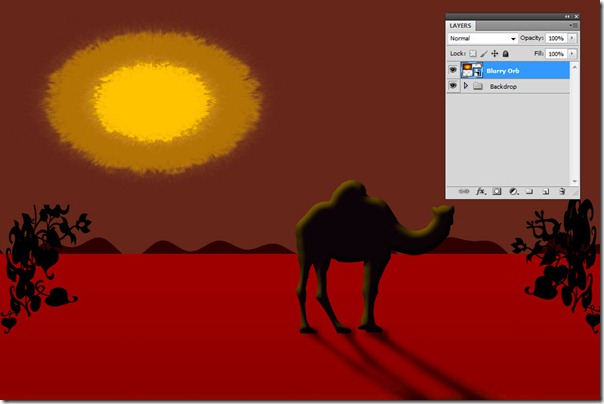
No warnings, and this time the result looks like what we wanted. No surprises this time, thanks to yet another nested Smart Object! Now let’s add the backdrop scenery:
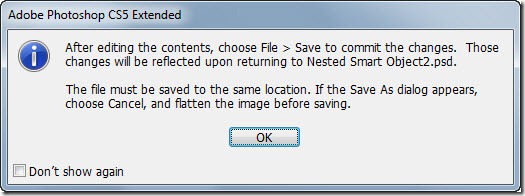
Not bad… but, the red and orange colors aren’t working. We will want to shift the hue on that Smart Object a bit. Now, we could add a Hue/Sat adjustment layer, but we want to keep the yellow center – and, we need to investigate how to edit the Smart Object – so we’ll go all the way in to the original gradient layer and make some changes there. Let’s start by double clicking to edit the “Blurry Orb” Smart Object. We get this informational dialog box:
The instructions here are very important when editing Smart Objects. You MUST use File > Save or Ctrl-S/Cmd-S to save the changes so they are visible to the parent level. Once we click OK, we see the Smart Object opened in a new window:
Now, we want access to the gradient itself, so we have to dig deeper. Double click on the “Grungy Gradient” Smart Object, and after we see the same dialog box, we have now opened yet another new window, and are one layer further in:
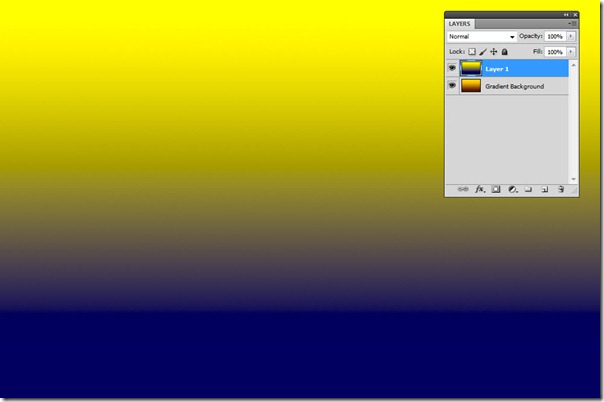
We’re after the bare pixels, so lets repeat once more – double click the “Gradient Background” Smart Object, and after clicking “OK” we finally arrive at the inner sanctum:
To illustrate what’s happening, we will add a new layer at this inner level. Keep in mind that each level of a Smart Object is a complete Photoshop document all its own, and can have virtually anything you’d find in a standalone document:
Now, remember that IMPORTANT dialog box? We MUST save the files as we go back through the chain of Smart Objects. Let’s save this inner file with File > Save or Ctrl-S/Cmd-S. Then. click the close button on the tab to close this and return to the first level Smart Object:
We can see that the Noise and Cutout Smart Filters have been applied to the modified inner image. Now, once again, let’s Save (Ctrl-S/Cmd-S) and close this Smart Object to return to the next outer level:
And now we have our Polar Coordinates and Radial Blur applied to create our celestial orb, this time on dark blue. Once again, save and close to get to the next outer level, which is our final document:
At this point, the change has rippled through all the layers of the Smart Object, from the innermost to outermost. We can now make a quick adjustment to the sky and ground color in our image to create a different look:
In this exercise, we’ve seen how to nest Smart Objects, both to create multi-faceted effects that are otherwise difficult to achieve, and also to overcome some of the challenges created when modifying Smart Objects that have Smart Filters applied. We’ve also seen that the chain of Smart Objects, from innermost to outermost, can facilitate a completely flexible workflow, allowing endless changes, even through the complex layers of effects we have applied.
You’ll never paint yourself into a corner again!









Leave a comment