Neener's Nifty Mold Removal
Fact: Mold can be hazardous to your health. It doesn’t do a whole lot for your photos, either. I’ve been working many months on a really good, useable method of digital mold removal. Previously, all I’ve seen, or done, in regards to mold on photos is try to lighten the spots via selection and a levels adjustment or replace the area with comparable composites. Neither method just rocks my socks off. So I decided to try to find a way that would both work for me and work well.
The first thing I came up with worked pretty well: using the Dodge or Burn tools, depending on whether the spots showed up white or black. I got very excited about the method at first, then began to see some drawbacks. To use the Dodge or Burn tools, you have to work on a complete layer, so I had to combine all my working layers to that point into their own layer. Ok, doable, but then if I got a ways into the work and suddenly decided what I did 10 minutes ago didn’t look good, I had to either go back through all the history states and hope it went back that far, or scrap the whole thing. Likewise, I couldn’t go back and adjust the opacity on something independently of the rest of the work. I needed to find something that would do essentially the same thing as the Dodge and Burn tools, but be non-destructive and completely flexible and editable. Enter Curves.
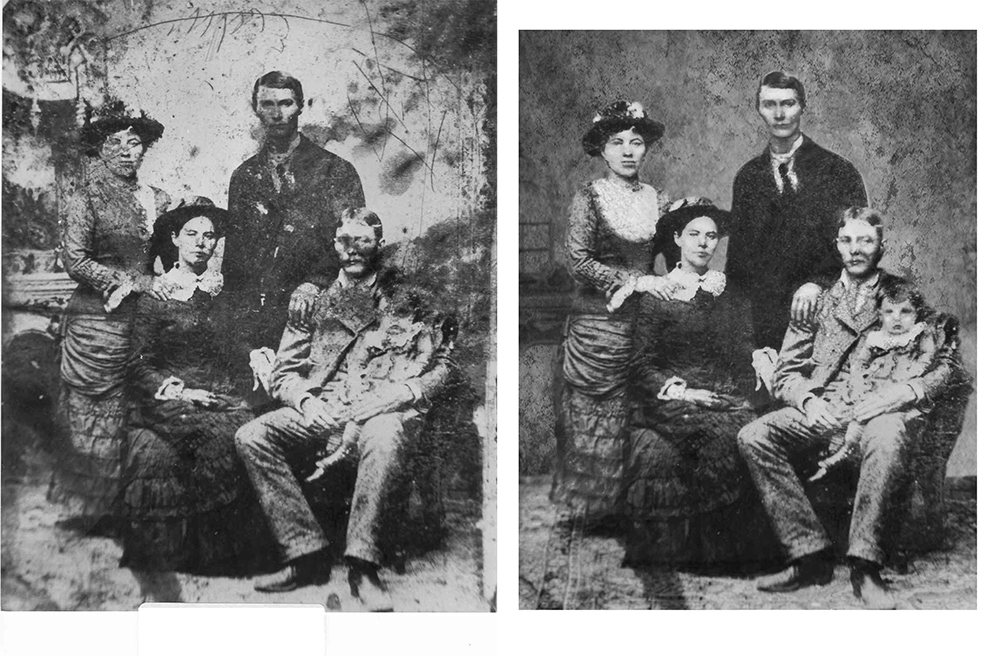
When I hit the big wall of Duh with this one, I hit hard. It was so obvious! The key to this (Janine’s Mold Removal? Neeners No-Mold?) method is to work in very, very light adjustment increments, making very light changes, then blurring the mask to blend and adjusting opacity as desired. As simple as this method is, however, it’s not for the faint of heart! It’s so simple a novice can do it, but only a novice, or anyone, with a lot of patience! I don’t see this catching on with anyone who wants “quick” or is looking for the next trick to cut their work time down. This method is for those who want to do it well, not do it fast. One further word of caution: While this isn’t a “quick fix”, neither is it a start to finish restoration technique. There will still be a lot of restoration work to do on a photo, even after applying this technique. However, you will be able to see what you’re restoring a lot better after using this.
The photo I began my experiments on was provided by my friend Sheri Fenley, and I thank her for both the photo and her endless patience! Needless to say, the people in this photo haven’t been seen, clearly, in many a year.

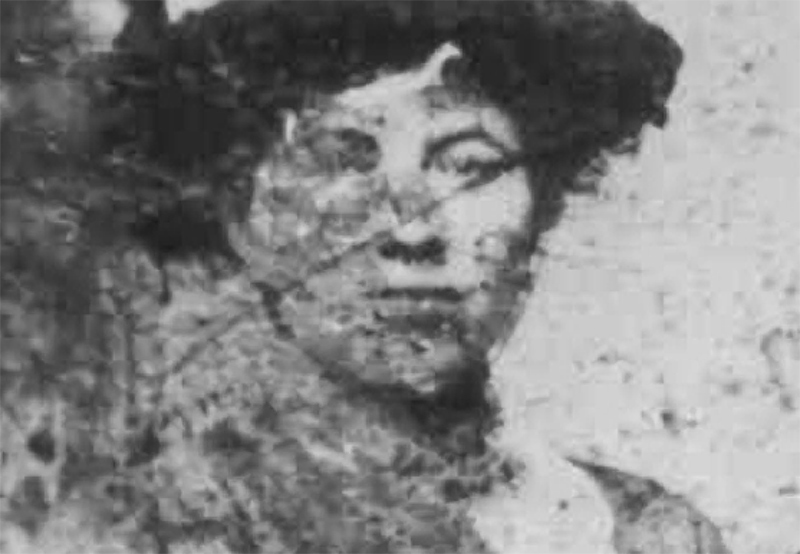
Let’s focus on one of the faces in the photo.

Make a curves adjustment layer. In Photoshop CS4, go into the adjustments palette to get a separate adjustment layer. In other versions and other programs, you may have to make a duplicate layer for each curves adjustment. Move the “line” up slightly towards the highlights (for the dark marks, down to the shadows for light marks. This order will be reversed for greyscale images).

Back in the layer stack, fill the Curves mask with black, to render it transparent. Make your foreground color white and work with a small brush, or roughly the size of the particular spot you’re working on. You’ll probably be changing brush sizes often. Paint in the dark spots.

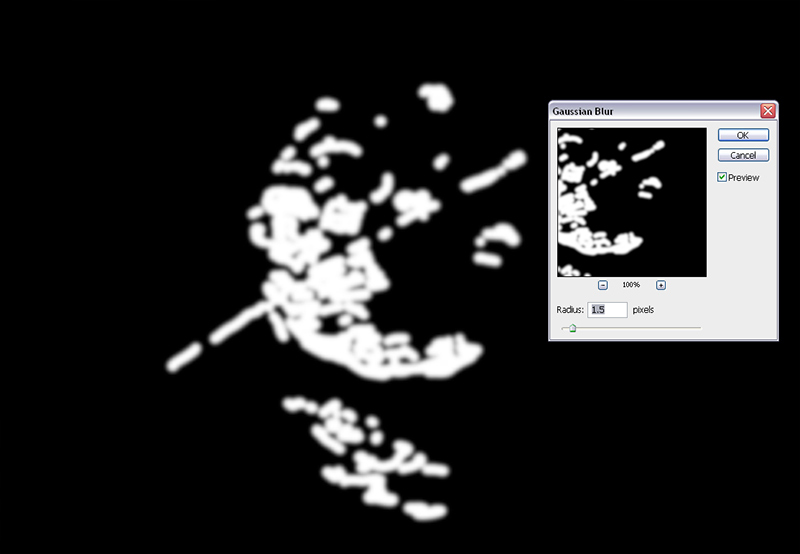
When you thinking you’ve gotten about all the dark spots in this pass, right click on the layer mask icon in the layer stack while pressing the Alt (or Opt) key to show you the mask on the screen.

Blur the white slightly to moderate. Just don’t blur it so much you can’t see what you’ve done. Use either Gaussian Blur or the blur tool, whichever you prefer.

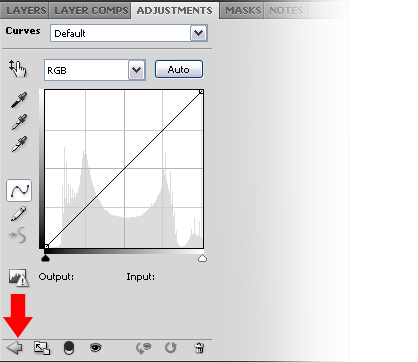
Click the mask thumbnail again (and Alt or Opt) to get back to the regular view. Repeat the Curves adjustment. For CS4 users, make sure you make a new adjustment layer each time by clicking the arrow on the menu (below) to exit the previous mask.

Each adjustment layer you do will get closer to the color below and you’ll have less to do on each subsequent layer.

You can also darken areas with this method.

Again, this won’t give you a pristine restoration! In fact, it’ll probably look rather motley, but it will give you a fantastic place to start from! Certainly better than a bunch of black mold!

One of my experiments was with a photo of author Nathaniel Hawthorne from the Library of Congress. Mr. Hawthorne was considered an extremely handsome man in his time, and well loved by the ladies. I also think he was much loved by Roald Dahl, as this was obviously his inspiration for the Oompa-Loompa’s hair. Obviously, this is a partial recovery, not a full restoration. Each increment of the animation represents a Curves adjustment layer.

This technique is also a valuable tool for evaluating badly damaged photos. In the example below, also from the LoC, the scratches and damage were so bad it drew the eye away from what was actually visible in the photo. It’s described in the catalog as “Portrait of an unknown woman”. With a little work, we can see that she has a lace cap, probably a veil of some sort with decorative balls on the tie. She is holding flowers on her lap. She may be a bride, or perhaps it’s an ethnic costume of some sort. I doubt much more information can be extracted from this photo, but it’s so much more than was there beforehand!

This technique will only work for damage, like mold, that has some transparency to it. Mold grows on the photo, it isn’t in the layers of the photo itself, unlike water or acid damage.
Is this rocket science? No. Is it time consuming? Definitely! I also think it’s kind of fun! It’s like a puzzle, only this puzzle takes parts away to reveal the picture below!


Wow is this an awesome technique! If I wasn’t impressed with you before Janine, I am now!!! Nice work!!! :thumbsup:
Mold can definitely cause a lot of damage. Nice work on the restoration!
Excellent post. Really praiseworthy. Most importantly yo exactly know what you are talking about. Mold is really very much dangerous for health. Its really disgusting. Nice techniques anyway. Thanks for sharing.