Mastering Photoshop’s Blending Modes
Blending modes are both a mystery and a source of great design power. Each blending mode controls how one layer’s pixels are affected by those in another layer (or by a tool from the Tools panel). Most users give up on blending modes because the technical definitions of each mode get very tricky. The secret is to not worry too much about the technical issues and to learn how to experiment.
Design “Rules” for Blending Modes
Rule #1—Don’t try to memorize how each blending mode works: The good news is that they are grouped by similar traits. As you make your way through the list, you will notice a gradual progression through styles. The first group darkens your underlying image, whereas the second lightens it. The third set adds contrast, and the last two generate dramatic results by comparing or mapping values. Depending on your sources, some blending modes will generate little or no results. Sound confusing? Keep reading.
Rule #2—Experiment: The best way to use blending modes is to just try them out. Clicking through a long drop-down menu is boring. A much better alternative is to select the Move tool and then use the Shift++ keyboard shortcut.
Rule #3—Exploit them: Do you need a quick visual pop? Try blending a blurred image on top of itself. Do you need to tint an image? Place a solid or gradient on top of the image and change to Hue or Color mode. Blending modes are available for every filter (choose Fade Filter from the Edit menu) and all the Brush tools.
With 27 blending modes to choose from, keeping them straight can be tough. Fortunately they are grouped together by similar function. Here are clear and simple definitions as well as a sample of how each blend mode behaves.
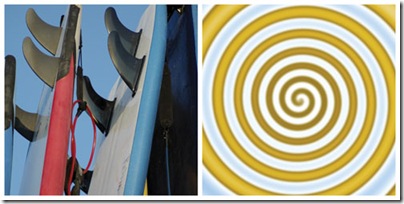
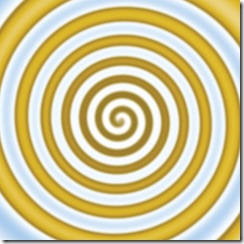
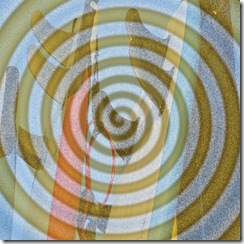
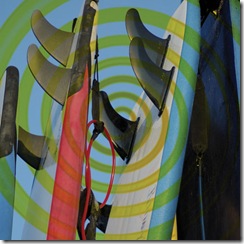
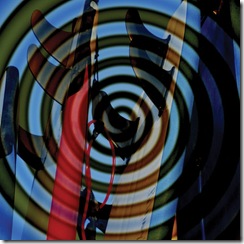
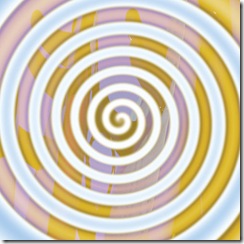
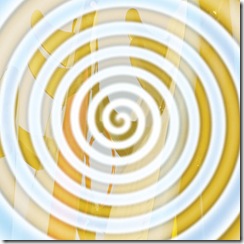
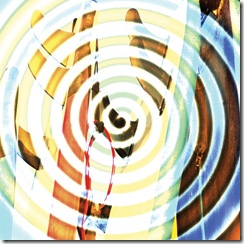
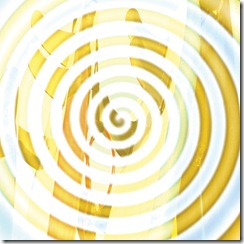
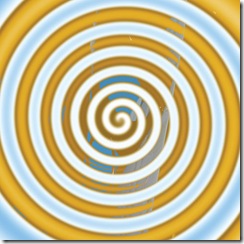
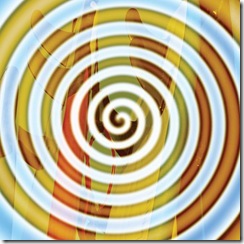
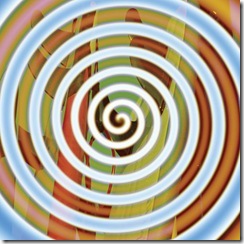
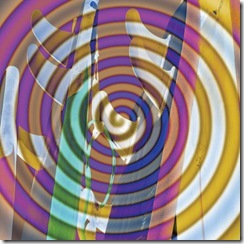
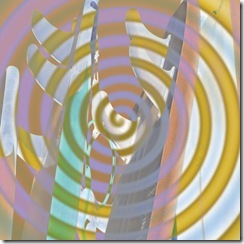
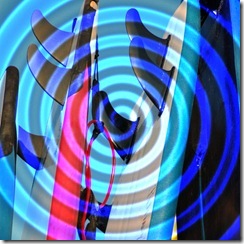
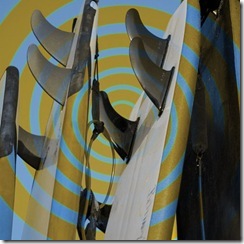
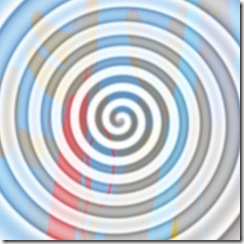
In this example, the colored swirl will be blended with the underlying photo to illustrate each mode.
Normal The default mode performs no additional change to how layer contents interact.
Shift+Option+N Shift+Alt+N
Dissolve Creates a random replacement of the pixels with the base or blend color.
Shift+Option+I Shift+Alt+I
Darken Pixels lighter than blend are replaced; darker ones are not.
Shift+Option+K Shift+Alt+K
Multiply Is similar to drawing strokes on the image with magic markers.
Shift+Option+M Shift+Alt+M
Color Burn Evaluates each channel; darkens base by increasing contrast.
Shift+Option+B Shift+Alt+B
Linear Burn Evaluates each channel; darkens base by decreasing brightness.
Shift+Option+A Shift+Alt+A
Darker Color Uses the lowest value from both layers to create resulting color.
No Keyboard Shortcut
Lighten Evaluates each channel; it then uses base or blend color (whichever is lighter).
Shift+Option+G Shift+Alt+G
Screen in a lighter color. It is useful for “knocking” black out of a layer.
Shift+Option+S Shift+Alt+S
Color Dodge Evaluates color information and brightens base by decreasing contrast.
Shift+Option+D Shift+Alt+D
Linear Dodge (Add) Evaluates color information and brightens base by increasing brightness.
Shift+Option+W Shift+Alt+W
Lighter Color Uses highest value from both layers to create resulting color.
No Keyboard Shortcut
Overlay Overlays existing pixels while preserving highlights and shadows of base.
Shift+Option+O Shift+Alt+O
Soft Light Effect is similar to shining a diffused spotlight on the image.
Shift+Option+F Shift+Alt+F
Hard Light Effect is similar to shining a harsh spotlight on the image.
Shift+Option+H Shift+Alt+H
Vivid Light Burns or dodges by increasing or decreasing the contrast.
Shift+Option+V Shift + Alt+V
Linear Light Burns or dodges by decreasing or increasing the brightness.
Shift+Option+J Shift + Alt+J
Pin Light Is useful for adding special effects to an image.
Pin Light Shift+Option+Z Shift + Alt+Z
Hard Mix Enhances the contrast of the underlying layers.
Shift+Option+L Shift + Alt+L
Difference Evaluates each channel and subtracts or inverts depending on brightness.
Shift+Option+E Shift + Alt+E
Exclusion Is similar to the Difference mode but lower in contrast.
Shift+Option+X Shift + Alt+X
Subtract Looks at the color in each channel and subtracts the blend from the base.
No Keyboard Shortcut
Divide Looks at the color in each channel and divides the blend from the base.
No Keyboard Shortcut
Hue Uses luminance and saturation of the base and the hue of the blend.
Shift+Option+U Shift+Alt+U
Saturation Creates color with luminance and hue of base and saturation of blend.
Shift+Option+T Shift+Alt+T
Color Preserves gray levels. It’s very useful for coloring and tinting.
Luminosity Is the inverse effect from the Color mode.
Shift+Option+Y Shift+Alt+Y















Leave a comment