Luminosity Sharpening 3 Ways
Last time on TipSquirrel, on our ever-expanding journey into blend modes in Photoshop, we looked at the Luminosity blend mode. This mode allowed us to use the brightness values from one layer to make adjustments to the brightness of underlying layers, without creating unwanted shifts in the hue of the underlying layers.
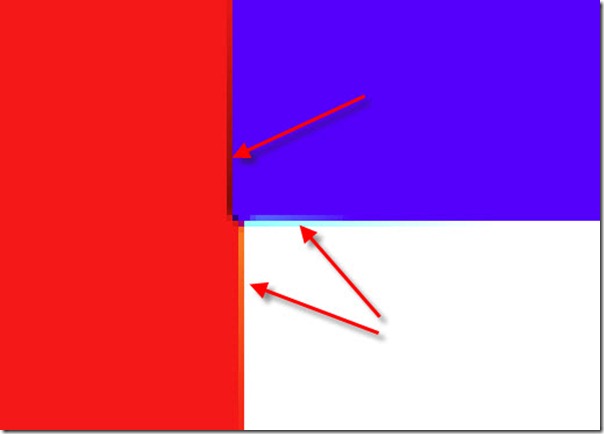
Today, we’ll apply this technique to our sharpening workflow. If you’ll recall in the last lesson, I showed an example of an image that was sharpened heavily, and the resulting halo along the edge boundary had developed some weird color shifts as a result of the sharpening:
Let’s take a look at three ways to use the principles we’ve seen with Luminosity Mode blending to eliminate the color shifting, and leave the hue intact as we add brightness and darkness along the edges to sharpen our images. You may have seen recommendations that you convert your image from RGB to Lab and sharpen the L channel, then convert back to RGB. This technique will achieve essentially the same result, without the conversion – and without having to flatten a multi-layer image.
1. Using Fade
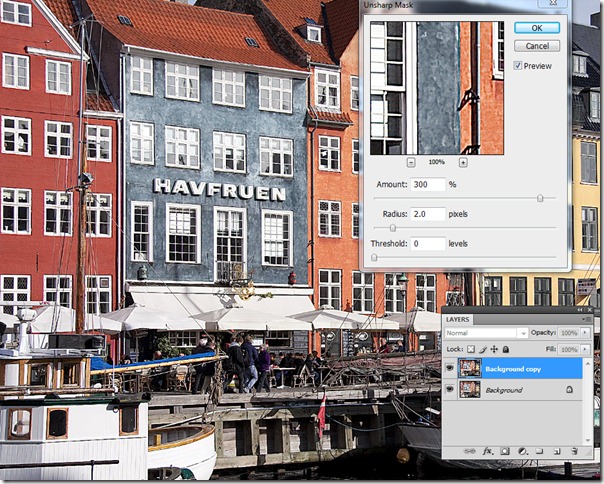
Let’s start with this next image of some sweaters on a rack, and we’ll simply begin with our trusty friend, Unsharp Mask. We apply an aggressive low radius, very high amount for our sharpening in a single step, to a single layer (probably the most inflexible approach):
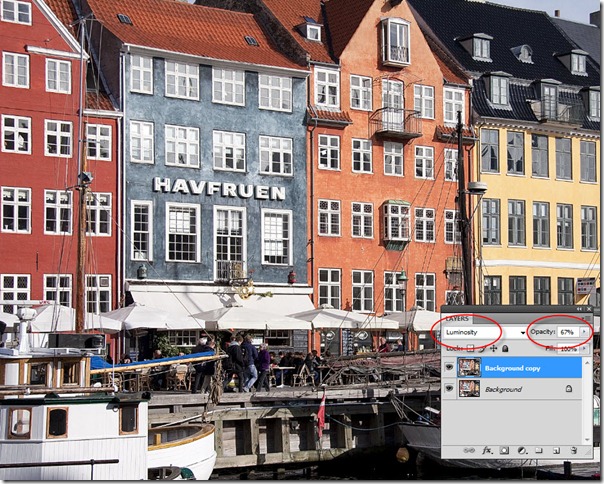
Click OK, and the IMMEDIATELY choose Edit > Fade Unsharp Mask (you must do this as the next step, a single click will cause this command to be grayed out). In the Fade dialog, we see an opacity slider that we can use to lessen the effect, but what else do we see? That’s right, blend modes! Let’s reduce the opacity to about 67%, and change the blend mode to Luminosity:
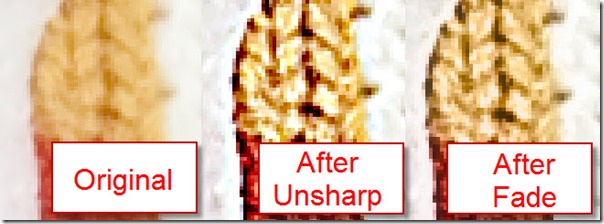
Click OK, and mission accomplished. If we take a very close look at the knitted yarn on the sweaters, we can see the effects of before, after sharpening, and after fading to luminosity. Notice the garish colors in the original sharpened image, which have been toned down considerably after fading to luminosity blend mode:
2. Using Layers
As I mentioned above, applying the Unsharp Mask (or any sharpening technique) to a single layer is the most inflexible way to approach your workflow. If you make a mistake, you have to undo and try again, and while “Fade” allows some flexibility, you only get one shot. Let’s try something a bit more flexible. A separate sharpening layer.
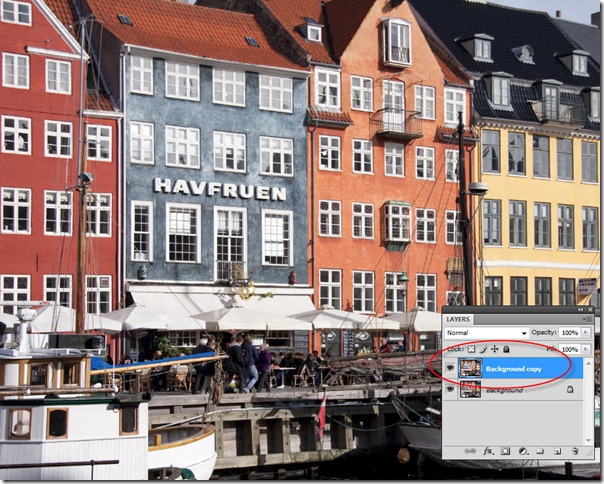
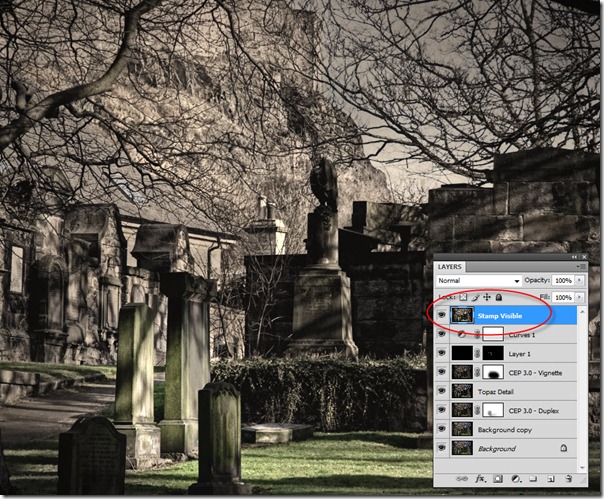
If you have only a single layer in your file, simply drag the layer to the “Create New Layer” icon to make a copy of the background layer. If you have multiple layers, select the layer at the top of the stack, and press “Ctrl-Alt-Shift-E” (on a Mac, that is “Cmd-Opt-Shift-E”). This is the “Stamp Visible” command, and it creates a composite image of everything that is visible, all on a single layer, above the one previously selected. Perfect for sharpening!
Our image is ready:
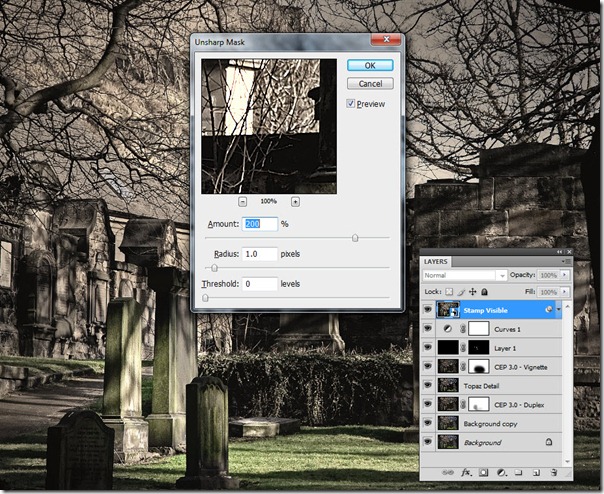
Now, we run Unsharp Mask as before, this time on the top merged or copied layer:
As before, we go in aggressively, intentionally oversharpening so we can back off to a more appropriate setting. Since we’ve sharpened this individual layer, let’s set the blend mode of the layer to Luminosity, and the Opacity of the layer to 67%:
Now we’ve achieved the same results as with Fade… except for one key advantage: We can modify the opacity of this layer at any time in the future, even after saving and coming back again later. This allows us a much better control over the effect. In addition, since this is a separate layer, we can add a layer mask and hide any areas where we don’t want sharpening to occur. Much more flexible than the straight sharpening on the original layer.
3. Smart Filters
For the ultimate in control, however, we must turn to a great new feature introduced in Photoshop CS4, and this one has been a long time coming: Smart Filters. This feature will allow you to control not only the intensity of the effect, but you can actually go back and re-adjust the settings of the Unsharp Mask (or any other filter used in this way).
Smart Filters make use of Smart Objects in Photoshop, and require us to have a separate layer as in the previous example. Here, I’ve used “Stamp Visible” to create a composite layer at the top of the stack:
Now, we want to convert this new layer so that we can use Smart Filters. We can use the menu command Filter > Convert For Smart Filters… then click OK at the warning dialog box:
Now, notice that the layer has been converted into a Smart Object. This is indicated by a small icon in the lower right part of the image thumbnail in the Layers panel:
Now that we have a Smart Object, any filter we apply will automatically be a Smart Filter. Let’s use our trusty Unsharp Mask just as before:
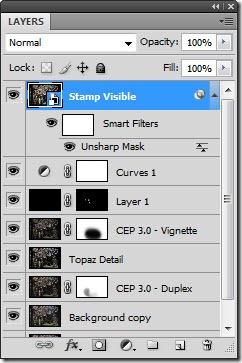
When you click OK this time, look at the layers panel and notice the difference. The Unsharp Mask is added below the layer, with an eyeball icon for visibility (similar to layer effects) and even a Smart Filters mask that you can use to specifically control the areas where the Smart Filter is visible.
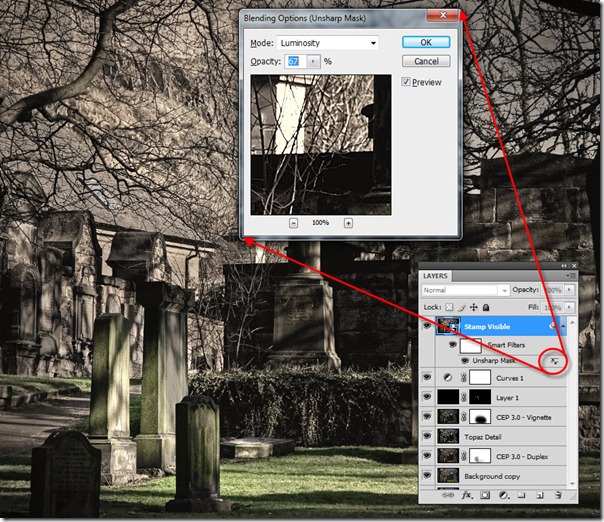
However, I want you to notice specifically the little icon to the right of “Unsharp Mask,” that looks like a couple of sliders. Double click this icon, and you get the Blending Options dialog for the Unsharp Mask filter itself!
Once again, we can set the blend mode to Luminosity, and adjust the opacity of the Unsharp Mask filter independently of the layer settings.
Now, here’s the bonus: double click the words “Unsharp Mask” and you get the original dialog box, so you can tweak the sharpening settings – as often as you’d like, until you find the right setting!
Surely, this third method offers the greatest flexibility of all – in that every parameter remains adjustable in your file forever. You’ll never paint yourself into a corner again!
There you have it: three ways to use the Luminosity blend mode in a sharpening workflow, and still more hidden nooks and crannies of Photoshop where we can encounter the power of Blend Modes to give us a greater flexibility and creativity with our images.







I have been told I should not resize a photo after sharpening, or alternatively not to save the sharpening. If I later resize I have to sharpen afterwards. Must I delete the Unsharp Mask layer if I am resizing and then create a new Unsharp Mask Smart Layer?
Thanks for a very clear article. I felt eager to try it right away.