Let It Snow With Photoshop
‘Tis the time for snow and Christmas cheer, as such I thought I’d show you how to fake snow.
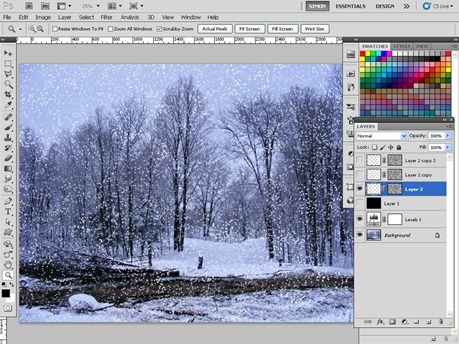
Step 1. Download a good snowy picture – we used this one here
Add a Levels Adjustment Dialogue and drag the middle slider to the right slightly making it a bit darker.
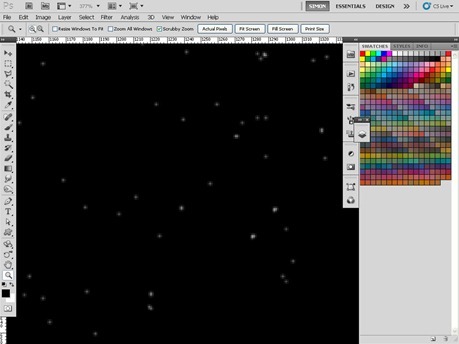
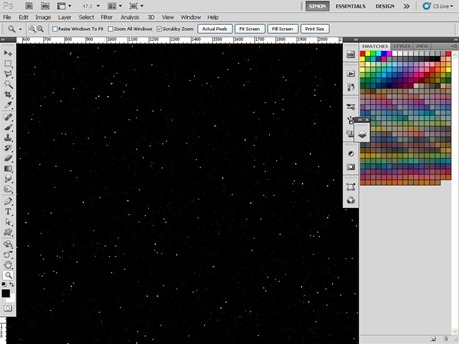
Step 2. Make a new Layer above the Levels Layer and fill it with black (Edit>Fill>Black). Next add some Noise (Filter>Noise>Add Noise> Amount 40, Distribution Gaussian). Next we blur this Layer using Gaussian Blur (Filter>Blur>Gaussian Blur 0.5 pixels). We then use the Threshold Adjustment to remove some of the white dots – Image>Adjustment>Threshold> move the slider so a few of the dots are visible. Finally Blur the Layer again using the same blur as before.
Step 3. Zoom in so you can see the black amongst the dots and using the Magic Wand Tool click on the black area. This should select all the Black, we then invert the selection using Select>Inverse>
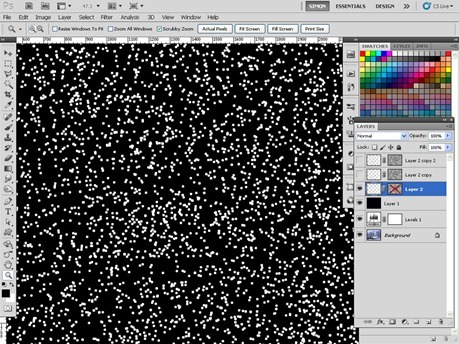
Step 4. Now we increase the size of the selections, Select>Modify>Expand>5 pixels. Now make a new Layer Above the Black layer, Call this Layer Snow. Next fill the selections with White (Edit>Fill>White)
Step5. Hide the original Black Layer by clicking the small eye icon next to the Layer in the Layer Palette. Next Add a Reveal All Layer Mask to the Snow Layer (Layer>Layer Mask>Reveal All). Next Press D on your Keyboard and then fill the Mask with Clouds (Filter>Render>Clouds)
Step 6. We now add a Motion Blur to the Snow Layer, Filter>Blur>Motion Blur> Angle 90, Distance 10.
Step 7. Finally copy the Snow Layer (Layer>New>Layer Via Copy) and select Filter>Distort>Wave> play with the settings but using the default settings will work okay. This will add variation in the direction of the snow.


Leave a comment