
Holiday Card: Part 1
Today begins a (hopefully!) fun, four-part tutorial on making a family photo into a holiday card. For the past few years I’ve used old family photos to create holiday cards for both my family and my business. It’s a great way to connect with your family and use some Photoshop muscle. I place this tutorial at the advanced beginner to the intermediate level, so I’ll assume you know where most of the tools are located.
The perfect scene for this project is one involving snow, so search through your family photos to see if you have one that fits the bill! Hopefully, your photos are already scanned, but if not, scan it and bring it into Photoshop (or the photo editor of your choice). The photo I’ll be using is a photo taken in the 1940s of my mother’s childhood home called Brookside Farm located in Henryville, a little town in the Pocono Mountains of Pennsylvania.

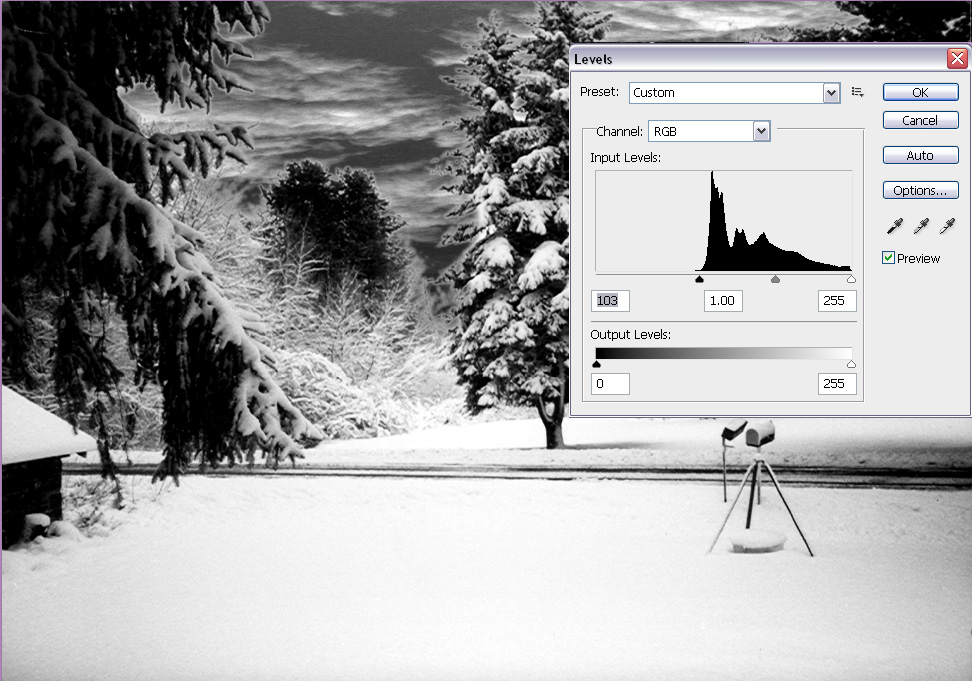
You’ll want to do any restoration work beforehand, as I have. If the photo is in color, desaturate it.We’ll start out with a black and white canvas. All that’s left is to clean up the haze of age that remains, if any. Keep in mind, one of the objects of this project is to make the photo look like it could have been taken yesterday. This is not an exercise in photo restoration, but in photo manipulation. To “erase” the haze and brighten the photo, I’ll give it a Levels Adjustment. Bring the sliders in until they’re in the area where the histogram starts. In this case I went a little further into the shadow values, on the left, or the black slider. I wanted the shadows deeper in this instance. Play with the sliders to achieve the look you like. If you have Photoshop CS4, use the Adjustment panel for the adjustment layers. If you’re using a version or a program that doesn’t have adjustment layers, be sure to make your own by duplicating the layer and doing the adjustments on that layer!

Combine all layers into one (Ctrl+Shift+Alt+J or Cmd+Opt+Shift+J).
As with many old photos, the sky in this one is just a solid light tone. We need a dramatic sky with lots of clouds. Use a sky photo from your own “stock photo” library, buy an appropriate stock photo or walk outside and take a picture of a cloudy sky. Unless your sky photo is really dramatic, use a Black & White Adjustment layer on it, instead of just desaturating it, to bring out the contrast. Move the sky photo into the layer stack of the card photo, if you haven’t already done so, and place it under the combined layer from the last step. This is your cloud layer.

Now back to the card layer: Using your favorite masking method (I used Calculations), mask out the sky.
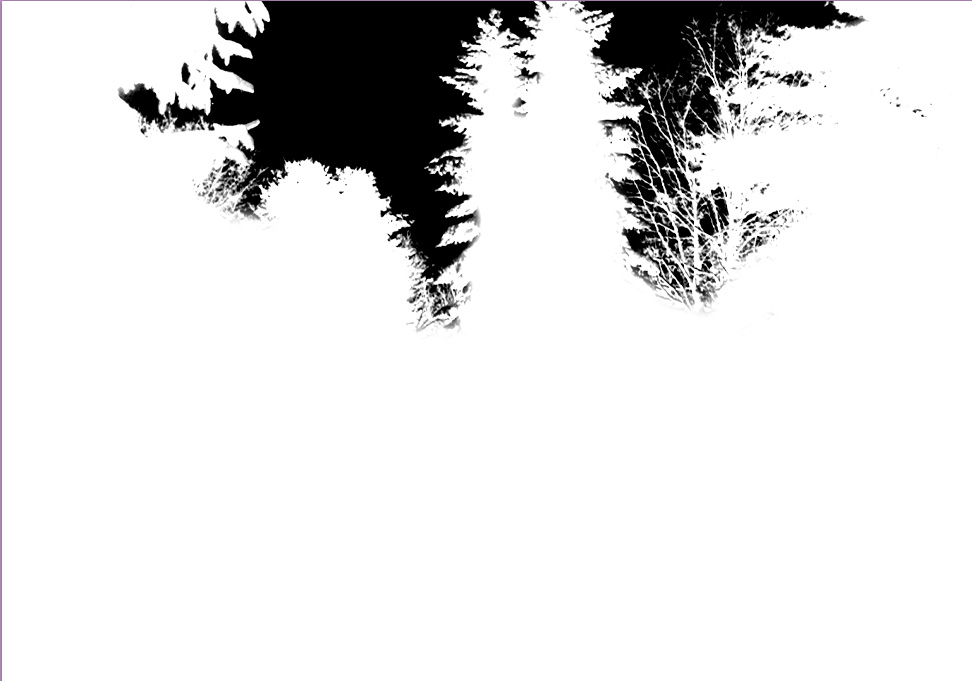
Keeping the masked card layer visible, select the cloud layer beneath it. You’re going to run a Levels Adjustment on the sky to match it more closely to the card layer and for this you need to have both visible. Adjust the Levels sliders until the sky looks closer to the photo, keeping in mind this will be nighttime!
Duplicate the cloud layer. Again using your favorite masking method, separate the clouds from the sky. The Black & White and Levels Adjustments should make this much easier. This is your cloud extract layer.

What we need now is a moon! Make a new blank layer at the top of the layer stack. Select the Elliptical Marquee Tool. Holding the Shift key down, make a circle. Fill with white.

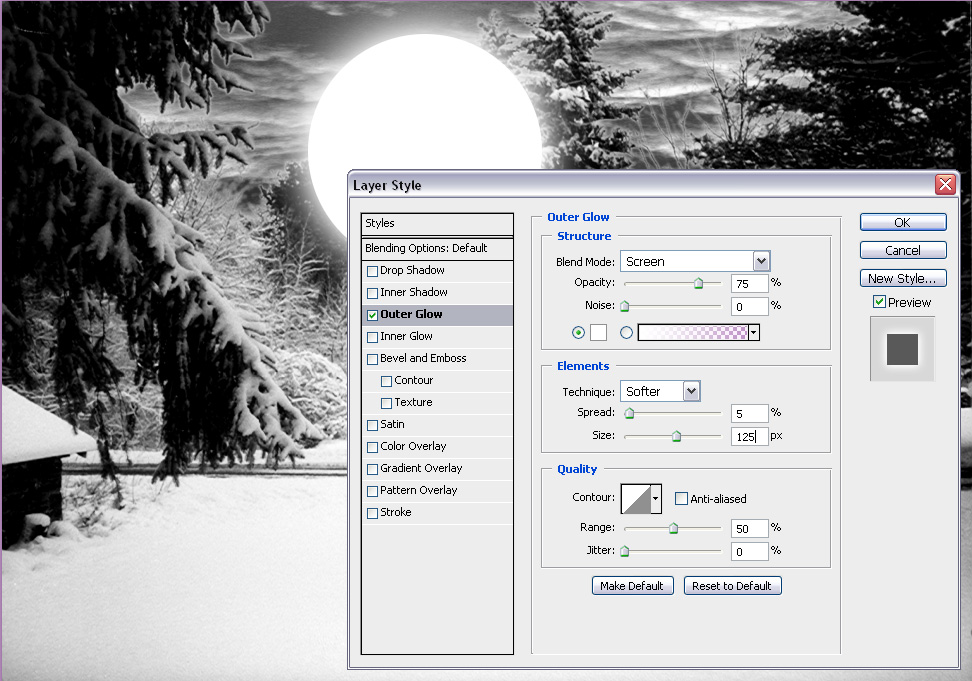
Now for some moonglow: Give the moon layer an Outer Glow layer style (the fx icon at the bottom of the layer palette). You can use the settings illustrated or try your own.
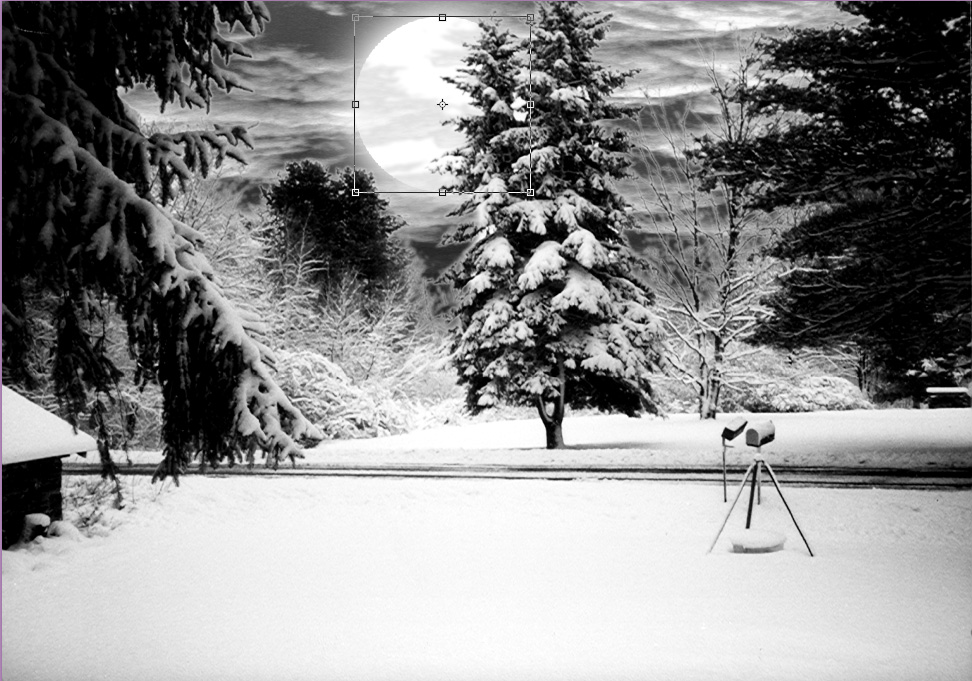
Move the moon layer in between the cloud layer and the cloud extract layer, as shown below:

Adjust the size of the moon to your taste. Keep in mind, the bigger, or closer, the moon, the larger and stronger the shadows.
As the last step of part one, we’re going to use another Levels Adjustment to start changing day into night. In the Levels Adjustment panel, move the black, or shadows, slider to the right to deepen the shadows and start to give the photo that nighttime feel.

In part two we’ll make some shadows in our scene!


OK, you rock! I love photo manipulation. I could do it all day ~ not that I’ve mastered it, but maybe someday…
Caroline
For images going on the Web, you’ll want to go with either GIF or JPEG.And because these formats can be viewed by anyone with a Web browser, they are also the best choice for sending images via email
I was writing the tutorial with sending the old fashioned way in mind, but if anyone wanted to make the cards for email distribution, that’s a good point! Thank you!