
Easy Rectangle Photo Effect with Photoshop

This month I thought I’d show you a nice easy way to create a cool photo effect using the Rectangle Marquee Tool and the Stroke Layer Style.
Step 1
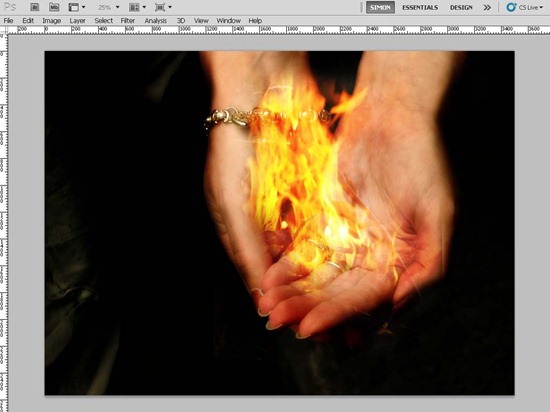
For this project you will need a Photo to work with, I chose this one from morguefile.com but you can really use any picture you want.
Step 2

We now want to unlock the background Layer, we do this by simply double clicking the background layer in the Layer Palette. Then selecting OK from the dialogue that will pop up.
Step 3

Reduce the opacity of this new Layer to around 50%. Next select the Rectangle Marquee Tool and create a small selection on the photo, if you want to you can rotate the selection using Select>Transform Selection.
Step 4.
We now want to copy this new Selection to a new Layer, we do this by pressing Control / Command and J together on the keyboard or by going to Layer>New>Layer via Copy. Repeat steps 3 & 4 loads of times using different sized squares and different angles. Make sure that you are on the original Background Layer (Layer 0) with each new selection or your selection will now work correctly.
Step 5.

Once you have your rectangles created go to the top most Layer and increase the Layers opacity to 100%, next add a stroke Layer Style, Layer>Layer Style>Stroke. Set size to 10, position to Outside and colour to white. Once this is complete we can simple right click on the Layer and select copy layer style.
Step 6.

Select all the layers in the Layer Palette that have the rectangles we created previously, right click on one of the layers and select Paste Layer Style. Each Rectangle/Square should now have a box around it and be at 100% opacity.
Step 7.

Hide the original Background Layer (now layer 0), make a new Layer and fill it with grey – we chose 70% Grey but its up to you. Drag this Layer bellow the squares we made earlier.
Step 8.

Finally if you want to you can add Hue / Saturation Adjustment Layers and lower the Saturation a bit. You can also mask out certain squares so some are the original saturation, or alternatively change the colours completely on random squares by adding a hue / saturation adjustment layer and moving the hue slider.


Nice Post
Thanx for sharing
If you are looking for something related to graphics then you can get all kind of tutorials on graphic design, basics of graphic designing and everything you need regarding graphics designing on our website.
Great tut – i featured it in My Heart Art Daily Digest http://paper.li/GeriMyHeartArt/1325799735/2012/01/07
Thanks,
Thanks for sharing this.
very good.tanks