
Dust Spot Removal in Lightroom
The bane of a landscape photographer’s life is dust spots on the film or camera sensor.. The smaller the aperture, the greater the likely hood that ugly dust spots will appear in your images. By a smaller aperture, I mean a higher f number such as f11, f16, f22 etc. The level of detail resolved at these apertures means that even the smallest particles of sensor dust can be seen in the image. Removing these dust spots is an easy but tedious job in Lightroom, and it is also quite possible that some spots are missed during the edit.
I would like to suggest a method to find all dust spots and to fix multiple images in one go. This method does require a little preparation at the time of the shoot, as we will be creating a dust map so that we can apply the dust correction to all subsequent images in a set.
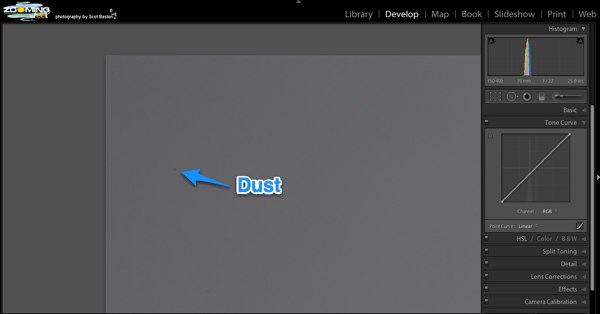
The first step is during the shoot.. capture an image of either a white wall, a grey card or some other blank canvas. You will want the aperture to match that of your upcoming shoot for the best effect. I would suggest shooting at a high f number such as f22 to show the worst of the dust spots.

18 Percent grey image with dust
Zoom in to the image and look for the largest piece of dust you can find.. I find starting in the top left on the image and using the ‘page down’ button to navigate square by square through the zoomed image.
Having found a large spot of dust..
Large Dust Spot
The next step is to go to the Tone Curve in the Develop module and click the point adjustment button shown below.
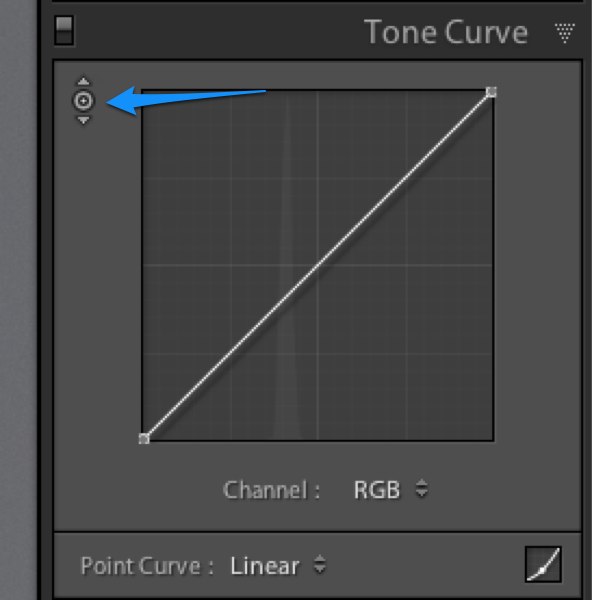
Adjustment point
With the adjustment point selection tool click on the piece of dust selected earlier and drag it down to darken it.

Darken Dust Spot
and now we need to lighten the non dust data.. select an area which had no dust and drag the selection up to lighten it.

Lighten non dust data
Zooming out to see the entire image shows where all the dusts spots are..

Dust spots revealed
Zooming back into the top left of the image, and selecting the dust removal tool as shown below

Dust Removal Tool
Using the ‘Page Down’ button go through the entire image removing only the very noticeable black dust spots. Ignore the lighter grey dust as this will never be seen in the finished photographs.

Delete only the really dark dust spots
Zooming out once more shows all the dust spots that have been removed from the blank image.

Dust Correction Map
At this point, it only needs for us to apply the dust correction data to our images. Go to the library grid view (G) and select the sample image and all the photos to be corrected, making sure that the first image selected is the one with the dust correction data.
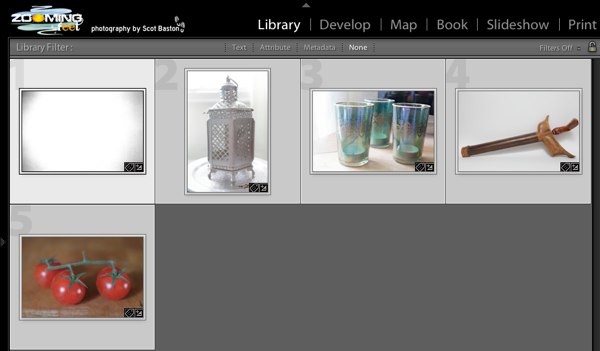
Select all the images
Click the Sync button at the bottom of the right hand Develop panel, Select only the Spot Removal tick box and click Synchronise…

Synchronise Spot Removal
It is as simple as that, all of the other photographs have had the dust spots removed.
looking at one of the photos shows where the Spot Removal Tool has been applied.

Dust spots removed
NB! it is worth having a quick scan through each image to check that the dust spot correction has applied seamlessly. This is because at areas of detail the spot removal tool might need adjusting slightly, but this is much easier to do than painstakingly remove the dust from each image individually.
I hope that you have found this useful and as always please leave any questions below.
If you wish to ask a more in depth question that cannot be answered via the comment box, please contact me on my website Zooming-Feet.com


I’m not a native english speaker, but ‘likely hood’, Scot ?
What can I say Frans.. I grew up in Wales with a Scottish English teacher. It is a miracle I speak the language at all
i always find it funny when a grammar Nazi attacks an insignificant detail instead of appreciating the great tips laid out in the article
That’s a nice tip for a beginner i guess. But if you photograph landscapes, you might have different colors or contrast changes just a few pixels one from eachother. Using the spot removal tool (clone or heal) assumes selecting a source point (preferably very close to the dust point), and if that dust point happens to be on one of those spots you could actually make it worse doing it automatically.
It will probably not be visible at lower resolutions, but if you intend to make a print, you’d better do it manually.
Vlad,
You do make a good point, but as I noted at the end of my tutorial, it is worth running a quick scan over the corrections on each image. Personally I find this more accurate and time saving than trying to spot each dust spot for each image.
quicker and better to correct everything and then quickly scan which ones if any are mismatched.
This doesn’t just apply to landscapes, commercial interiors and complex detailed shots are affected more and yet I still find this method works for me
That was really helpful, thanks!
Thank you Ted
just like flat fielding in astrophotography.
Thank you so much for this. I have been straining myself trying to find each one (and trust me with an 8 year old DLSR I have my share of them).