Digital Diffusion with Photoshop
Following on from last month’s tutorial on Recreating Lith Grain, I’m going to show you how to recreate another darkroom effect in Photoshop. The effect were’re recreating, diffusing the image, was created by placing something between the enlarger lens and the photographic paper, normally this was a black stocking. Quite how someone came up with this effect I don’t know and what the stocking was doing in the darkroom too has never been explained.
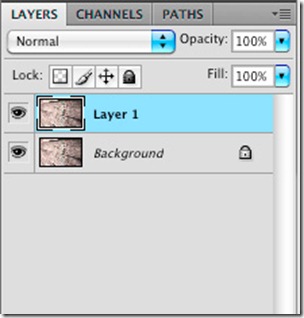
Firstly duplicate the background layer Cmd J (Mac) Ctrl J (PC) or drag the background layer over the new layer icon.
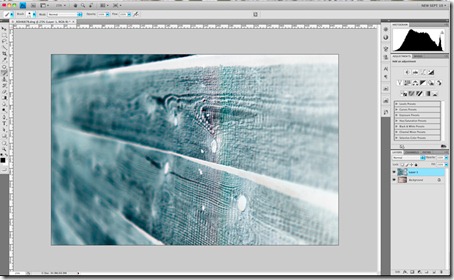
With the new layer selected select Image-Adjustments_Invert or Cmd I (Mac) Ctrl I (PC)
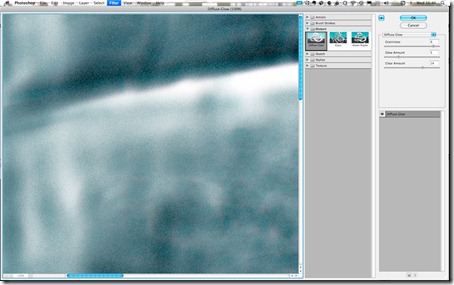
Now we need to add some diffusion to the inverted layer so go to Filter-Distort- Diffuse Glow and put the following settings in: Graininess 9, Glow Amount 5, Clear Amount 14. Then press OK
Invert the top layer again so it is back to a positive image
You can adjust the opacity of the top image if you wish at the stage or leave it as it is/ You can always go back to the opacity after the next stage if you wish.
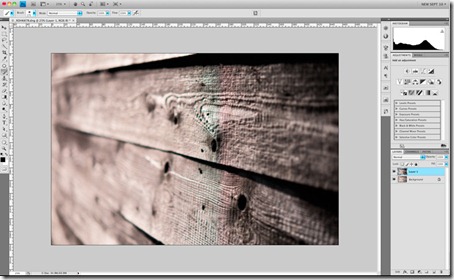
Add a Hue Saturation adjustment layer. Tick the Colorize box and set a tone and saturation to suit the mood of your image and you are done.


As usual Richard a quick and concise tutorial …
You have done really awesome job, excellent tutorial it is. Thanks a lot for sharing with us !!