Creative Luminosity Techniques
Last week, we saw several ways in which we could introduce the Luminosity blend mode into our Photoshop sharpening workflow. Today, it’s all about creative application of this technique. Since the Luminosity blend mode helps to avoid unwanted shifts in hue and saturation, we can use it to great advantage any time this type of problem rears its head.
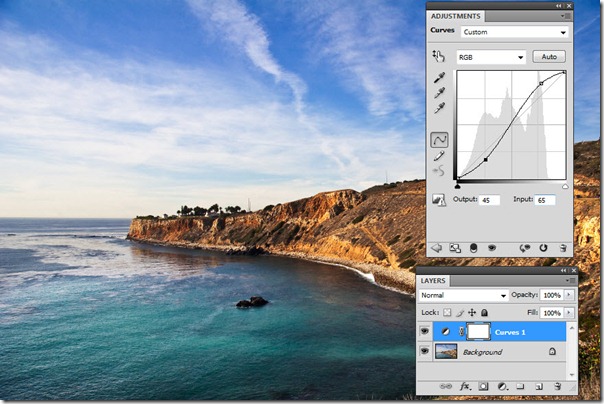
For example, let’s take a look at this image of Palos Verdes, on the California coast.
The vista is beautiful, but a little more contrast would help to make this photo more dramatic. The standard way to introduce added contrast within Photoshop is by applying a tone curve, and the best way to do that is with an adjustment layer. In this case, adding a Curves adjustment layer and laying in a steep “S” curve, we get not only added contrast, but the saturation goes off the scale. We no have neon water and orange hillsides, and the sky is just too unbelievable:
So what do we do? Layer blending modes come to our rescue, of course. Simply change the adjustment layer’s blend mode from”Normal” to “Luminosity,” and the psychedelic colors are gone – the saturation is returned to normal, but we still have our contrast in the image. Nice!
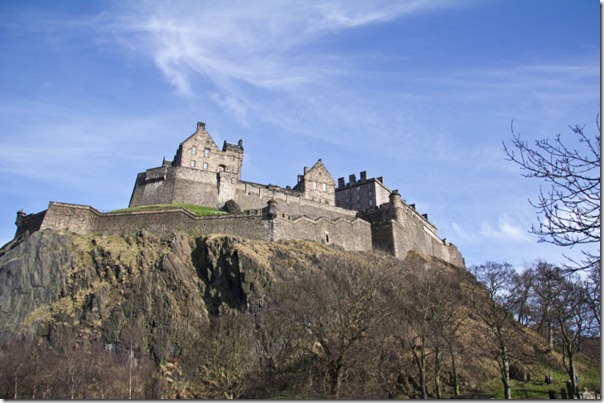
The same principle can apply beyond simple adjustment layers. We can use it anywhere a creative move causes color shifts, including the technique of scaling back some of the wild effects of some of today’s popular plug in filters. In this next example, we’ll look at using this principle with the popular Topaz Adjust. I’ve started with this grand but somewhat plain photo of Edinburgh castle:
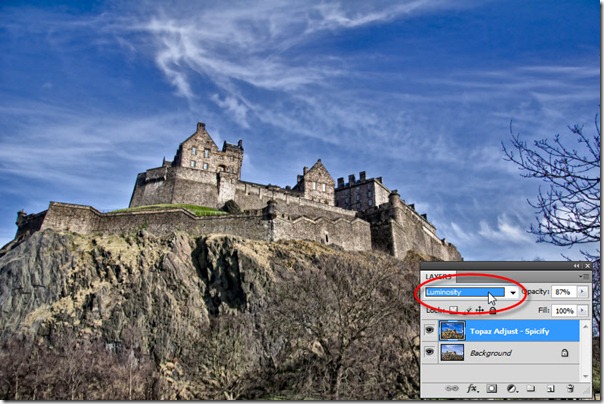
Wanting to add a little pizazz, we make a copy of the background layer – this is the key – and run Topaz Adjust, picking the “spicify” setting. This is one of my favorites, but sometimes it can be over the top. As we see here, the effect has introduced some nice detail, but the colors are now quite unbelievable. This is typical of a lot of images I’ve been seeing out there today, easily recognizable:
Now, here’s what we do. As before, change the Topaz layer’s blend mode to “Luminosity,” and watch the improvement. Adding it on a layer allows us to adjust the opacity as well, for a very fine level of control over the effect; in this case I opted for an opacity of 87%. Much nicer than the straight-out-of-the-box Topaz effect, and much less likely to distract the viewer:
I’m a fan of subtle effects and gentle application of creative techniques, and adding these effects on a layer always gives you more control. And now, you know that Luminosity blending can help further by eliminating unwanted hue and saturation shifts in your creative work flow. Try it for yourself, and enjoy the results!


Leave a comment