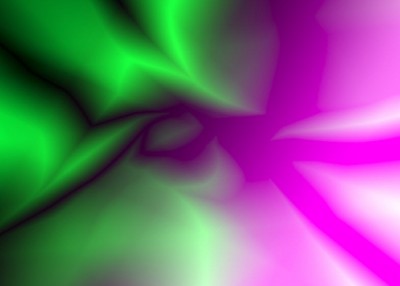
Creative Differences
Last week we looked at some practical and very utilitarian ways to take advantage of Difference blend modes in Adobe Photoshop. Today, we’re going to take a 180 degree turn and look at some ways of using the Difference blend mode in some creative and artistic techniques. So let’s get in to the artistic frame of mind and take the creative plunge.
Difference mode can be a very interesting way of working with multiple images in a collage. Since Difference mode, you may recall, magnifies and highlights the differences between images, this technique work especially well with images that have nicely saturated colors and good contrast. We’ll start with this image as our base:

Now, we’ll open our second image, and drag it directly onto the first, so we have both layers in a stack, like so:

Now, simply change the blend mode to Difference, and look what happens:

Now, if you’re on Windows, when you have the blend mode highlighted in the layers panel, you can press the up or down arrows to cycle through the blend modes – this is really useful in cases like this as you experiment to see what looks cool. Mac users can do this by pressing Cmd-plus and Cmd-minus to move through the blend modes. Either way, experiment and see what happens. Most often, I find Difference blend mode to be one of the more interesting results.
Now let’s look at another technique. I saw something like this in Photoshop User magazine many years ago, and it is a really cool technique for making futuristic abstract backgrounds and textures. Lets start with a new document, white canvas, at the default Photoshop size.
Now, let’s select a nice saturated green color as our foreground color. Then, choose the gradient tool, and from the gradient picker, choose foreground to transparent and select linear as the style.

Now, look in the toolbar just to the right, and what do you see? Yes, yet another of the hidden spots within Photoshop where blend modes are available. Let’s set the gradient tool’s blend mode to Difference, and draw a random gradient (again, make sure you have foreground to transparent set in te gradient picker:

Nothing special, right? Now let’s drag out another gradient, and watch the colors interact with the difference mode:

Cool! Now drag out some more in succession, like so:


And a few more in random directions:

Now, let’s switch to a saturated blue and drag a few more times:


Now, a saturated red and continue:

Now, some yellow… and for variety, lets switch to the radial gradient:

A few more times:

You get the idea – you can keep playing with this all day, creating new wild gradient blends with Difference mode. Here I’ve added some type and set the type layer blend mode to Difference as well:

Experiment, get creative and have fun!


Leave a comment