Creating a Rubber Stamp Brush Preset in Photoshop Elements.
In this tutorial we’ll firstly be creating the effect of a slightly worn out rubber stamp. Once we’ve created our stamp, we’ll be converting it to a brush preset that can be used over and over again and at any size. We’ll also take a look at Elements’ Brush Dynamics panel, which allows us to be a little bit more creative with the way we lay down our brush presets.
1. We’ll begin by opening the initial artwork image; this is a simple black and white graphic on a single layer. If you want to follow along, the file can be downloaded here:
2. We want a worn effect so we need to roughen up the edges a little. Go to Filter > Distort > Glass. Set the Texture to Frosted. We only need a subtle effect, so for this size image we’ve set a Distortion of 1 and a Smoothness of 4. This will vary of course, depending on the dimensions of the image and also the complexity of the artwork. Click OK to apply the effect.
3. To create the brush we must make a selection of the artwork. If we don’t do this the brush will also include the whole canvas area. Select the Magic Wand (keyboard shortcut: W). We could select the individual parts by clicking in each in turn while holding the Shift key, to add to the selection each time but there’s a quicker way: uncheck the Contiguous option in the Options bar. When this option is enabled, only neighbouring areas are selected; when we uncheck it, the entire image is taken into account. Now when we click on one section, because it’s all black, everything is selected in one go.
4. With the artwork selected, go to Edit > Define Brush from selection. A dialog box will appear. We can see the thumbnail version of our brush and have a box to type a name into. We’ll call it Squirrel Certified; this makes it easier to find. The number beneath the thumbnail is the initial size of the brush in pixels. Click OK to define the new preset. We’re finished with the original image now and we can close it.
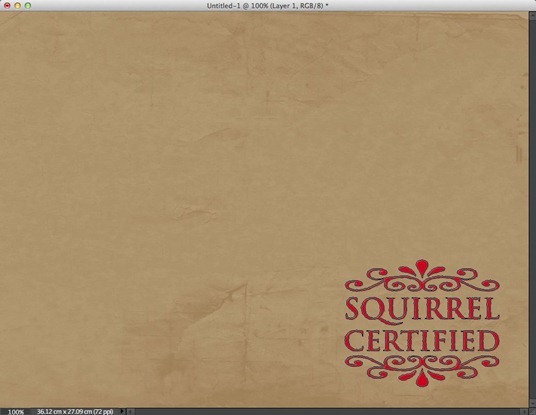
5. We’ll use this brown paper texture to test our new brush. This was created using one of Elements’ built-in preset backgrounds but there are hundreds of free paper textures on the web as well. Before we start, create a new blank layer. You can do this by clicking the New Layer icon in the Layers panel, or by going to Layer > New > Layer.
6. Select the Brush tool (keyboard shortcut B). Open the Brush picker by clicking the arrow to the right of the brush preview in the Options bar. We can see our new brush preset at the very end of the list. Double-click its icon to select it.
7. We can see the outline of our brush but it’s a bit too big at the moment. We can scale it down by tapping the left square bracket key (next to the P) a few times. We’ll select red as the foreground colour and click once to stamp a copy down.
8. At the moment, the brush is perfectly straight. We might, however, want to stamp it down at an angle. We can do this by going to the Brush Dynamics panel. This is found on the Options bar, denoted by a paint brush icon.There’s a directional indicator at the bottom. We can click and drag it round; the arrow head shows the direction the brush will point. Here we’ve dragged it to 45º; the angle field shows us the precise value (we can also enter the value manually). Now when we stamp a copy down, it will be tilted to the angle we set.
9. A final note: make sure you save the brushes you create. Although they will appear after you restart Elements, they can be accidentally deleted if you reset the default brushes or reinstall the program. This is best done from the Preset Manager (via the Edit menu). Select the new brush from the list and click Save Set. You will be prompted for a name and location. Once saved you can load it back at any time from the Preset manager or from the fly-out menu on the Brush picker; it will now show up on its own in a set labelled with the filename you saved it under.


the link to the file does not work/open up.
Apologies, that’s all sorted again. Thanks for letting us know.
Wow, thank you for the incredible tutorial!