Combo Color Correction (Pt. 1/2)
Today I bring you the first part of a two-part tutorial. The first will go over a combination method of color cast correction, and the second half will deal with correcting tints.

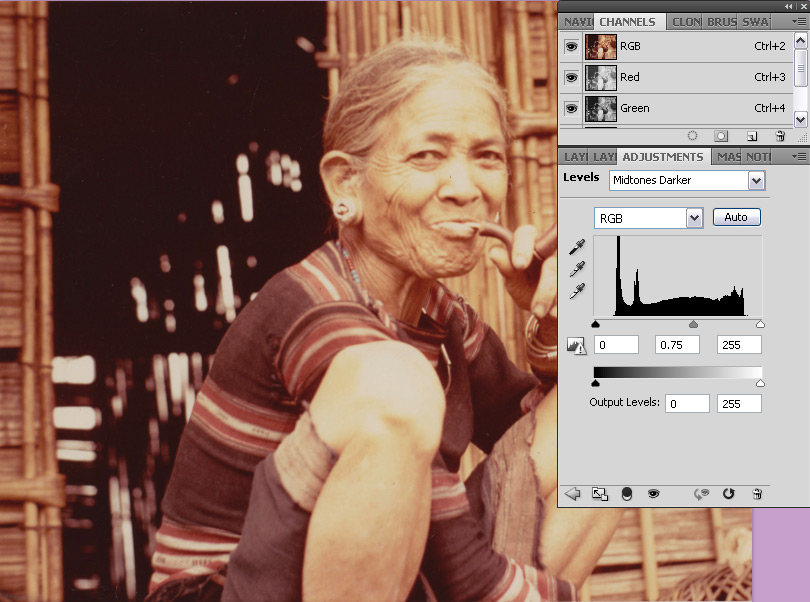
This photo, provided by Camden Watts (thank you!) has an obvious color cast. It’s a good idea, when working with color correction, to find something in the photo that you have a good idea of the color it will be when the color is right. In this case, I chose the turquoise / coral beads on the necklace.

Of course, as with the baskets and bamboo wall in the background, the colors for these objects can run a wide gamut, so the ultimate indicator will be skin tone. The first thing I did on this particular photo is bump up the midtones, which were rather flat. A simple way to do this is to add a Levels Adjustment and select the preset “Midtones Darker” from the drop down menu. Doesn’t get much easier than that!

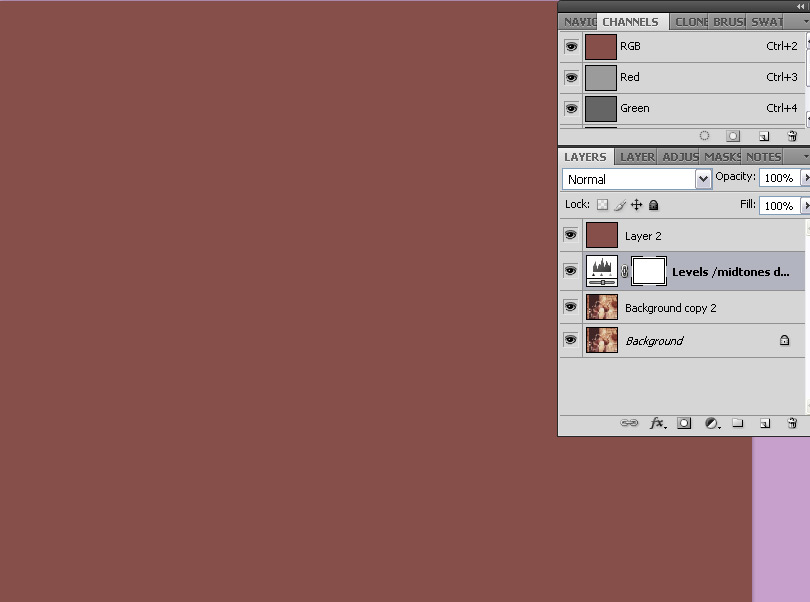
Next, I did a color invert. Again, super easy. With the color picker (aka the Eyedropper Tool) make a selection somewhere in the photo, on a dominant color. Add a blank layer at the top of your layer stack and fill it with that color.

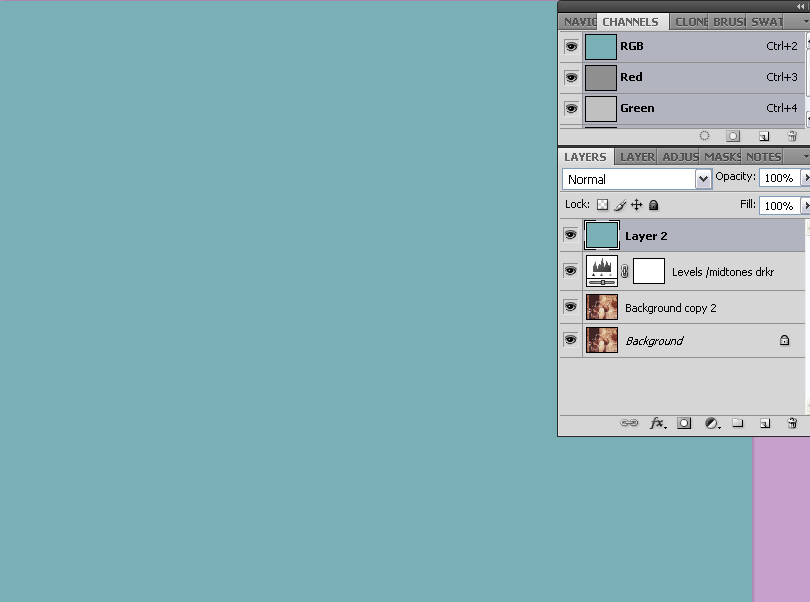
Now, go to Image > Adjustments > Invert (or hit Ctrl + I on a PC, Cmd + I on a Mac).

Change the Layer Blend Mode to Soft Light.

Now, we’ll go for a little Variations. This step is totally by eye, so you have to really pay attention. If you don’t like what you see when you’re back in layers, go back to the Variations panel and hold down the Ctrl (Cmd) key and click Reset to start over. I used a Blue filter, then a Cyan. Keep it simple. If you use too many filters, you’ll invariably start using filters that override the previous filters. You’re not going for perfect, here (but if you find it, congratulations!), just an improvement. I also selected, to the far right of the Variations dialog, the “Darker” image, as it looked better, overall.

It’s looking better, but it is looking a bit on the bluish side.

Tomorrow: Easy tint adjustments.
If you have digital photo restoration questions or tutorial requests, email me at janine @ landailyn.com (no spaces, obvs)! I’d love to hear from you!


Leave a comment