
A Workflow with Tonality, Intensify & Snapheal
After my review of Tonality Pro by Macphun software the company kindly let me have a play with some of their other apps and in this tutorial I’ll give them a spin.
The image we are using is a image that has been processed into a panorama in Photoshop and some tweaks have been applied in Lightroom too.

The first thing we need to do is remove the little hiker sitting on a rock. You can hardly see him but I can and he’s rather annoying. We could do this in Lightroom but we’ll have a go in Snapheal to see how it handles. This task is a little basic as Snapheal offers a whole plethora of options for more complex tasks that would be a tutorial on their own. Looking at the app once we’ve opened it up you can see its clean and offers several options but we will limit ourselves to the Erase section. I’ve selected the paintbrush tool which lets you paint over the area to erase, Dynamic as the mode which is best for small details and High for the accuracy.

After zooming into 100% I can see the offending hiker more clearly.

Now we paint over him (noticing that one of the rocks behind looks a bit like a head).
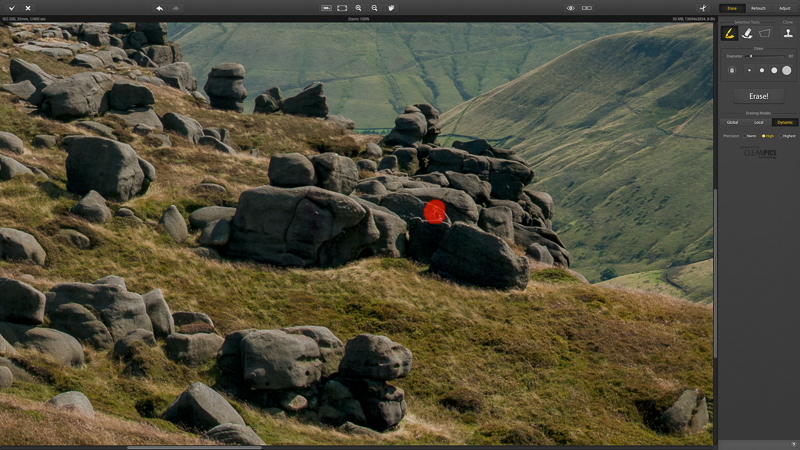
The app lets you pick multiple areas and once you have done this press the erase button and the magic happens.

I want to increase the grit and detail of the image next. We can increase these in Lightroom but by using Intensify we have greater control and more choice of what areas are affected or not. As with the other apps we could spend ages going through the choices and options offered but I’ll give a brief run down of my workflow to get the result I’m looking for.
I will pick a preset (for this image I’ve chosen natural landscape) and then go back to the adjustment panel to fine tune it. This also allows you to see what the sliders do in the adjustment panel. All I’ve done is to cheat up the contrast in the highlights in the midtones and also a tweak to to details and structure. For a colour image I would normally find these changes a little too much for my taste but I know I’m changing this image into a black & white photograph and little too much here will tone down in the final image.

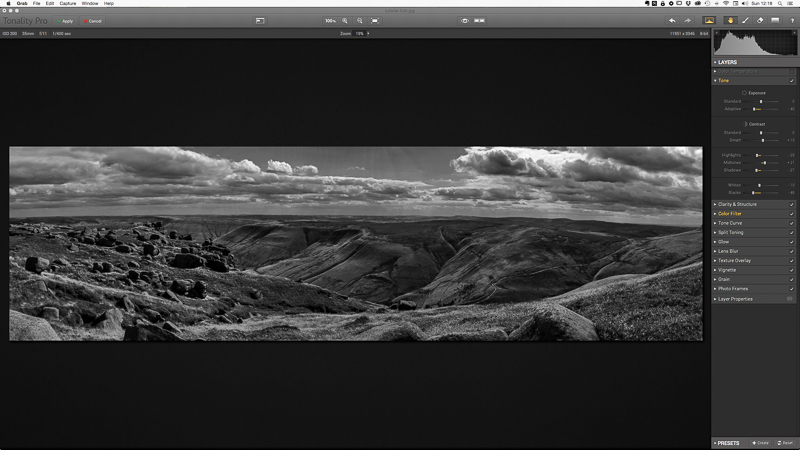
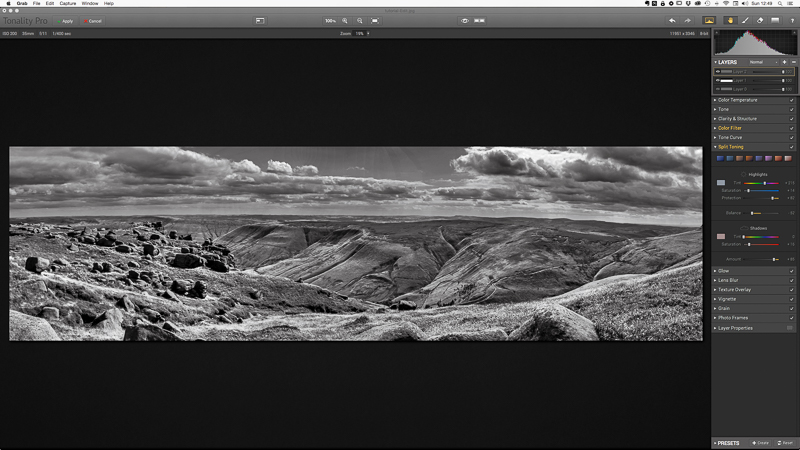
Finally we’ll open this image in Tonality.

Straight out of the box we’ve got a decent conversion but I want to really turn up the taps on this one. To do this we will make us of the versatility of Toanlity’s layers function.
To enhance the sky I’m going to use a red filter to darken the blues.

I’ve also altered the tone and contrast which has had a negative effect on the rest of the image
So I’ll create a new layer by clicking one the plus button in the layers panel.

Now the clever bit, right click on the new layer and choose “Use original image”
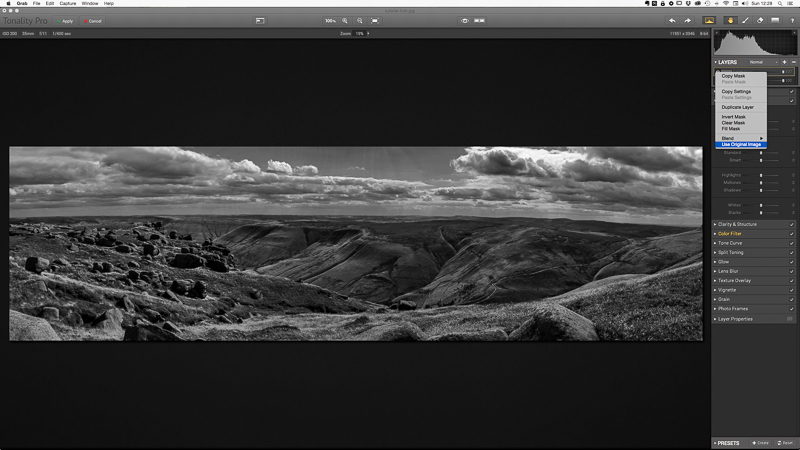
We now have the original conversion on top of our, for now, invisible sky conversion.

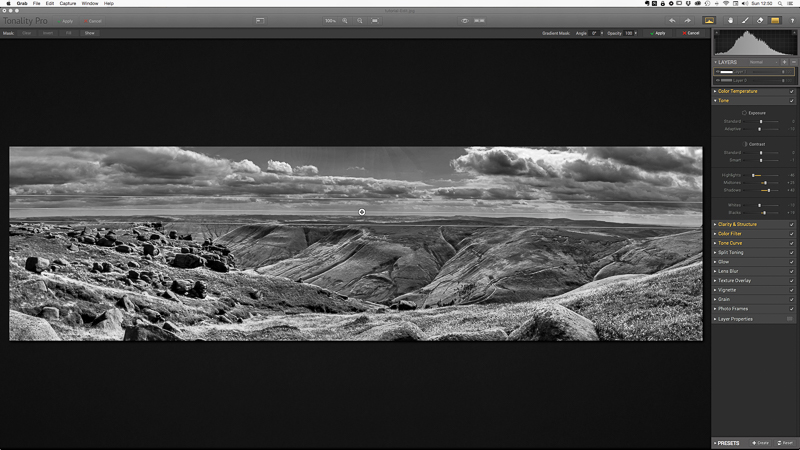
I’ve added a yellow filter and adjusted the Tone, Clarity and Structure, Tone Curve and Colour Temperature (don’t forget we can alter the black white image by adjusting the colours of the original image)

What we now have to do is blend the two layers together. To do this I’m going to use the gradient tool to conceal the sky in the top image and allow the lower image to come through.
Finally I’ll add another layer to the stack. This new layer is the result of the two blended layers below. I want to add subtle split tone to the image had if i applied it to either of the original layers it would only be visible on the part of the image that that layers is visible (the sky or the land would be toned, not both).
If you want more information on these app use this link to pop over to their website. The kind people at Macphun are offering a 10% discount if you purchase any of their products using the code Tipsqu-rh
Please note, the striations you can see in the images above were caused by using a lower resolution image, I would normally use a 16bit image for this sort of post processing.
Great run-down of the workflow between these three apps, Richard. It’s nice to see someone “exercising” them in such a tight sequence.
Plus, I’m glad you used the Gradient Mask – one of my favs and IMHO very under-rated for the coolness you can achieve with it! 😉
Thanks again, Kevin
(full-disclosure, I’m w/ Macphun).