
Color Effects with the Photoshop Color Lookup Adjustment
Background: Photoshop Color Lookup
Hello everyone; great to be back with you at TipSquirrel. Today we’ll take a look at an image adjustment that is often overlooked by photographers. The Photoshop Color Lookup adjustment was introduced in CS6, to provide video makers with a means of modifying the “color look” of their clips, as they move them through different parts of the post-production workflow. However, this adjustment can also be useful to photographers, and lends itself well to experimentation.
The Photoshop Color Lookup adjustment works by “re-mapping” some or all of the colors in your photograph to different hues, based on corresponding color values in a LUT (or Look Up Table). Without going into all sorts of geekery about what a LUT is and why you should care, the bottom line for photographers is that it can be an interesting way to apply different looks to your pictures, and it’s simple to use!
The Color Lookup “Workflow”
For the image below, I wanted to give the shot (which was taken in mid-day sun) some additional interest and character. Specifically I’d like to somehow make the bright green leaves contrast with the grapes a bit more, and maybe create somewhat of a retro look? Let’s give it a shot! Note: click the images to see the full-sized versions.

First you can activate the adjustment layer by choosing Layer > New Adjustment Layer > Color Lookup. Click OK when the New Adjustment dialog pops up. This will open a panel that contains three radio-buttons or “modes”, each with its own menu of preset-like color looks. While it’s not possible yet to create your own presets with this tool, there are still enough of them that it’s worth a look.

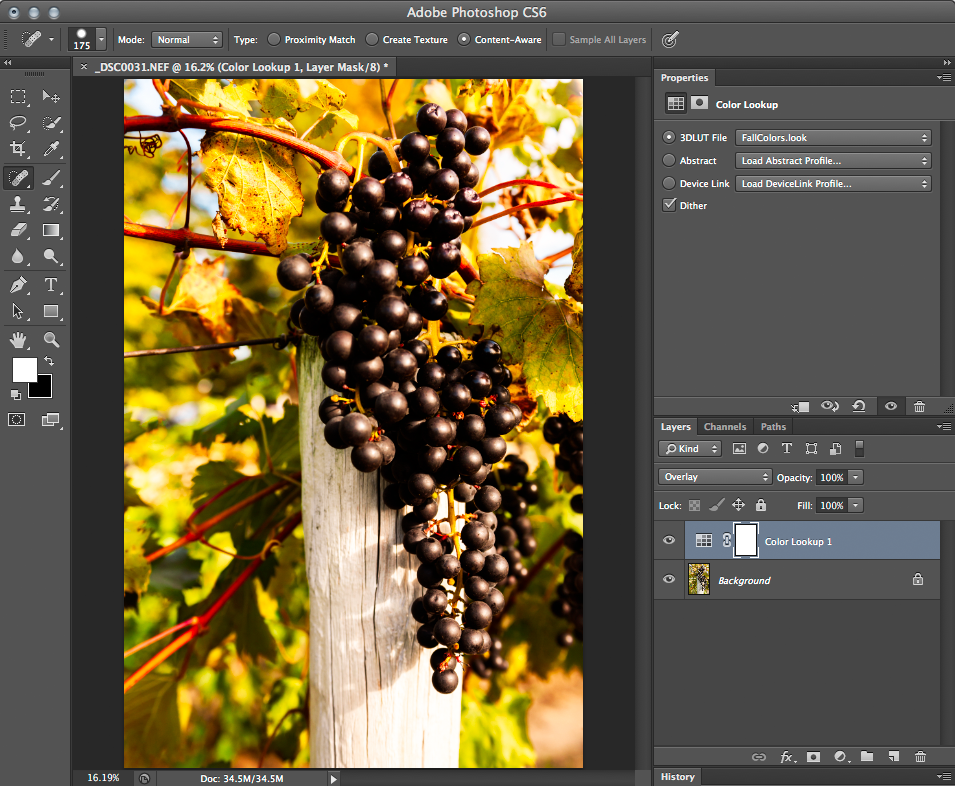
To experiment with the different color looks, just pop any of the menus open and select an option that looks interesting. Here I started out with the “Fall Colors” look (inside the “3D LUT File” menu). This shifted the leaves and grapes to a warmer range of colors, and when combined with the Overlay blend mode, created an almost Polardoid-like appearance.
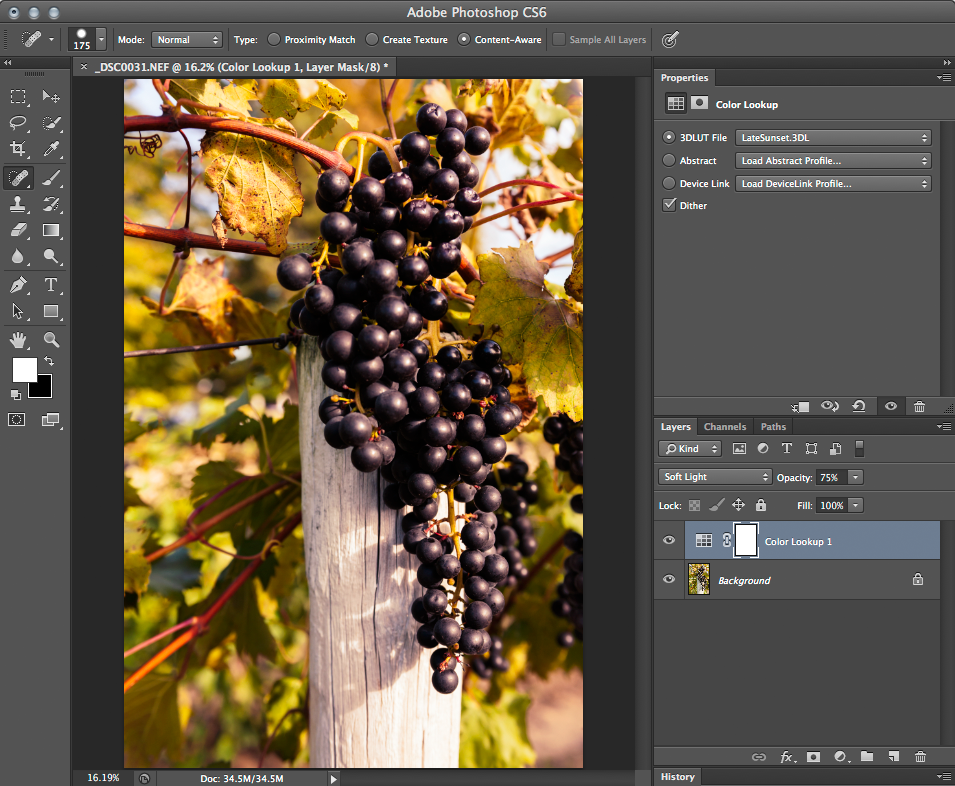
This was pretty cool but felt over-the-top, so I continued to experiment. From the same pop-up menu I tried the Late Sunset option which, when combined with the Soft Light blend mode (reduced to 75% Opacity), also created a nice “old film” look, but still wasn’t quite right. I wanted to do something more creative with the colors.
Jumping directly to the Abstract “mode”, I chose a number of the color “presets” until I arrived at “Sienna-Blue”. When I selected it, I immediately got an interesting color shift in the leaves, without turning the grapes or post a funky color. However it still looked a little too flat for me, so again I began to play with the Blend Modes for the adjustment layer, using 100% Opacity.
I found what I was looking for when I arrived at the Hue mode, as it made the color shift much more vivid and interesting. By going this route I’ve basically added an element of “age” or interest to the photo, while making the color relationship and contrast between the leaves, grapes and sky regions more interesting (warm vs. cool instead of bright green vs dark blue and light blue). An element of realism is lost, but in this case it does not distract the viewer; it just makes it more interesting to look at (IMHO).

If you enjoyed this tip, my new Photoshop CS6 Retouching & Image Adjustment course provides a ton of information on how to improve your pictures with Photoshop! I also have an HDR software course available that shows you how to create HDR pictures not only with Photoshop but with Lightroom and Nik plugins as well!


Leave a comment