
Photoshop 3D Wireframes as Design Elements
Photoshop’s 3D capabilities in the Extended version have been getting better with each version, but sometimes it is the basics that can contribute to an interesting design element, and today’s tutorial looks at just that. While Photoshop’s render capabilities have continued to improve, becoming more photo-realistic, today we’re going to look at using a more simple approach – 3D wireframe – to add some interesting touches to our composition.
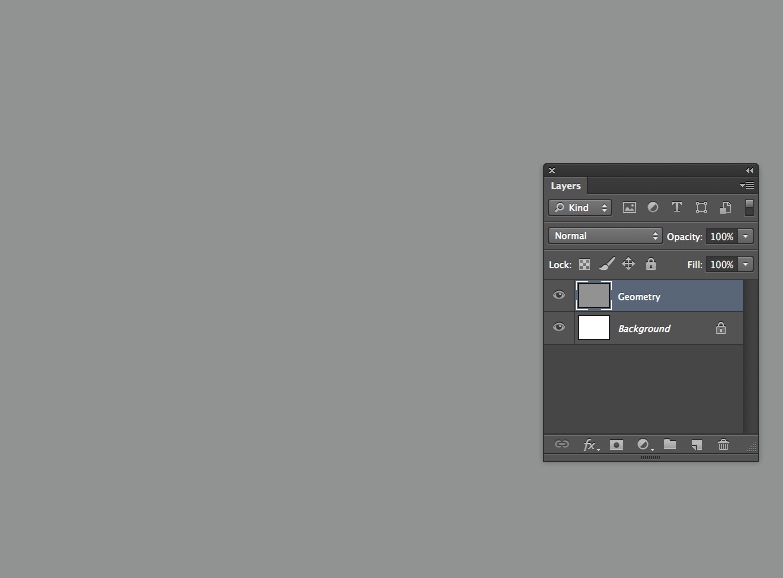
We’ll start with a simple white background, for easy visibility, and we’ll add a new layer over the background filled with 50% gray. We’ll call this layer Geometry.
With the new gray layer selected, we’ll go over to the Paths Panel, where I have a path already created, with an interesting geometric design. Click on the path to make it active, and you can see it on the drawing:

Now with the path active, and the gray layer still selected, we choose: 3D > New 3D Extrusion from Selected Path. You may get a dialog asking if you want to switch to the 3D workspace, and you should choose Yes:

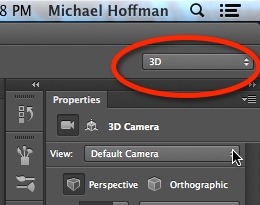
Note that you can switch back to the Essentials or any other workspace in the future by simply choosing from the Workspace switcher at the top right of the Photoshop application window.
Once the extrusion is created, we get an immediate rendition of an extrusion of the path, using the gray color from the selected layer. But, we’re going to change some of the default parameters:
First, choose the Move tool, and, in the 3D panel, choose Current View under Scene (this will allow the Move tool to control the camera). Then, in the Move tool’s toolbar, make sure the 3D Mode is set to Rotate the 3D Object. Now we can rotate the view of the scene a bit to better see our 3D object. Notice how the ground plane moves along with the object; this is because we are moving our camera position around:
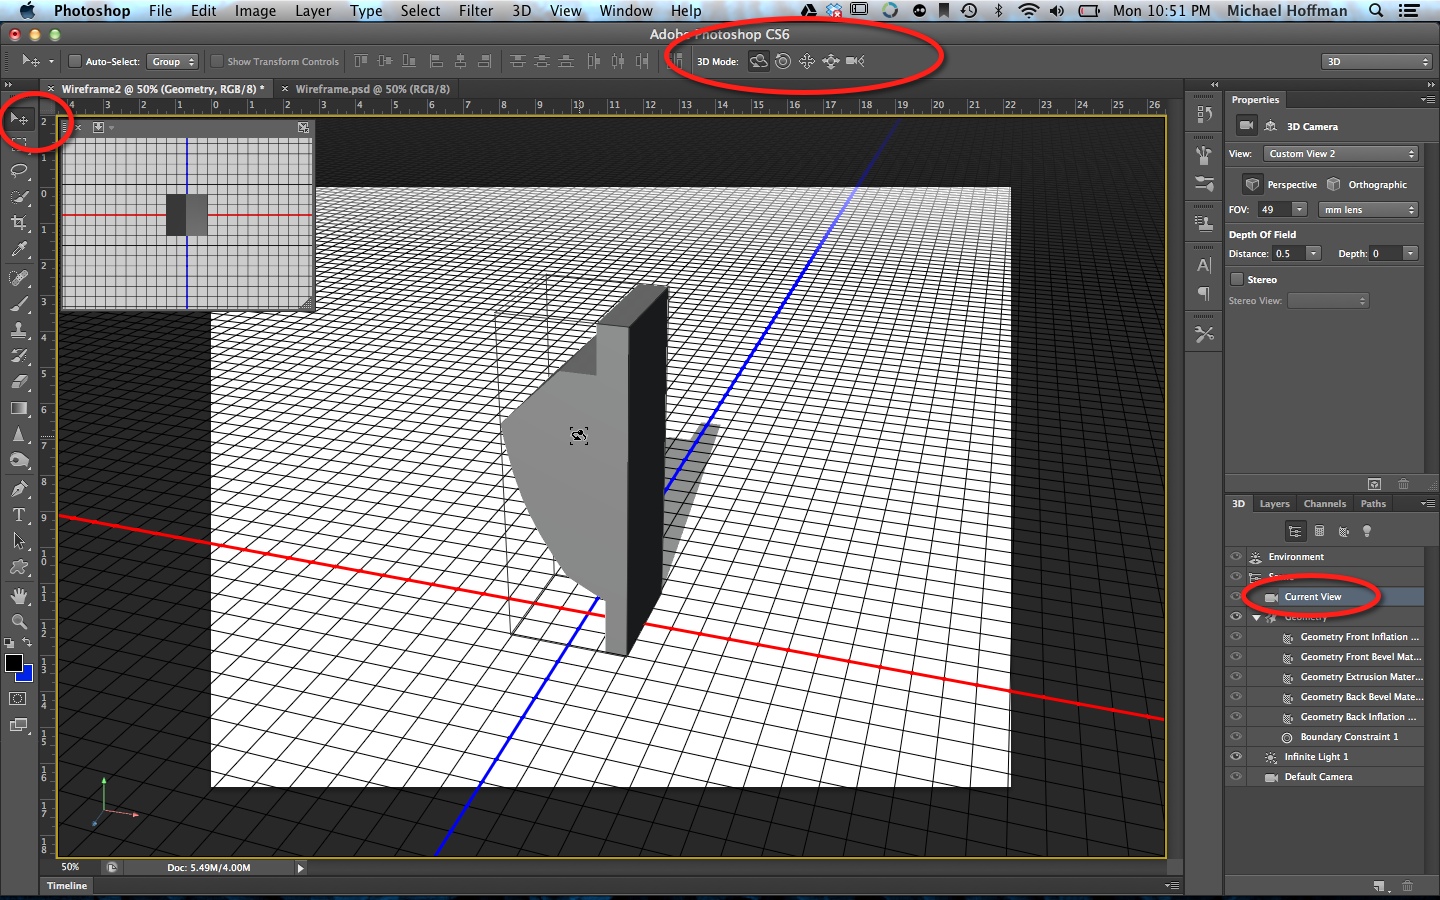
Once we have a better perspective, it’s time to change the 3D extrusion. We start by clicking in the 3D Panel on the main mesh, named Geometry after our original layer name. Then, in the Properties Panel, click the second icon at the top. labeled Deform.
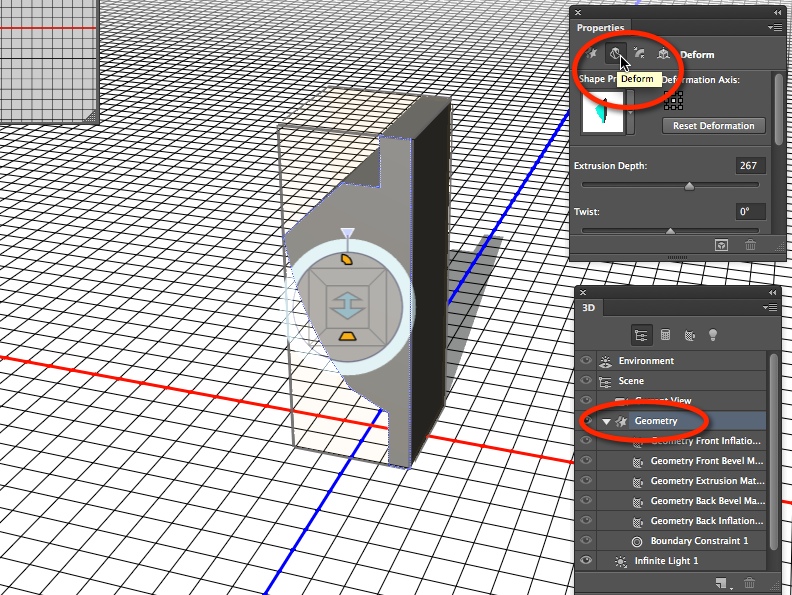
Now we will change the Extrusion Depth value to 0. This will “flatten” out our extrusion.

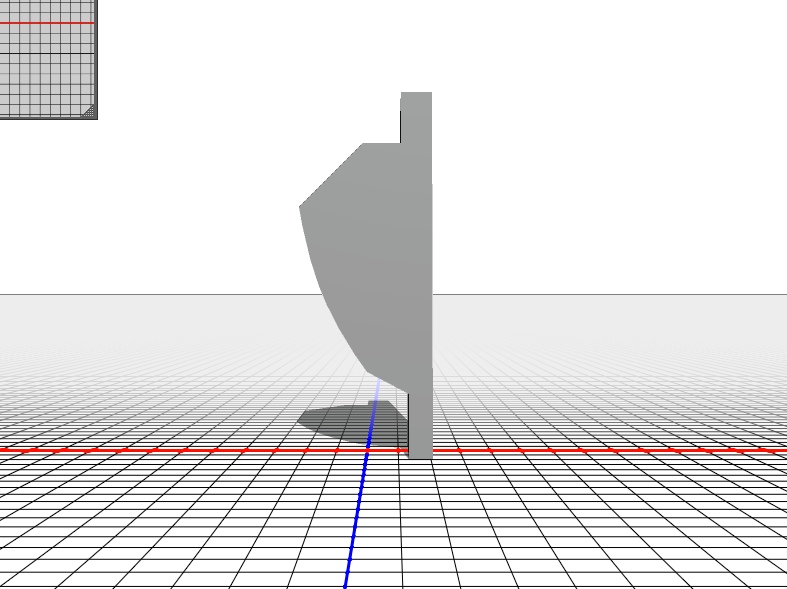
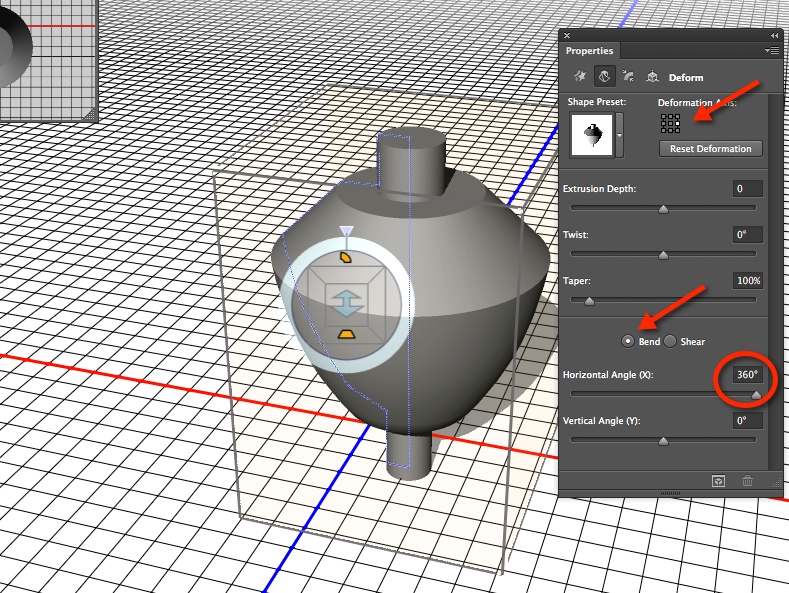
Next, set the Deformation Axis to the right side (click the small white squares to change the axis), make sure Bend is selected, and change the Horizontal Angle (X) to 360. This will revolve the extrusion, as we discussed in a previous tutorial on solids of revolution:
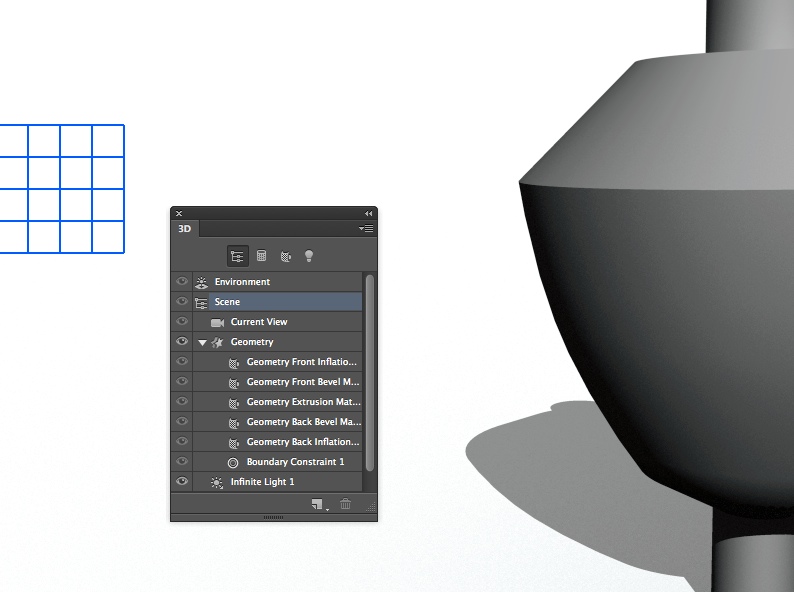
Now we have our object, let’s move it into position. Select the Current View in the 3D Panel, and using the Move tool once again, use the Rotate, Roll, Drag and Slide options in the toolbar to position the 3D object along the right side of the document:

Now, if we were to render this image by pressing Ctrl-Alt-Shit-R (Windows) or Cmd-Opt-Shift-R (Mac), we’d get a sold shaded object, with a shadow.
However, this isn’t the look we’re going for. We want wireframe. To get that, we need to click on Scene in the 3D Panel. This gives us a new set of Options in the Properties Panel, and we want the change the Presets to Wireframe.

As you can see, this changes the look of the object considerably. We can make this wireframe interact with the 2D background of our composition. Let’s start by changing the background color:

Now the wireframe is hard to see. Let’s go to the Layers Panel, and change the blend mode of the Geometry layer to Divide. This makes it appear in a white color – better!

But, we have the shadow that doesn’t look good in this composition. To remove the shadow, we have to go back to the 3D Panel. Choose Infinite Light 1 (which was created by default) and, in the Properties panel, deselect the option for Shadow. Now the shadow is gone.

At this point, we can add other design elements to our composition, which now has a nifty 3D wireframe object looking somewhat like a blueprint.

As you can see, creating wireframe design elements can add an interesting appearance to your designs. Remember that she you work with 3D in Photoshop, you typical have to remember two key steps:
- Select the object or feature you want to manipulate in the 3D Panel;
- Look to the Properties Panel to find the parameters you want to change.
Switching to the 3D workspace brings both of these panels to the forefront, so you can easily work with them as needed. When you’re done, you can switch back to the Essentials workspace, or any other workspace, and continue your design work. Try it out – it’s not that hard, and it can be both fun and rewarding.


Leave a comment