Dark II; Photoshop's Layer Blend Modes
Ok, here’s the deal: There’s more than one way to do 99.9% of anything you do in Photoshop. I think there may be only one way of turning it on and off, I could be wrong. It’s my belief, speaking for myself, of course that, since tutorials are meant to teach, that more than just the common methods should be shown and that many different ways of doing things should be touched on.
I did a tutorial here on TipSquirrel a couple of weeks ago, on Lightening A Dark Photo, that garnered a lot of comments, a good deal of them asking why I didn’t use, or referring to, other methods, mostly Layer Blend Modes.
My answer to them all was what I stated above: There is more than one way to skin a cat (I always hated that idiom and never could figure out why a poor kitty had to suffer just to say…), and you shouldn’t always look to the common or the expected way. I’ve said before, repeatedly, that you should experiment, have fun, try new things! Don’t always go immediately to the safe or common technique.
We are, those of us venturing out, teaching and learning Photoshop, a group of creative individuals! Being creative means not just reaching for the tried and true. Do you usually use a Layer Blend Mode? Try using Curves instead! Do you do all your Curves Adjustments on one Adjustment Layer? Try using multiple layers, adjusting the opacity on each layer for a greater degree of control! Do you use one technique, regardless of whether you’re really happy with the result? Don’t be afraid to start over!
Think outside the standard operating procedure techniques. It may very well end up that the common way is just the ticket for the project you’re doing, then again, there could be a better alternative and you just might actually learn something new, something that really will be the best thing for a future project.
That being said, let me take a moment to show the most popular common technique alluded to in the comments for that post: The Layer Blend Modes. Don’t get me wrong, I absolutely LOVE Layer Blend Modes! They work wonderfully a vast percentage of the time. In my opinion, in fact, they give a better result on the very photograph I used as an example. I especially love them when I combine them with another filter or adjustment to make the result even better (if needed). That being said, I also believe that if all one ever tries, or teaches, are the most obvious ways, it makes you, or those you’re teaching, rather one dimensional and fundamentally the opposite of “creative”.
I now give you the All Layer Blend Mode technique (drum roll, please)!
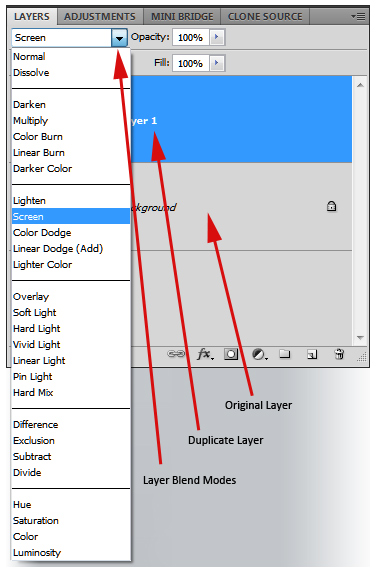
After opening your dark photo in Photoshop, duplicate the original layer via Ctrl +J (PC) or Cmd + J (Mac) on your keyboard or: Image > Duplicate… in your interface. With your duplicate layer selected, go into the Layer Blend Mode drop down menu
and select Screen Mode.
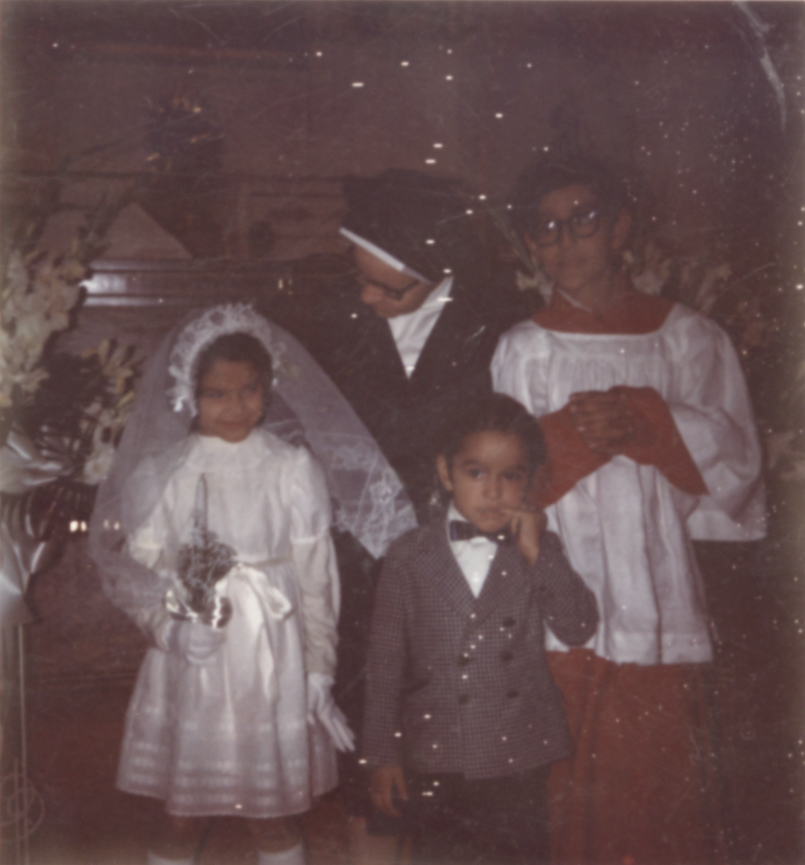
This particular photo is so dark, the last step needs to be repeated. If this is the case with your photo, duplicate the layer again (Ctrl or Cmd +J). The Screen Blend Mode will already be selected.
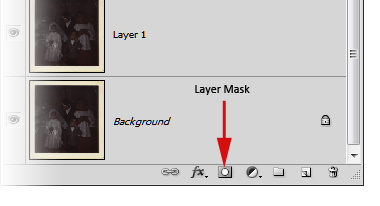
The overall photo is lighter, true, but the faces are still pretty dark so in keeping with the All Layer Blend Mode theme, repeat the layer duplication (Ctrl or Cmd +J), once more, again leaving the Screen Blend Mode selected. However, this time we’re changing it up and adding a Layer Mask.
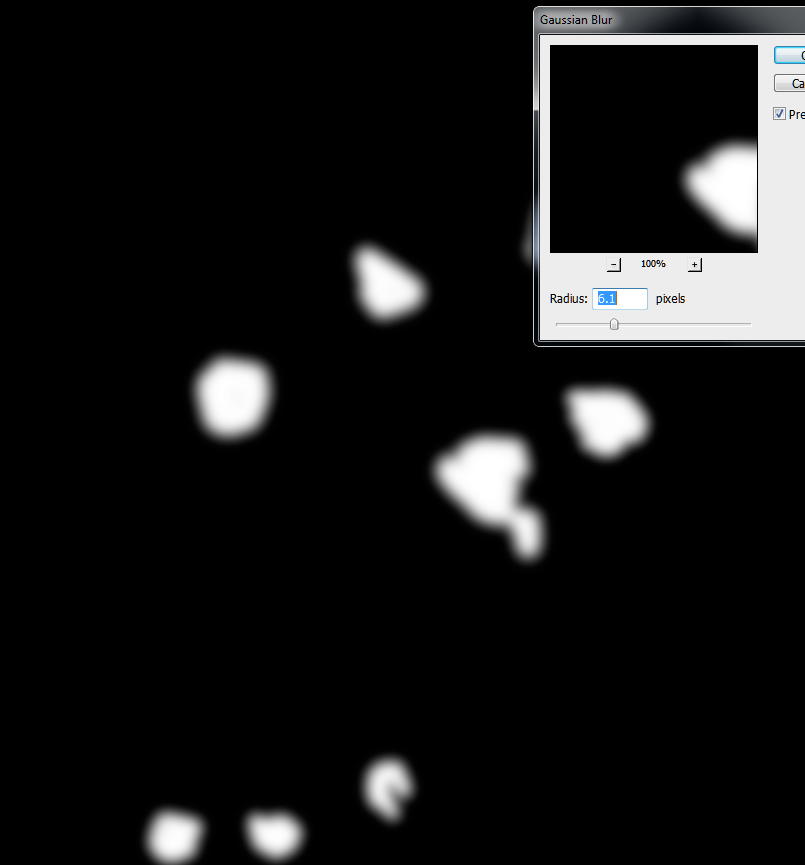
Invert the color of the mask from white to black (make black your foreground color, make sure the Layer Mask itself is selected and use keyboard shortcut Ctrl or Cmd + I). With white as your foreground color, paint in the faces (or any areas you feel need to be lightened more).
With the mask selected, go to Filter > Blur > Gaussian Blur and set the pixels high enough to get a nice light blur on the painted in areas.
Bring the Opacity of the mask layer down to around 35%, or enough to blend the “painted” in areas with the rest of the area.
Personally, I find the photo is still too flat and would do more tweaking with my personal preference, the Curves Adjustment Layers, but that’s just me. I prefer Curves over Blend Modes, in this case, because I can control the light and dark values more with the Histogram and Opacity. With blend modes, you use other blend modes and Opacity. Again, Curves are just my personal preference.
I think you’ll agree, either way, that this photo needs a lot more work, but at least you’ll see the idea of the lightening with the Screen Layer Blend Mode. While you’re working in Layer Blend Modes, don’t just stop at the Screen Mode! Cycle through all the Modes to see how each one adjusts the photo you’re working on, whether the photo is too dark, too light or whatever it may be. As always, play, experiment, try new things and find what works best for you!


Thanks for that.
very nice thanks
Clipping Path Service